Having decided on a basic approach to workflow I have now dived into Lightroom and Photoshop properly to start learning how to use these two tools. I’ve decided to give myself a year to either get to grips with them fully (or at least to my own level of satisfaction) or abandon them in favour of something a bit simpler (and cheaper, given both these Adobe tools are on a cloud based subscription which I doubt is going to go down in price).
The way I’m going to go about learning the tools is to look at some of the typical challenges photographers seek to address using post processing and learn how to solve them using Lightroom and Photoshop. I’ll record my findings, including some good sources of help and information, via various posts in this blog.
My first challenge is how to change the sky in a photograph in Photoshop (as well as doing some general tidying up of the image in Lightroom).
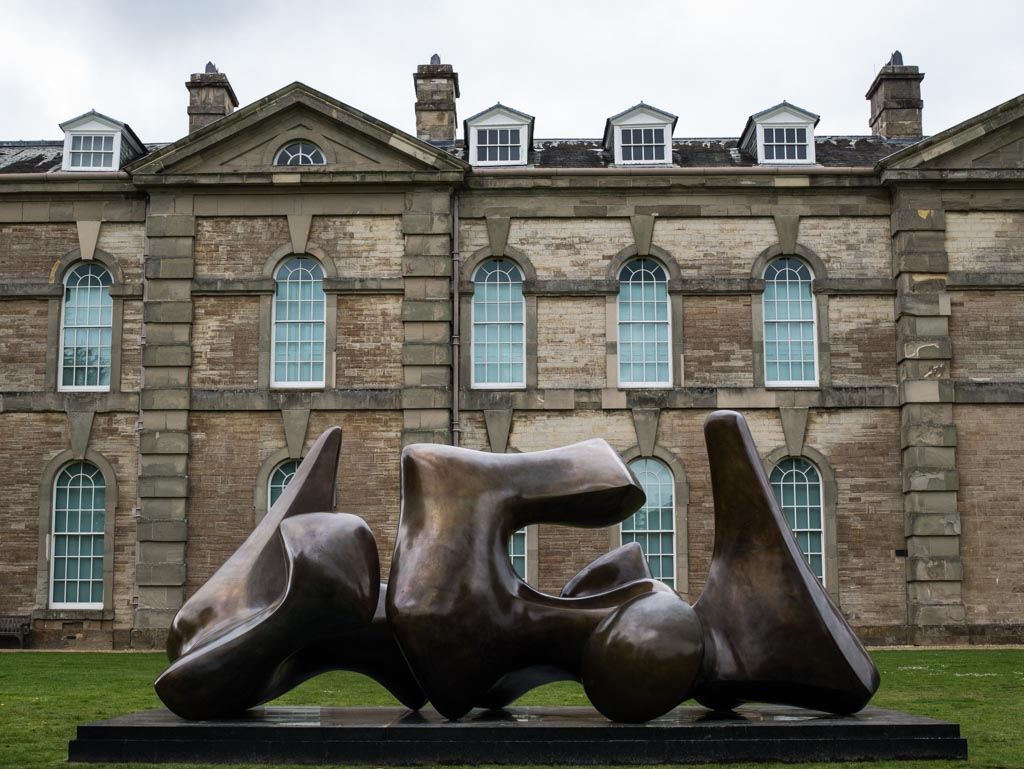
Here’s the image I want to change. It’s of Henry Moore’s Three Piece Sculpture: Vertebra taken at Compton Verney in May, 2014.

First thing to do (in Lightroom) is a bit of cropping and straightening plus reduction in exposure (-0.7) and a bump up in contrast (+30) and clarity (+40).

Next I export the image into the sub-folder Processed as a PSD file then open that file in Photoshop (right click on the file and select Edit In/Edit In Adobe Photoshop CC 2014…). When you do this a dialogue box comes up asking if you want to edit a copy with Lightroom adjustments, edit a copy or edit the original. As I have already made a copy into the folder called Processed I’m just going to select Edit Original. The image opens in Photoshop. Note that you can also choose to open Photoshop immediately after exporting the file by selecting that option in the Export dialog box.
Once I’m in Photoshop the first thing I want to do is remove that annoying sign on the grass in the bottom right. I could do this in Lightroom using the ‘Spot Removal’ tool but decide instead to remove it in Photoshop using the really cool Content Aware Fill. which seems to be more effective. First I draw around the sign using the ‘Lasso’ tool then select Edit/Fill…
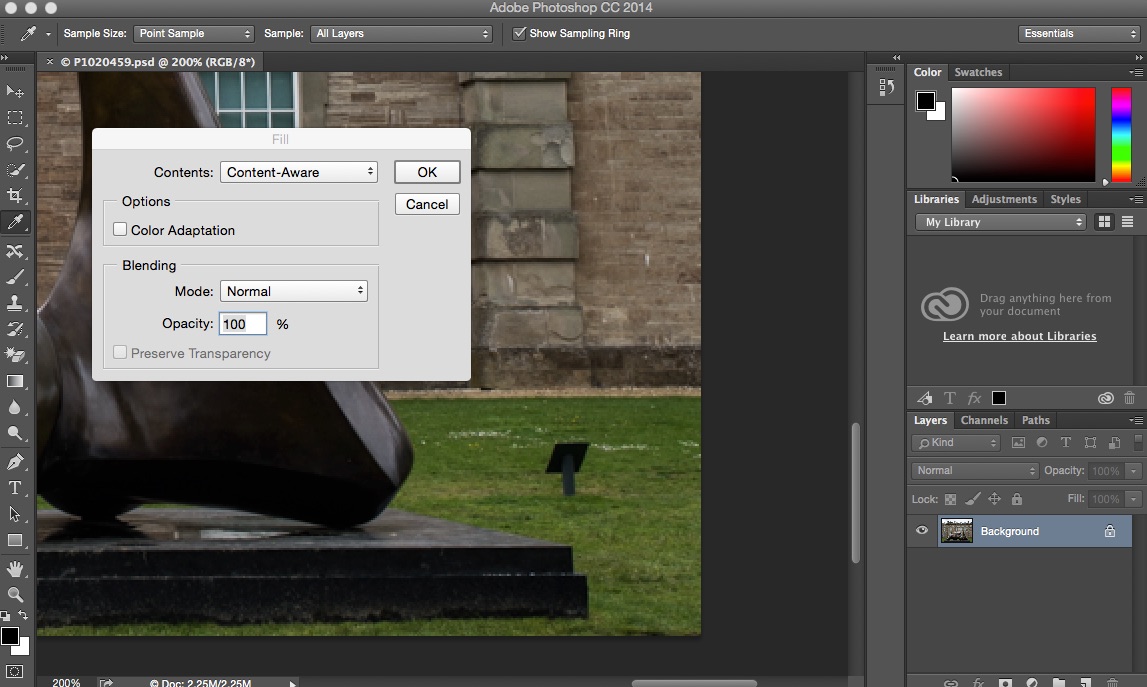
Taking the defaults seems to work just fine so press OK and voila, annoying sign gone!
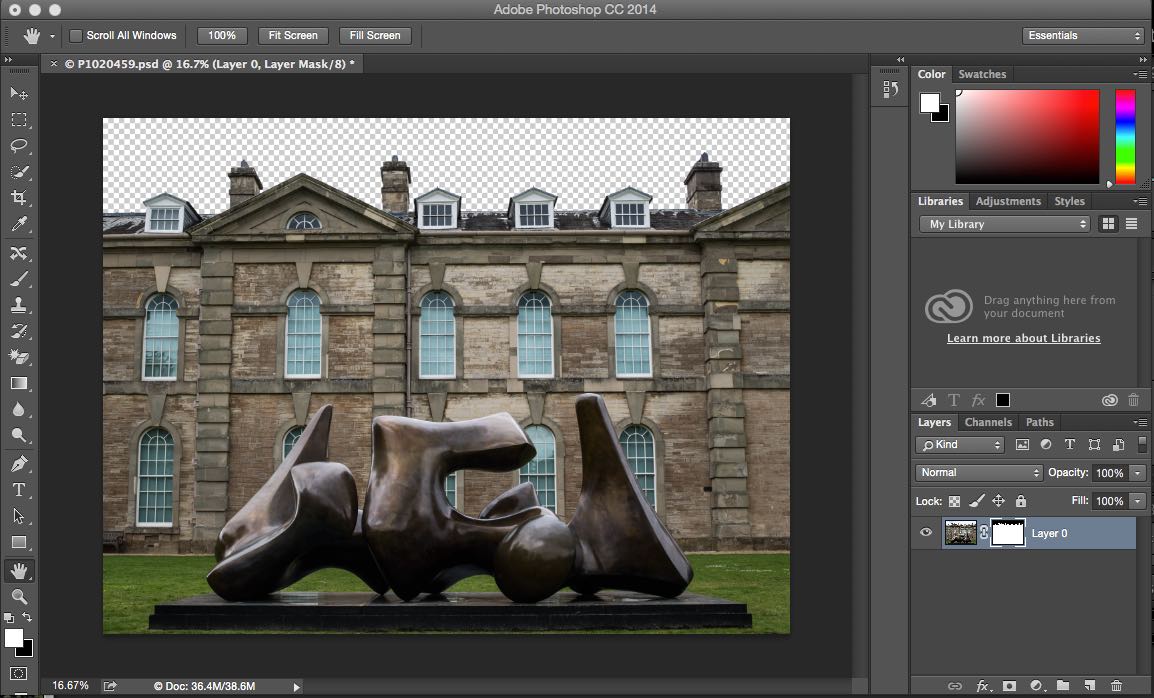
Next I’m going to replace that sky with something a bit more dramatic. The first thing I need to do is isolate it using one of the selection tools. There are many ways to select objects in Photoshop but for now the best tool seems to be the ‘Quick Selection Tool’ (keyboard shortcut ‘W’). Using this I draw around the roofline of the house taking care not to let the centre (‘+’ sign) move over the house itself. That way only the sky is selected. Next I want to create a mask of the house and foreground. First invert the selection (Select/Inverse) then in the ‘Layers’ panel select the ‘Add vector mask’ icon. This create a mask with the sky removed from the image.
I have a few sky pictures with a bit more colour and drama than this one so open one of them within Photoshop (File/Open…). The sky picture opens up in a new tab.
Once open I select the whole sky (‘Cmd a’ on a Mac), copy it (‘Cmd c’) move to the Compton Verney image that I want to add the sky to then paste the sky into that (‘Cmd v’). In the layers panel drag the sky layer below the background image layer. The sky now appears, as if by magic, in the masked out area. To position the sky select the ‘Move’ tool from the tool bar and move the sky around until it looks how you want it.

That’s all I want to do for now so I’m going to flatten the image (Layer/Flatten Image) to combine the layers and save the file (File/Save). I can now quit Photoshop and return to Lightroom. If I go to the Lightroom ‘Library’ view and select the Processed folder (which reflects the actual folder structure and contents on my Mac) the new image appears there.

Whilst I think this looks a lot better than the original I still think it could be made a bit more dramatic. Next time I’m going to look at how to blur the background to really make the sculpture itself standout.
In the meantime here are some useful video tutorials I’ve discovered which cover the replacement of sky in a photograph (and more).
- How to Replace a Sky in Photoshop from phlearn.com
- How To Replace The Sky In A Photo With Photoshop from photoshopessentials.com
- Use Photoshop with Lightroom from adobe.com


Leave a comment