Previously I had blogged how I thought I had found the ultimate camera bag in the form of the Lowepro Urban Reporter 250. Sadly, although this is a very adequate camera bag in many ways, it was not for me simply because the added weight of carrying a laptop (even though a relatively light one in the form of a 13″ MacBook Pro) was too much for my shoulder to bear for more than a couple of hours carrying. Though a great bag it was quickly destined for an ebay auction therefore!
This time, learning from my experience, I decided to focus on backpacks in the hope these would distribute the weight better across two shoulders rather than one. The challenge was in finding the right size. When I was a Canon user I had a Lowepro backpack that was large enough to take those cameras and lenses however since moving to Micro Four Thirds format in the shape of Olympus I need something a little smaller (though still big enough to hold my MacBook).
Happily the answer seems to have arrived in the form of the Manfrotto Advanced Active Backpack I. The problem I have always had with backpacks in the past is that they were too deep and were bulky to carry. This Manfrotto seems to be the optimum size for the kit I want to carry regularly. It easily holds an OM-D E-M1 with up to four lenses as well as a 13″ laptop. Whilst even an Olympus outfit like this is not exactly lightweight, experience so far tells me this bag is adequate to carry this amount of gear for a days shooting.

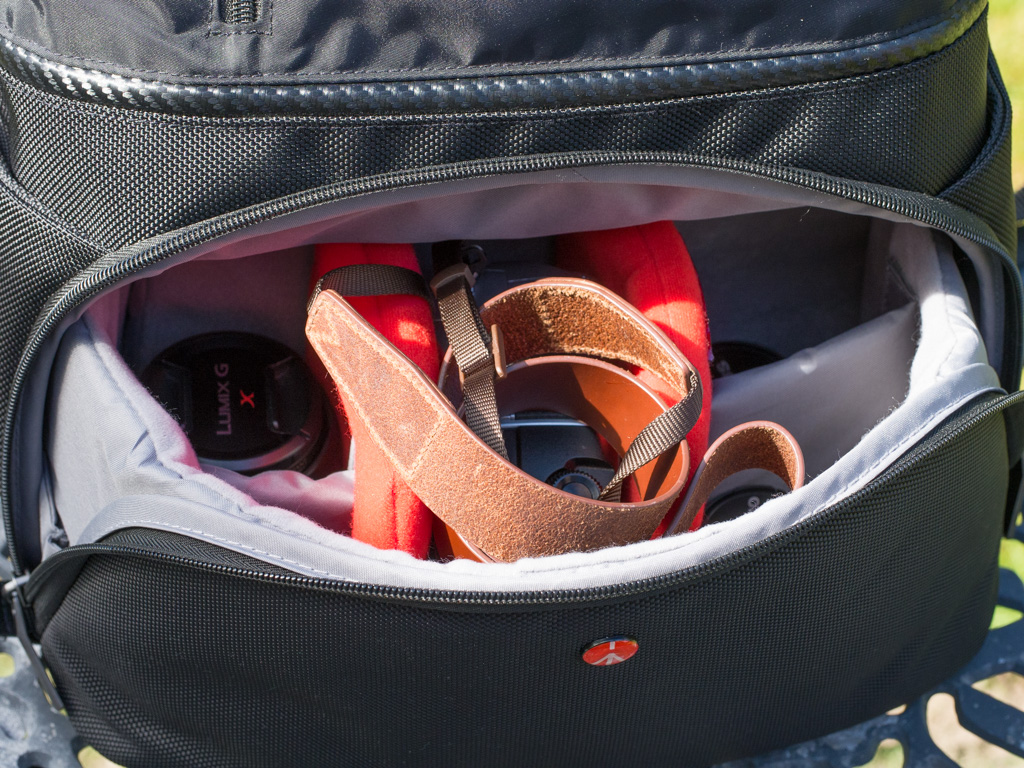
The camera and lens carrying space handily pulls out a bit like a tray and has reconfigurable dividers. So far the default layout works perfectly for me.
Being a Manfrotto bag there is also the option of attaching a tripod on the side however I have not tried this yet.
There’s a front zipped pocket handy for carrying a notebook and business cards.
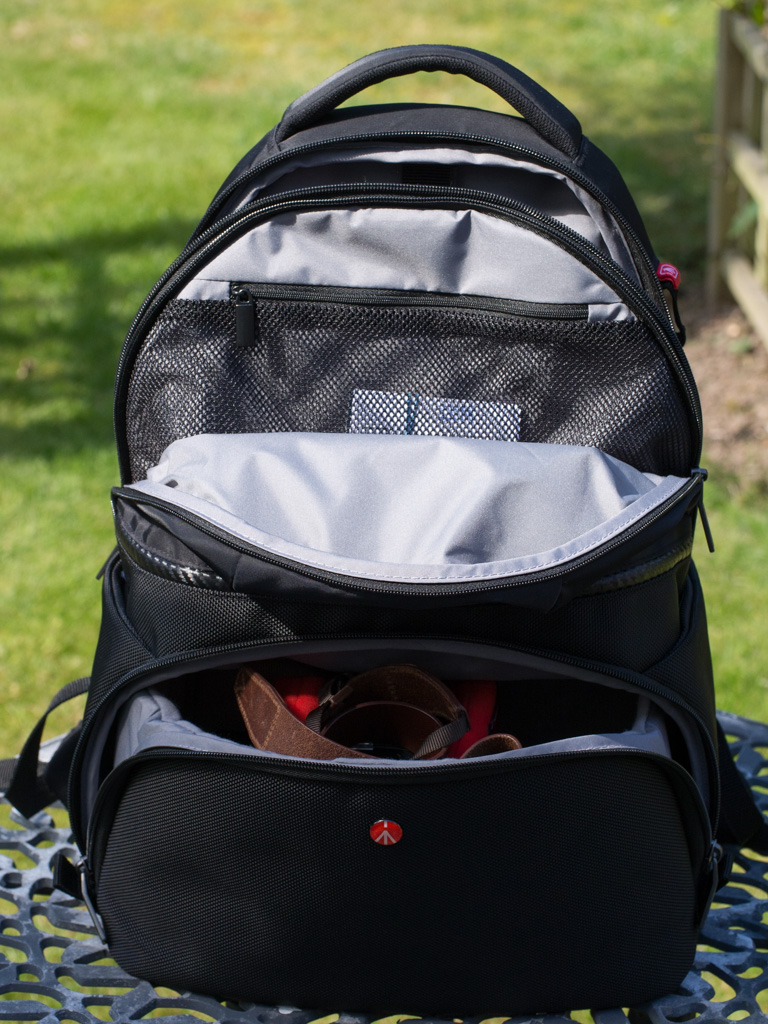
The top storage area is great for additional items such as power cables, maybe a flashgun and memory cards etc.
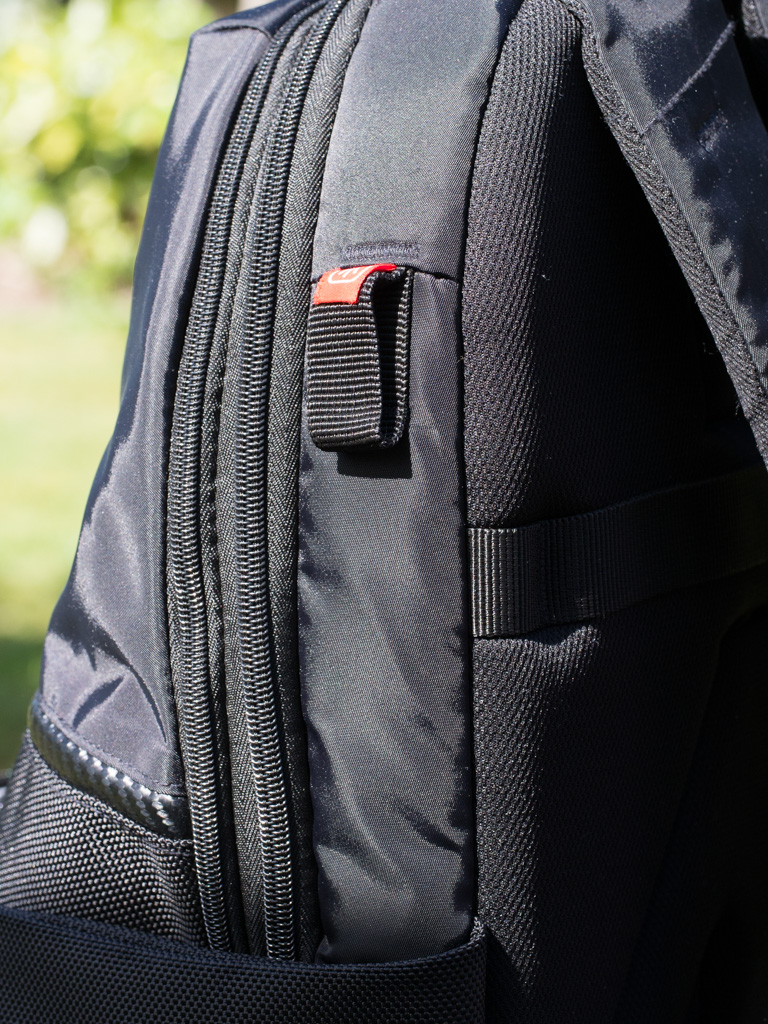
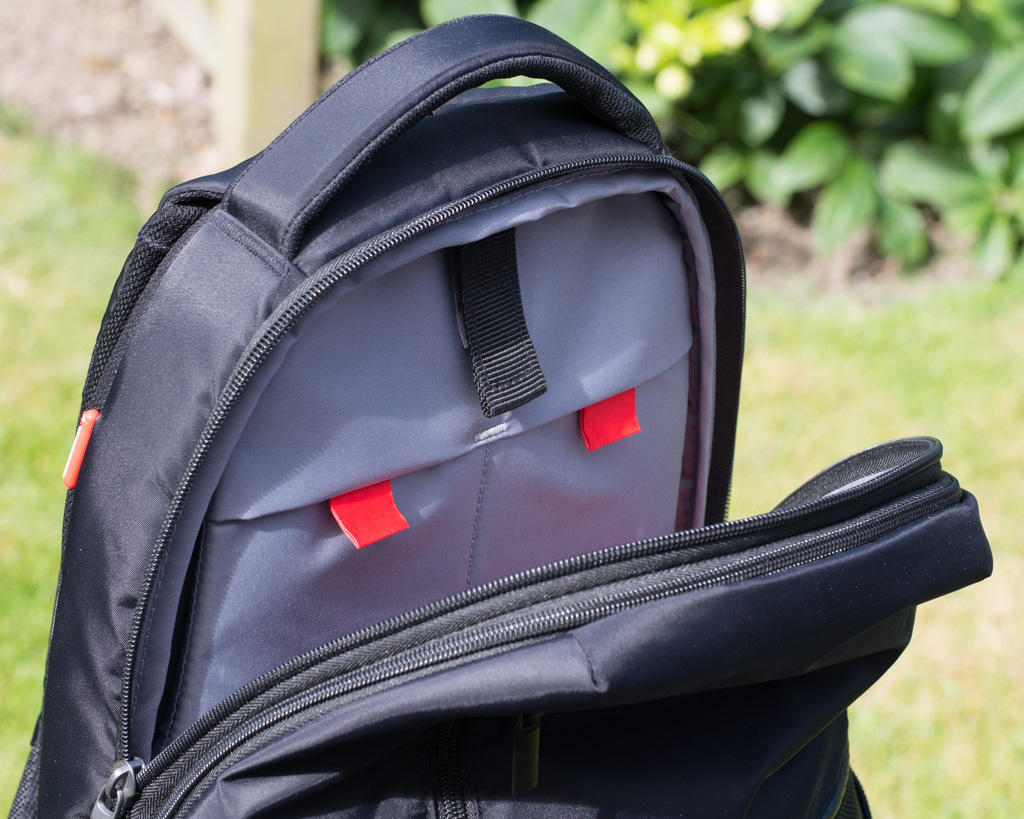
The laptop slides down the back of the bag by pulling forward a tab.
Additionally there is a rain cover which you can wrap around the bag for those days when the heavens really do open. For light showers I think the bag itself should offer sufficient protection.
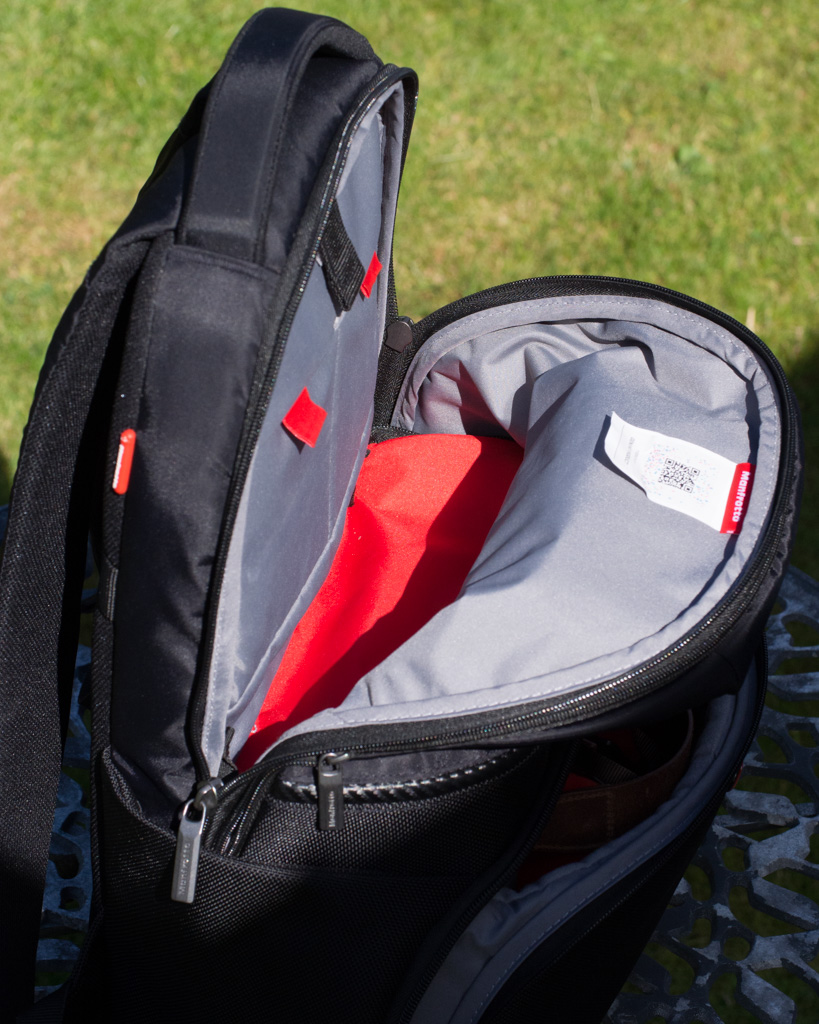
Finally the bag has a chest strap that helps pull the bag in a little and even out the weight a bit more.
So far I’m really impressed with this bag and have no real gripes apart from the zip on the lower camera compartment sometimes snags a bit as though one of the teeth is slightly misaligned. This is not a problem so far however. The bag cost me £54 from Wex Photographic here in the UK which I think represents great value for money (and was covered by what I sold my Lowepro for on ebay).
So, for now at least, the bag search is over. Time to concentrate on making some (hopefully great) images and blogging about those.


Leave a comment