Back in the days of film creating double exposure required a fair bit of jiggery pokery both in camera, ensuring you were careful not to advance the film, and then in the darkroom to make sure the film was exposed correctly. Today, thanks to the all conquering Photoshop*, creating double, triple (or even higher multiples) exposures is a breeze. As is typical with Photoshop the main challenge is to choose which of the numerous options available is best (or at least simplest). Here’s one way that works for me.
Here are a couple of images from a recent shoot I did in an abandoned building called The Gem in the Jewellery Quarter if Birmingham. The model is Alex.


In order to make life slightly easier for myself I had my camera on a tripod set to aperture priority, made sure I had a relatively large depth of field (f/8) so Alex would be in focus in the places I got her to stand and set the focus to manual so that it did not change between the two exposures. I made sure light through the window did not change too much so the room, and Alex, were lit more or less the same in each image. This ensured the backgrounds of both photographs would exactly overlay each other.
Step #1: Import Images into Photoshop as Layers
Using the catalog management system described here I first take each of these images in Lightroom and export them (menus option File/Export…) into a separate folder called Processed as a PSD file. These are the files I’m going to import into Photoshop. To do that I next select the folder (in Lightroom) called Processed where the images are located then select the images themselves (to select multiple image hold down the ‘Cmd’ key whilst right clicking with the mouse). Then select menu option Photo/Edit in…/Open as Layers in Photoshop…
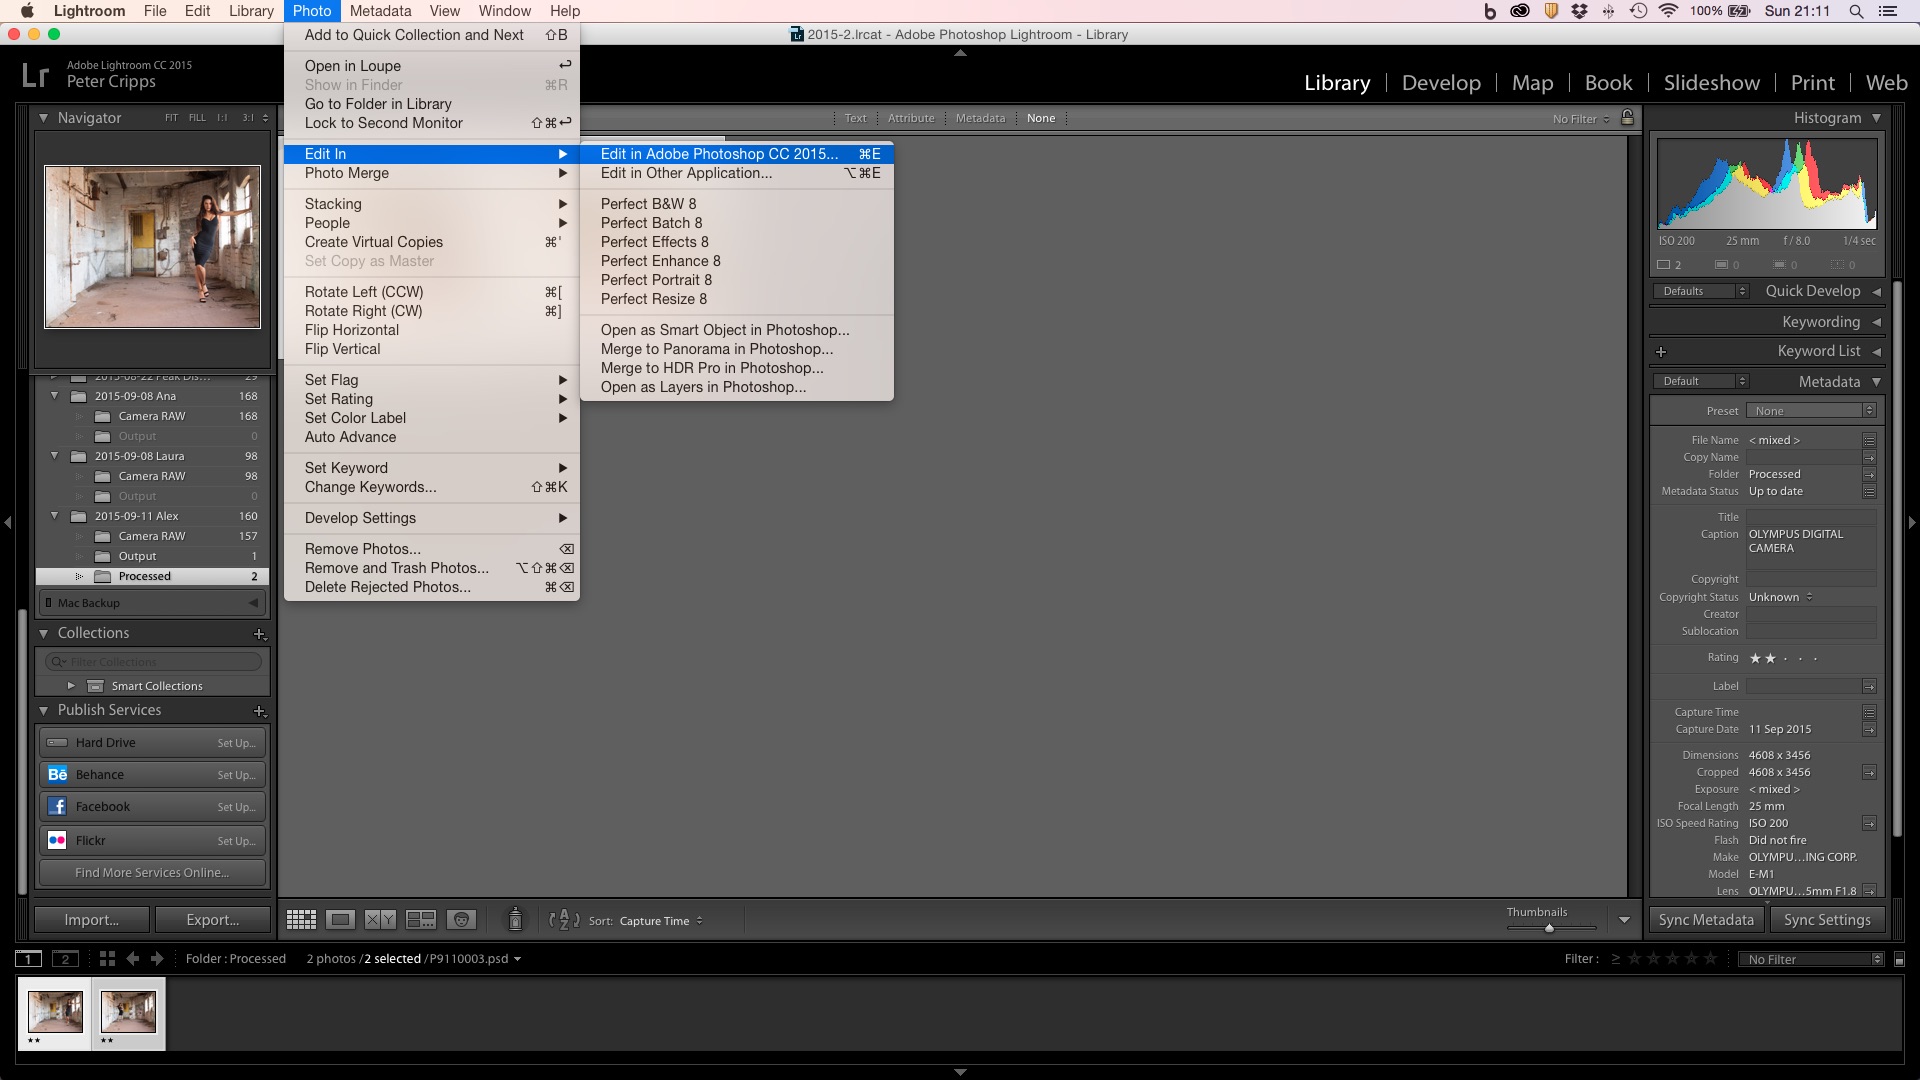
This will startup Photoshop and create the images as two separate layers.

Step #2: Add a Layer Mask
Once in Photoshop I select the first layer then open a new layer mask by clicking on the vector mask icon in the layers panel. By default this mask is white which means the layer is fully revealed. I want to change the mask to black by pressing ‘Cmd I’. This will hide all of the upper layer revealing the lower layer.

Step #3: Use the Brush Tool to Reveal the Upper Layer
I now want to reveal part of the masked upper layer by brushing over the part of the image with Alex in it. To do this I select the brush tool using ‘Cmd B’ and change the size to 400 pixels using either the ‘[‘ or ‘]’ key as appropriate. I then simply brush over that part of the image where the model is standing to magically reveal her.

Step #4: Flatten the Layers and Save the New Image
Once the part of the image with Alex in is fully revealed I just flatten it to collapse the layers using Layer/Flatten Image.

Finally I can save the image into the Processed folder so it’s picked up again in Lightroom. Here’s the final image.

And that’s it!
*Actually you don’t even need a camera or fancy editing software either as this blog post by David Rann shows.


Leave a comment