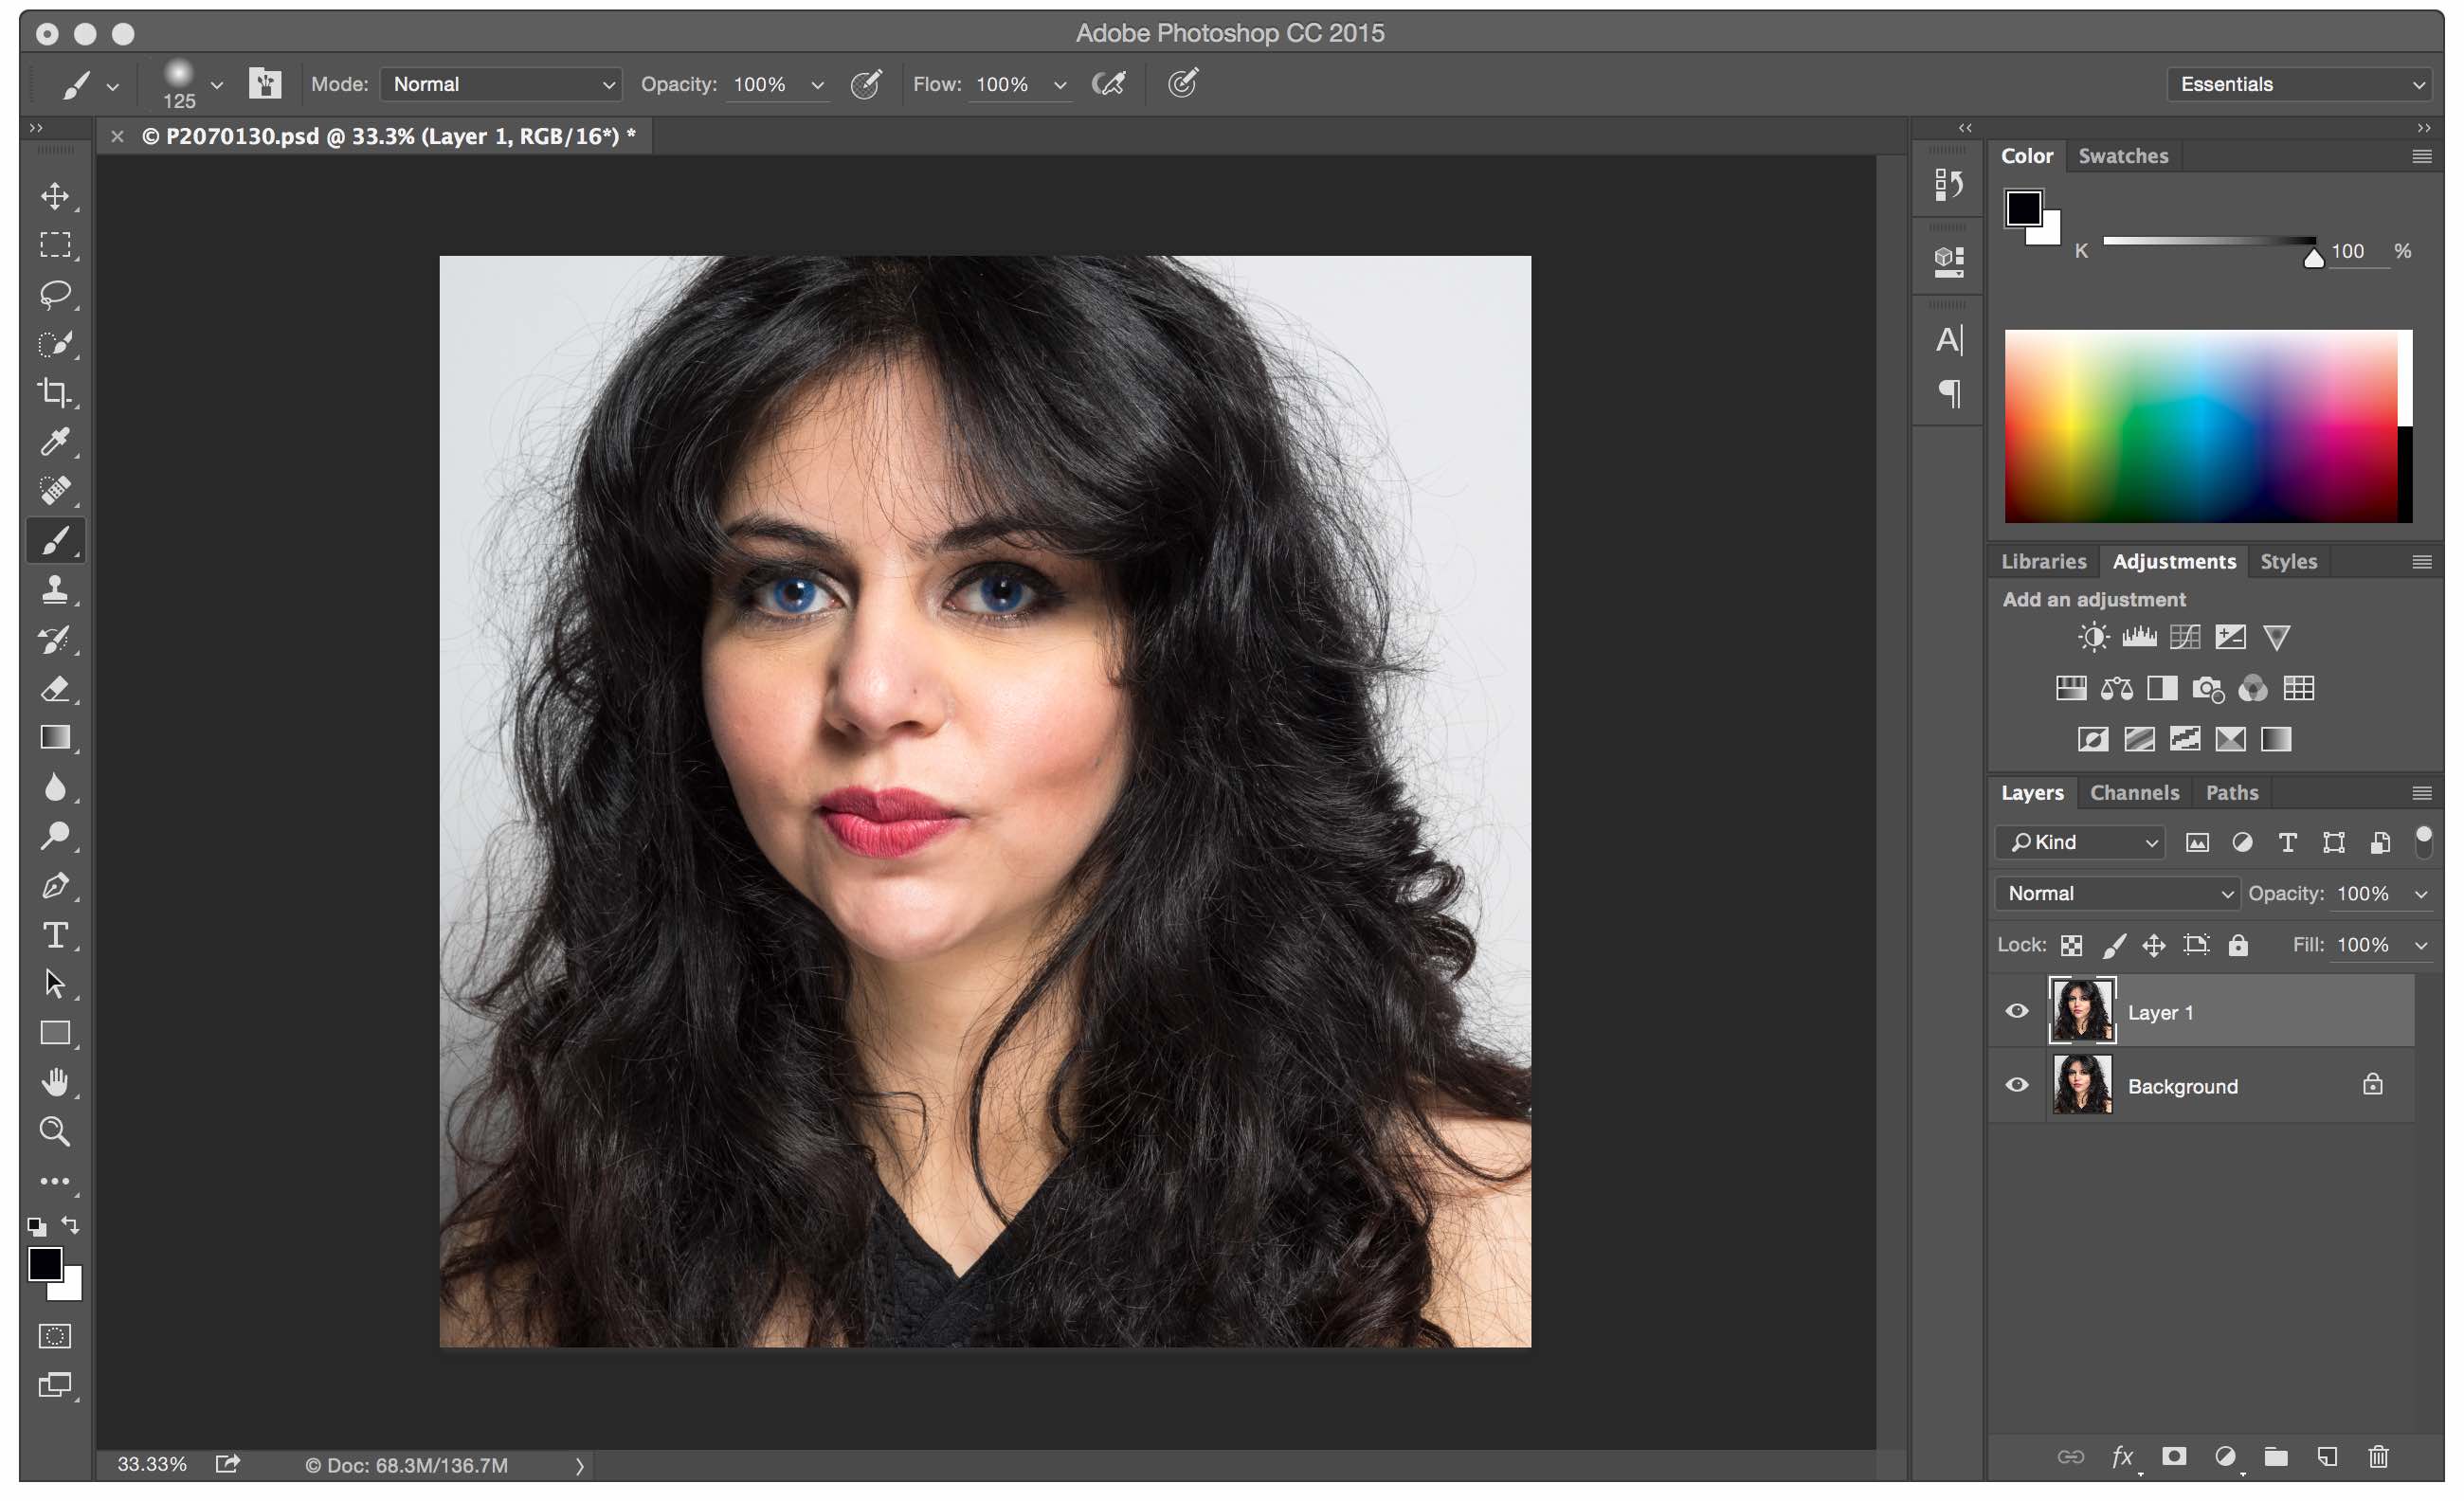
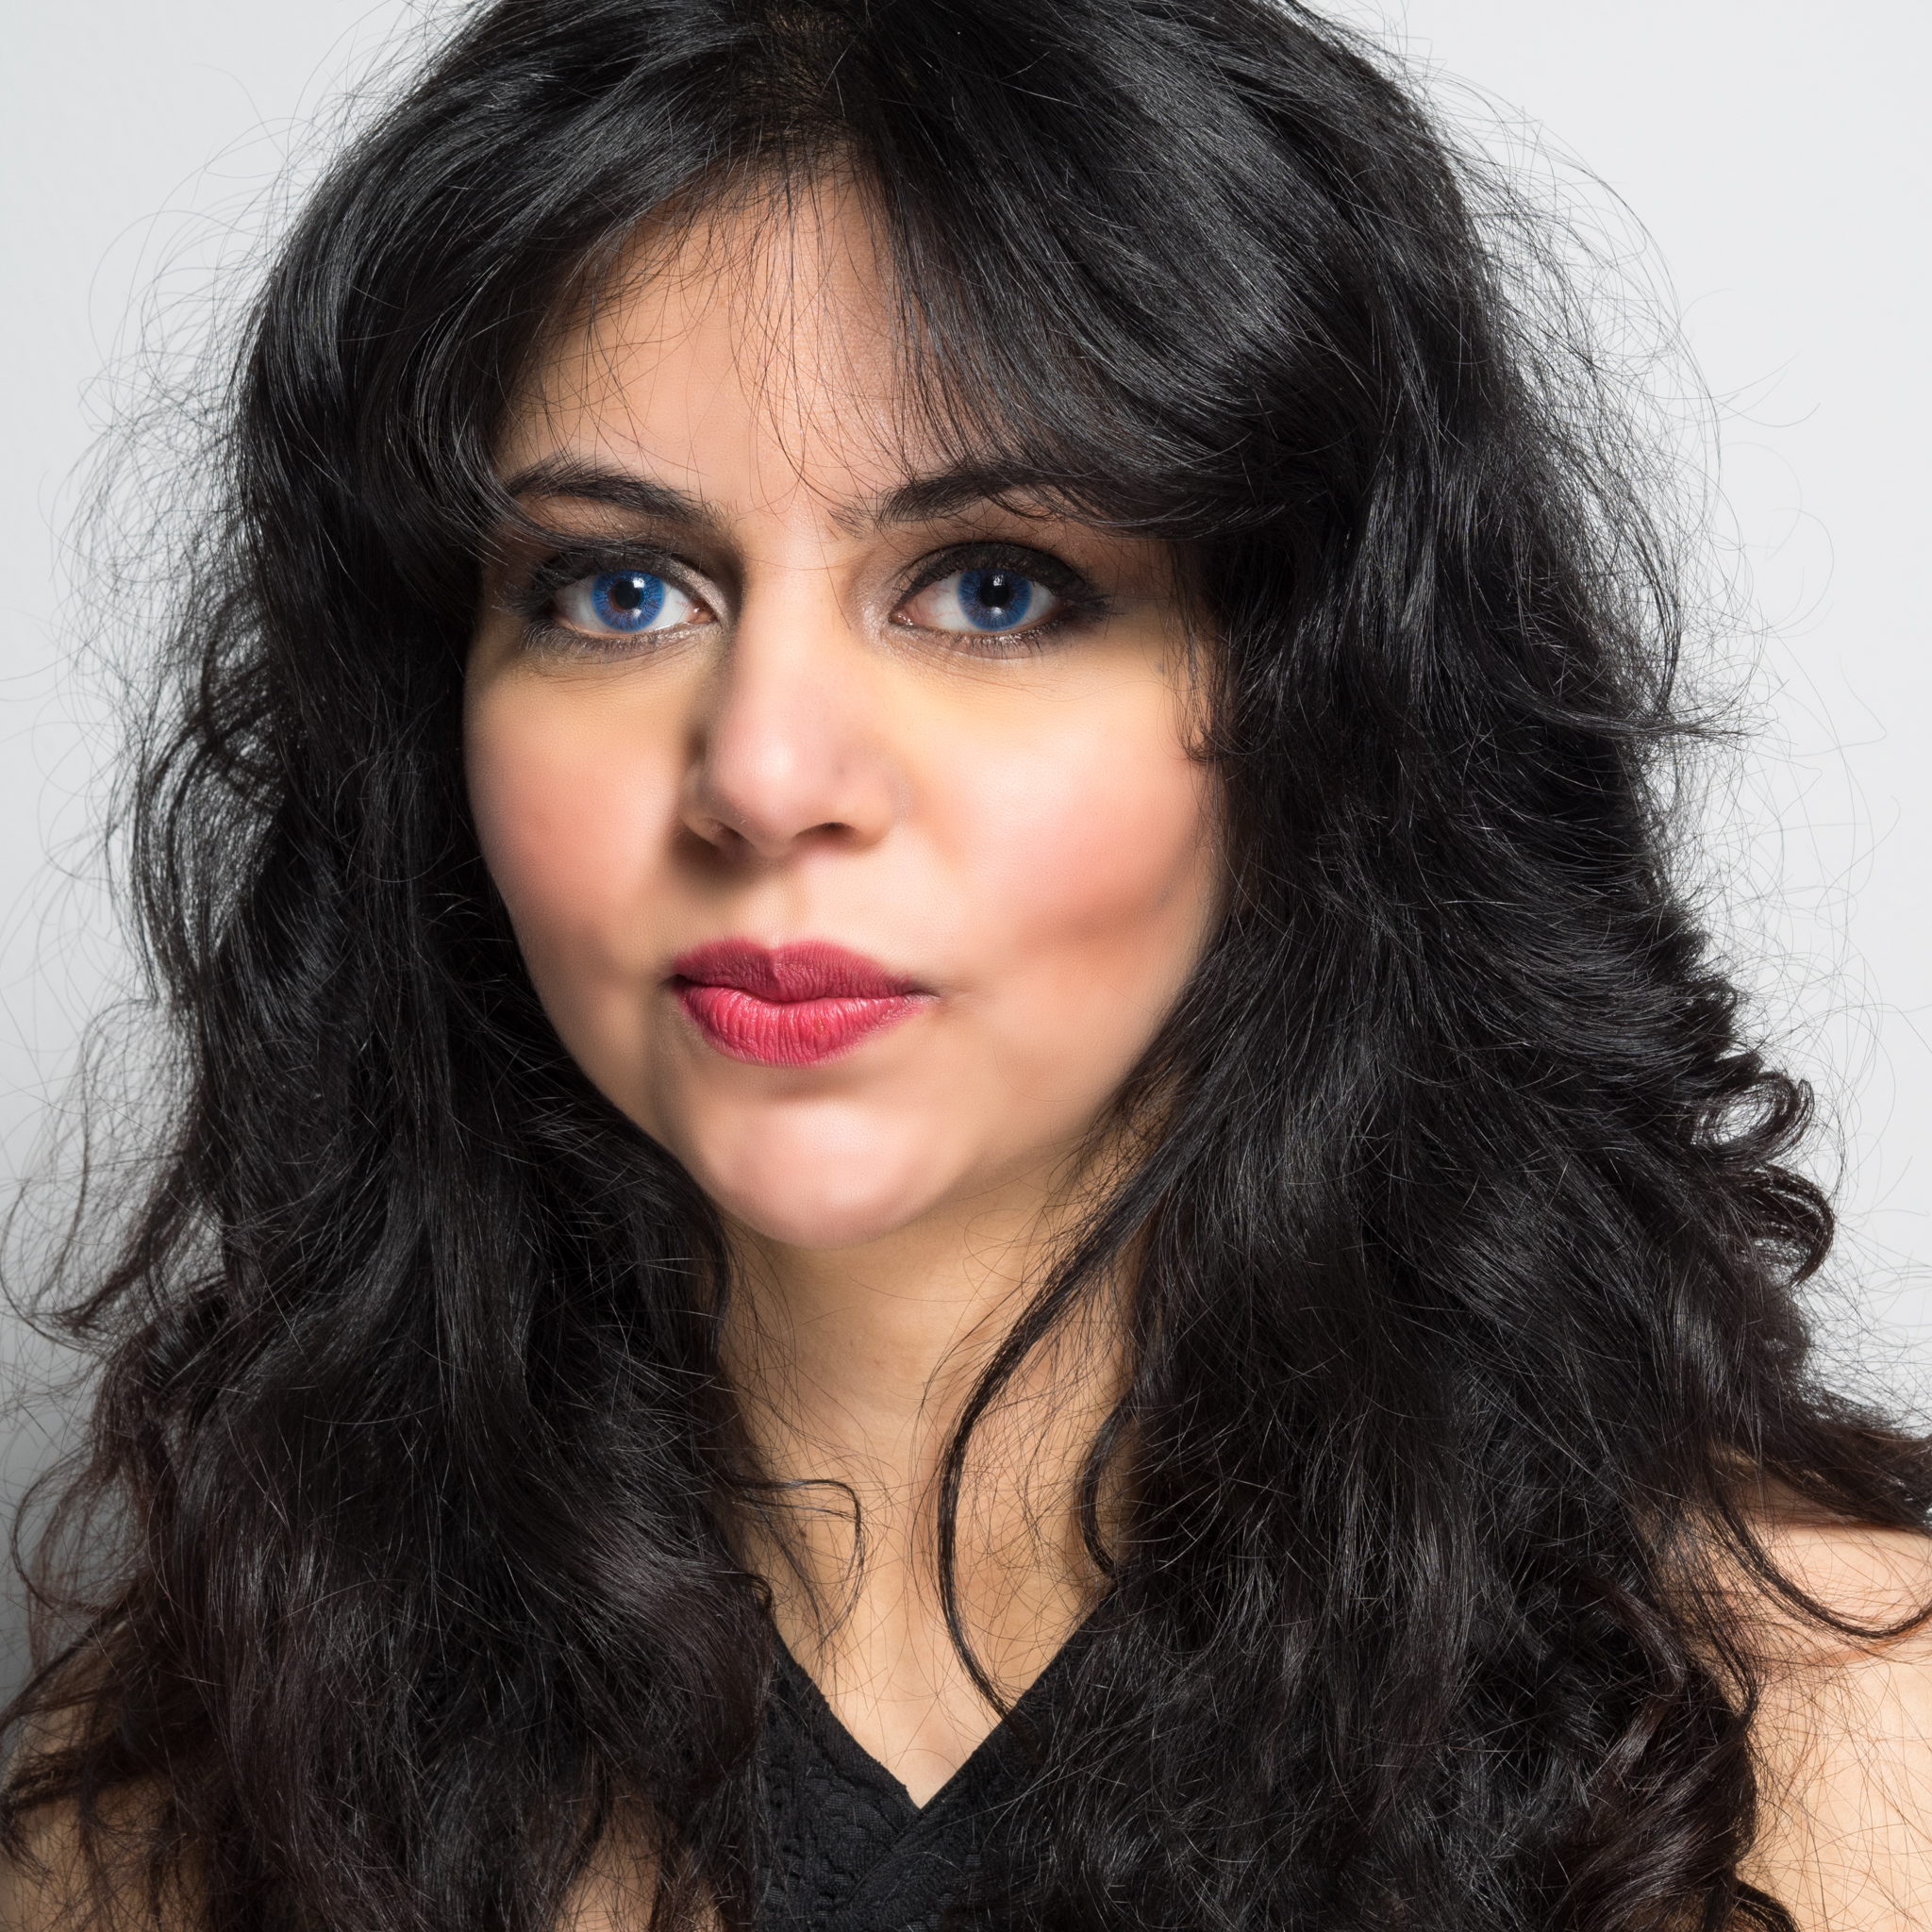
Here’s a fairly quick way to smooth skin in Photoshop without making it look too ‘plasticy’ which can often be the case with certain specialist retouching programs. This is the image of the model ‘Shuky’ I’m going to be working with. Makeup is by ‘Sally Cinnamon‘.

You can see the models skin is pretty good as it has been made up professionally but could still do with a bit of smoothing. Here are the steps to follow once the image is opened in Photoshop.
Create a copy of the background layer by selecting ‘Cmd J’. This creates a copy called ‘Layer 1’.
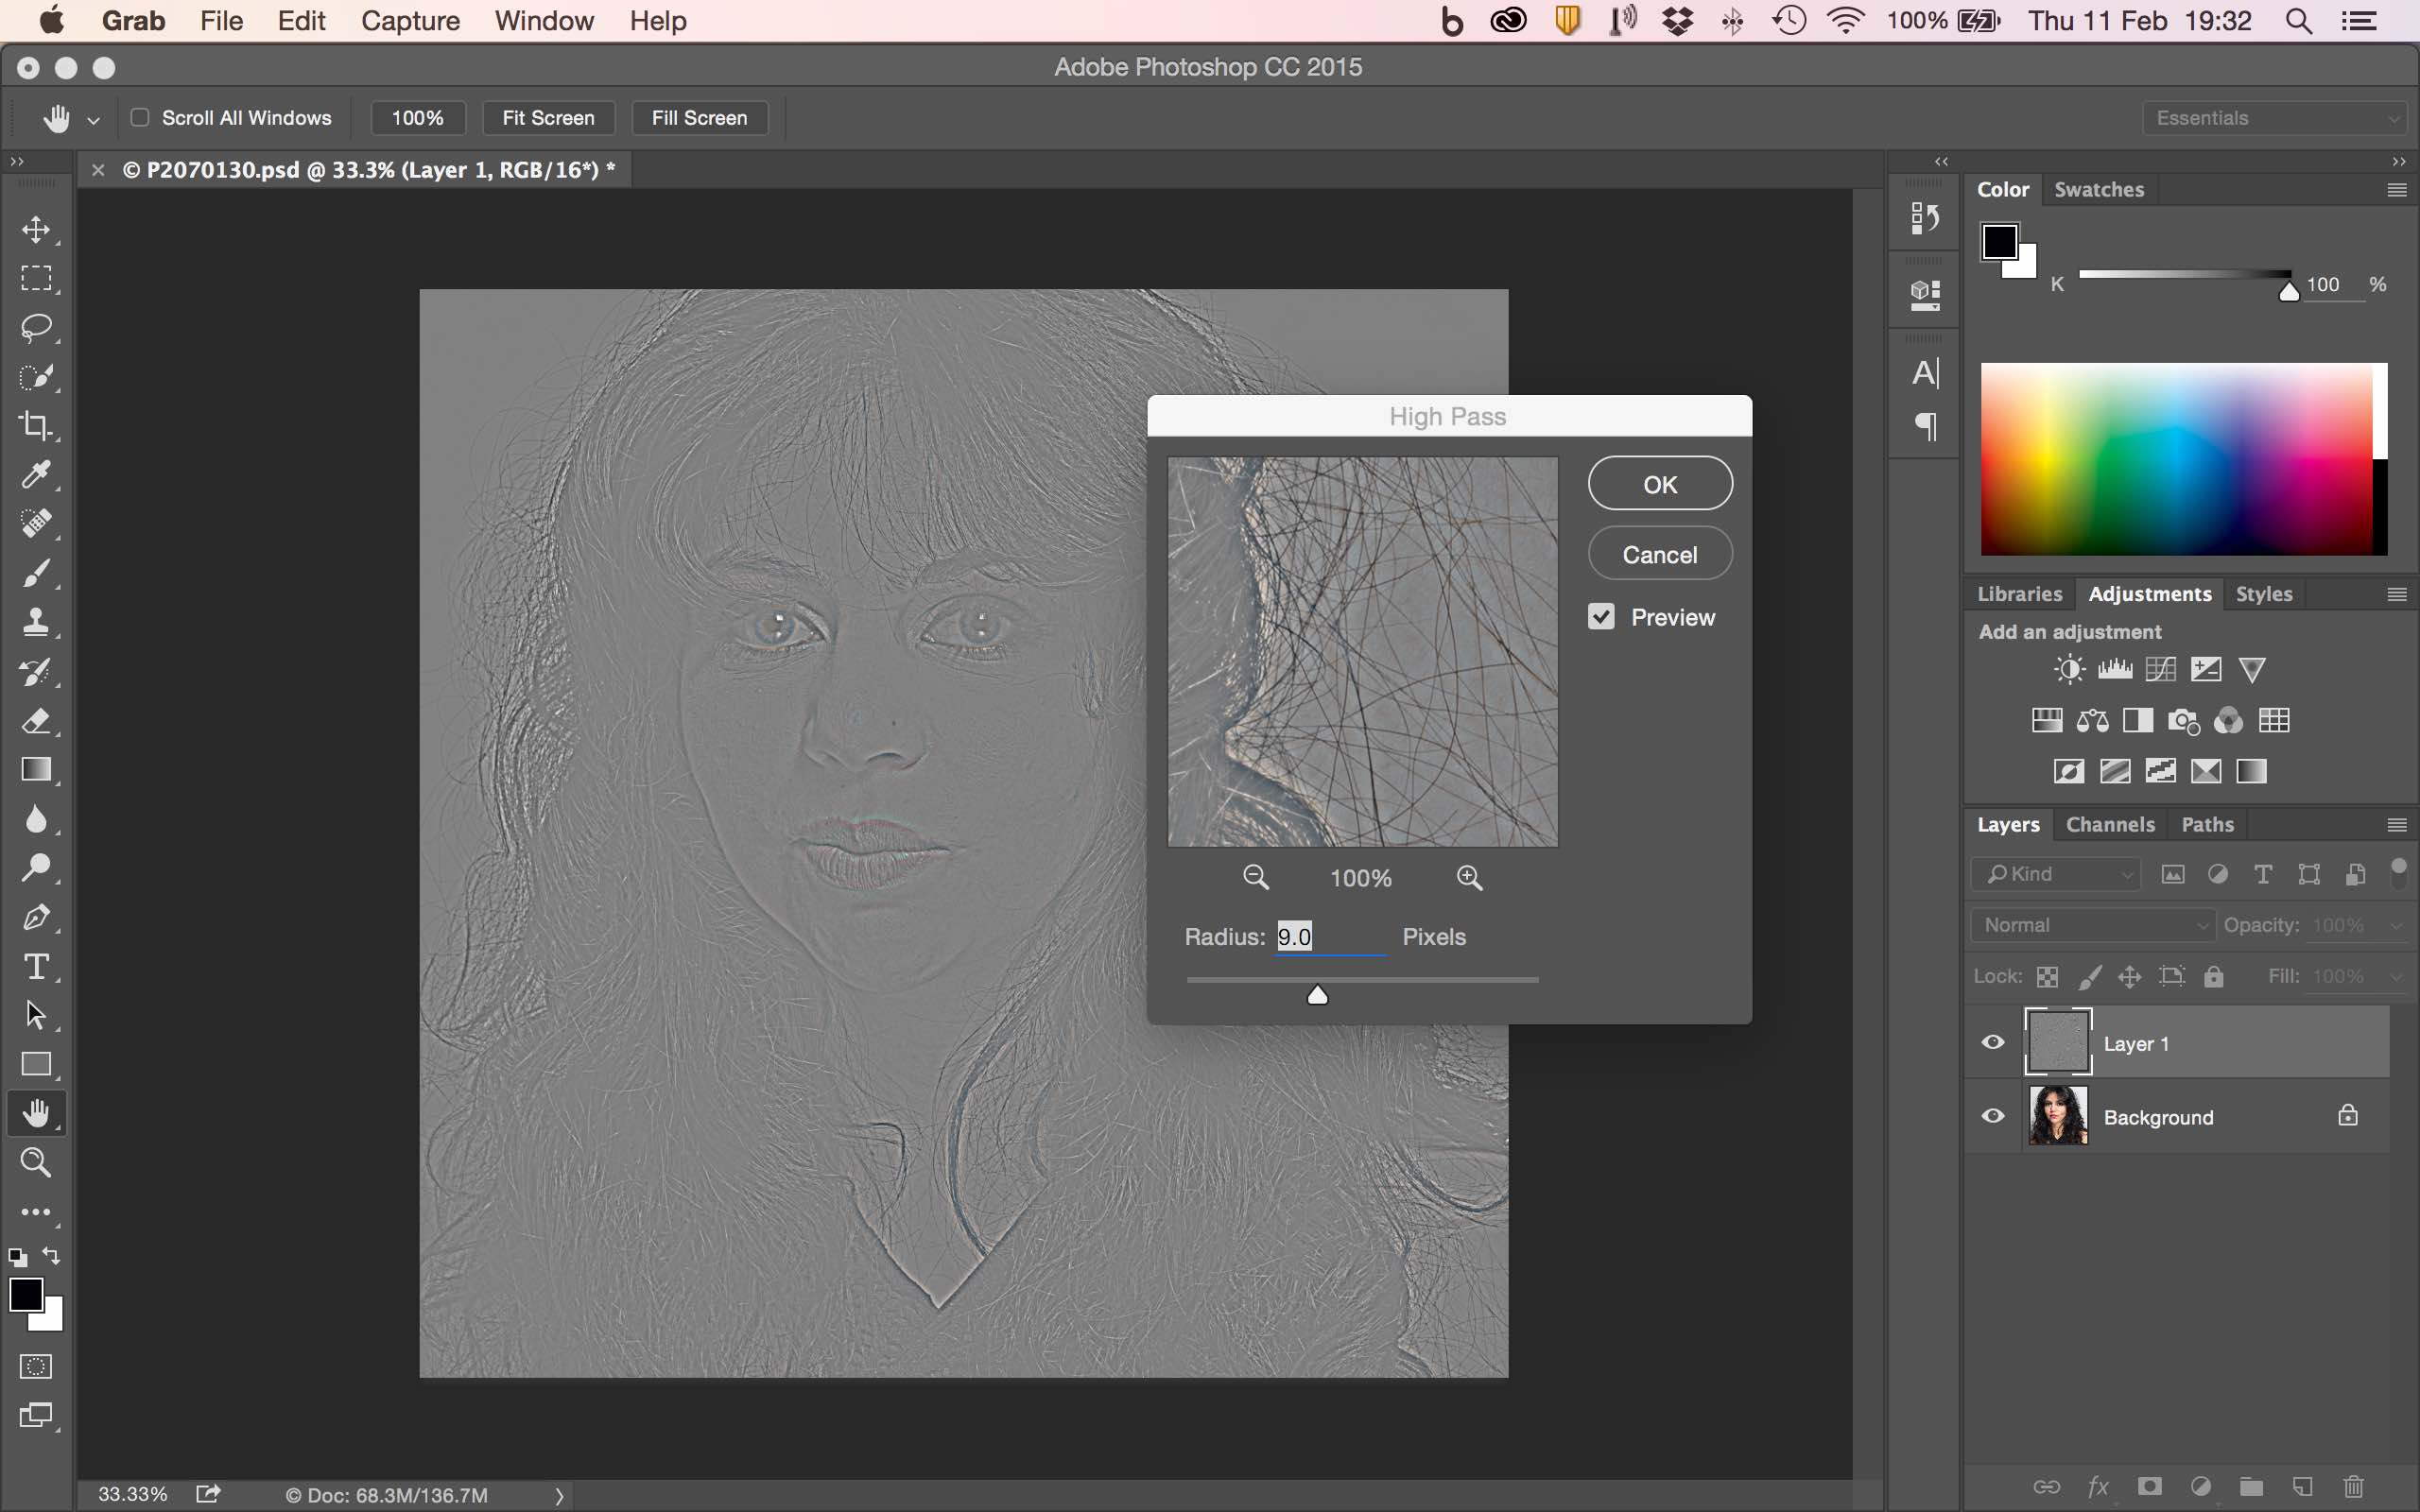
Next we’re going to blur this layer by creating a high pass filter which would normally be used to sharpen an image. However we’re going to invert the layer once the filter is applied so it will have the opposite effect, i.e. will soften the image. Apply a ‘High Pass’ filter by selecting Filter/Other/High Pass… then set ‘Ratio’ to ‘9.0’.
We then use the surface blur filter which blurs an image while preserving edges. This filter is useful for creating special effects and for removing noise or graininess. Apply a Surface Blur filter by selecting Filter/Blur/Surface Blur. Set the ‘Radius’ to ‘3’ and ‘Threshold’ to ’15’.
As stated previously we want the opposite effect of sharpening so making sure ‘Layer 1’ is still selected invert the layer using ‘Cmd I’.
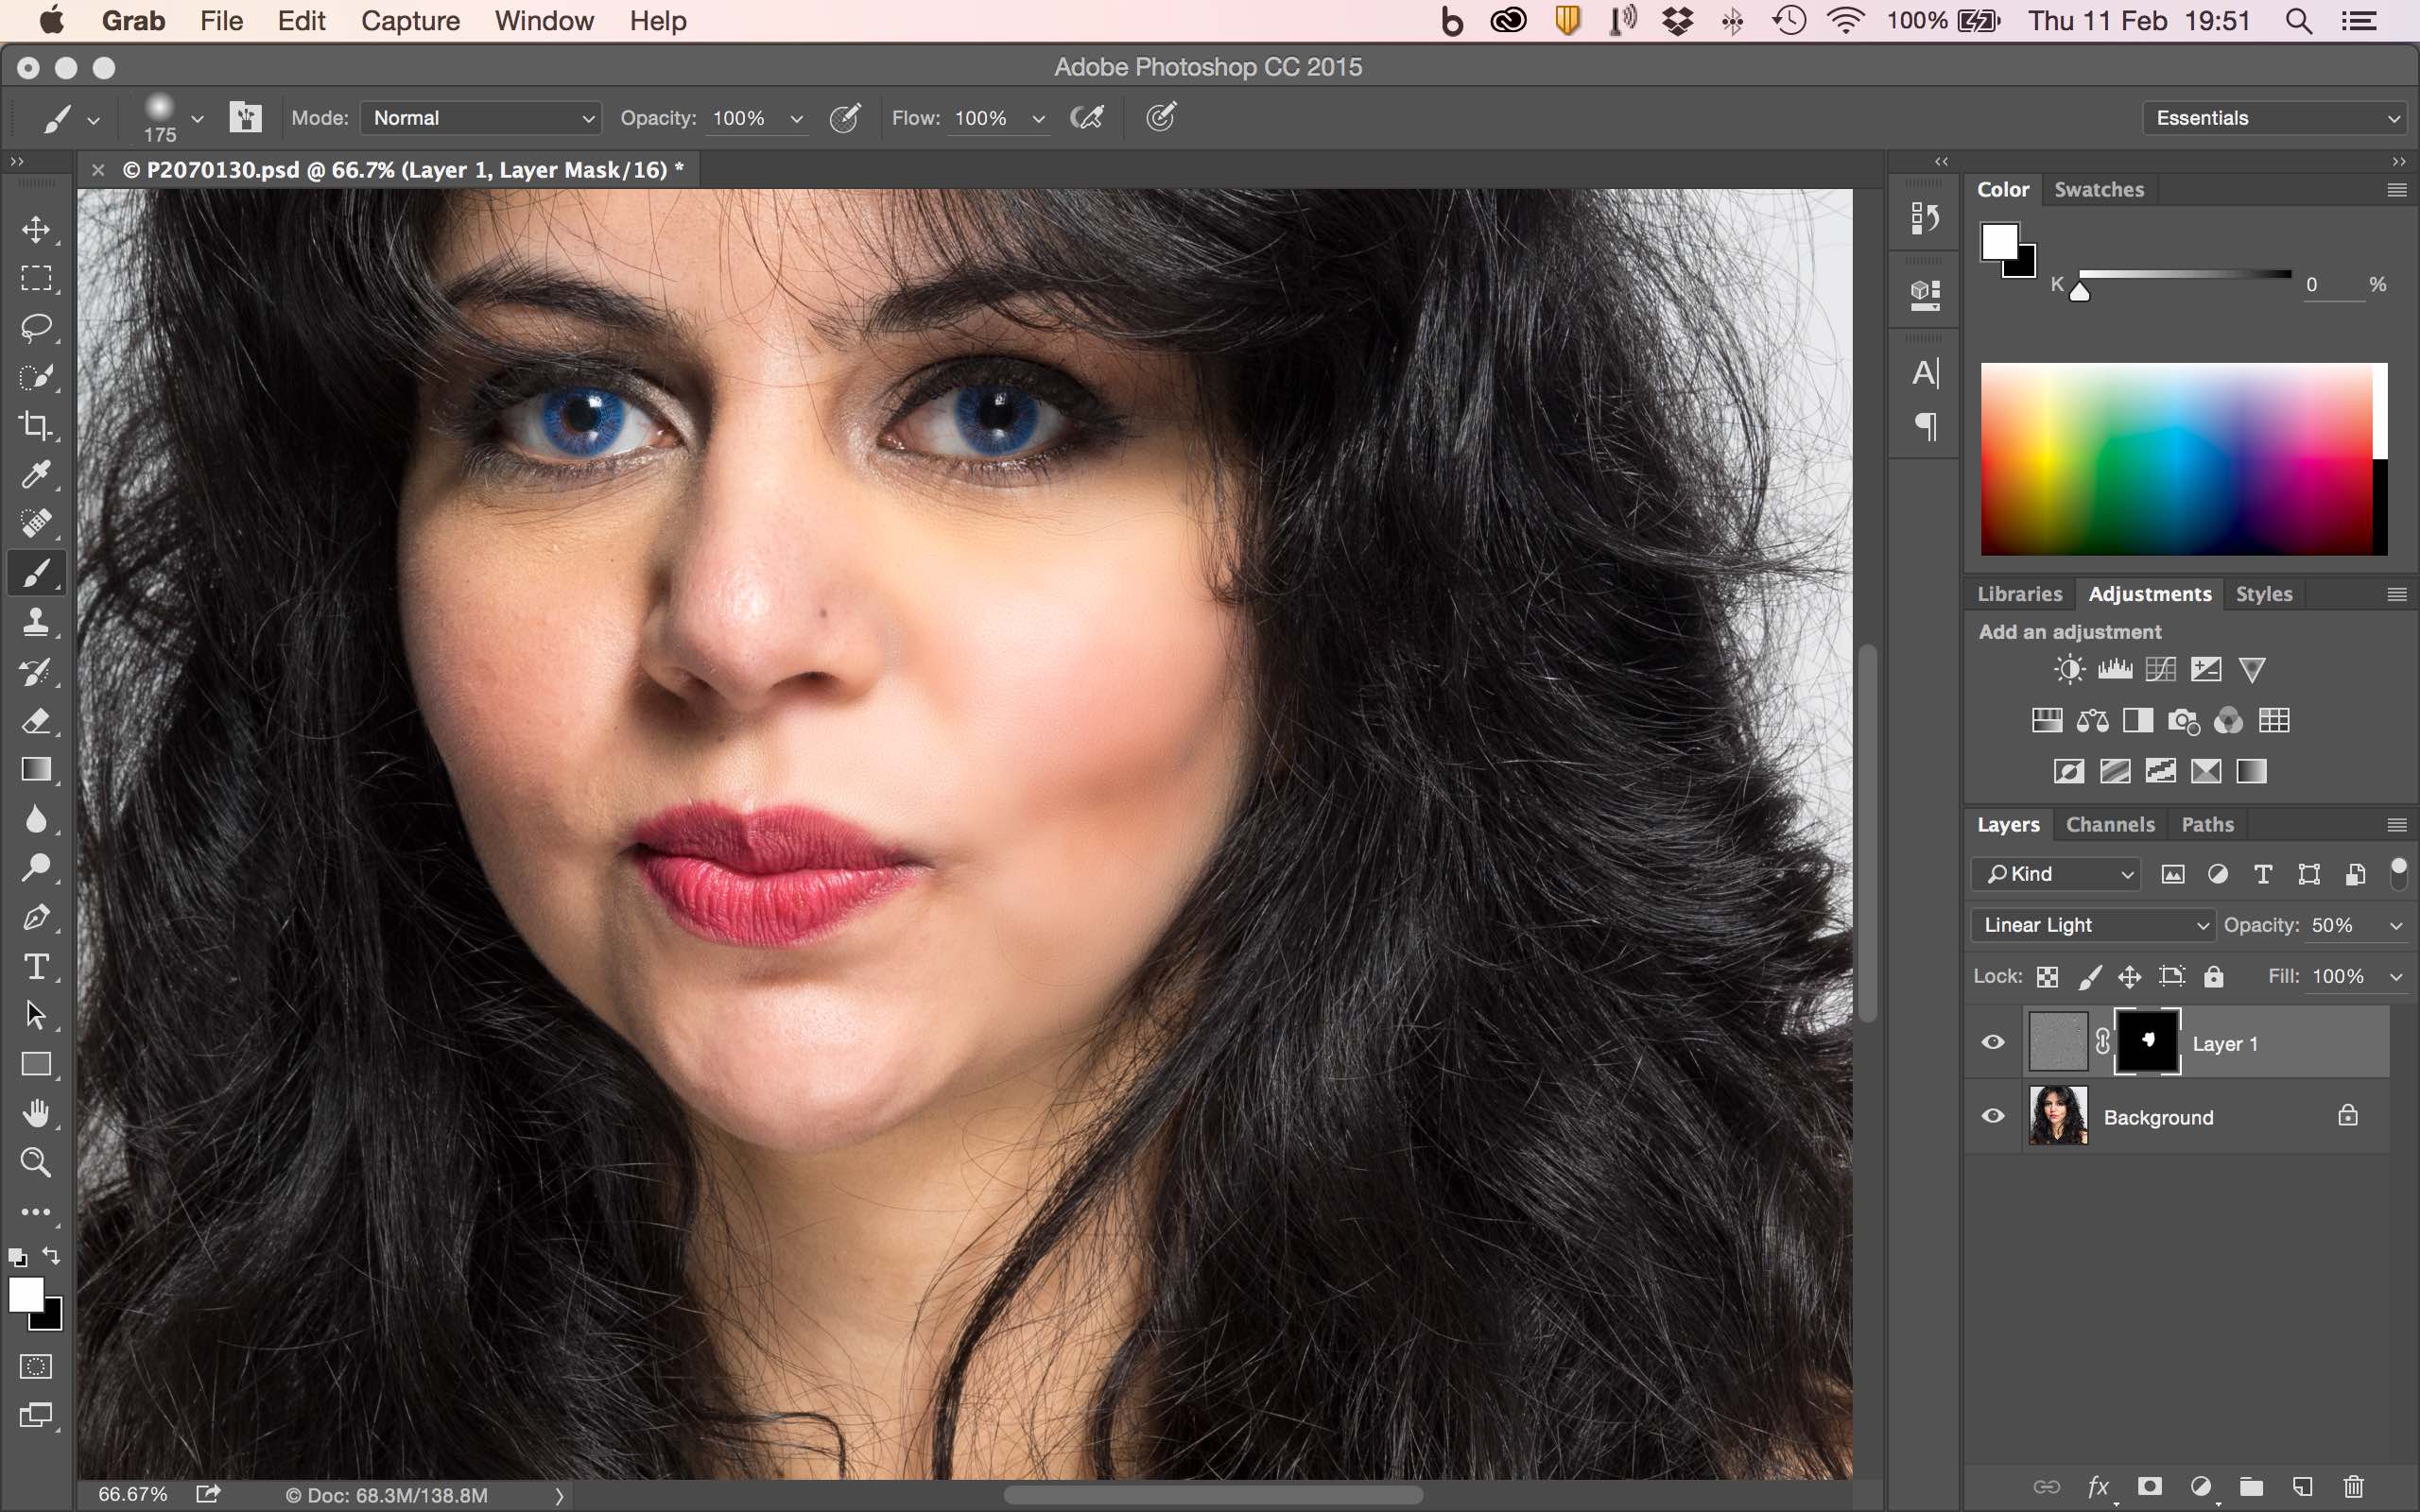
Next change the blending mode to ‘Linear Light’.
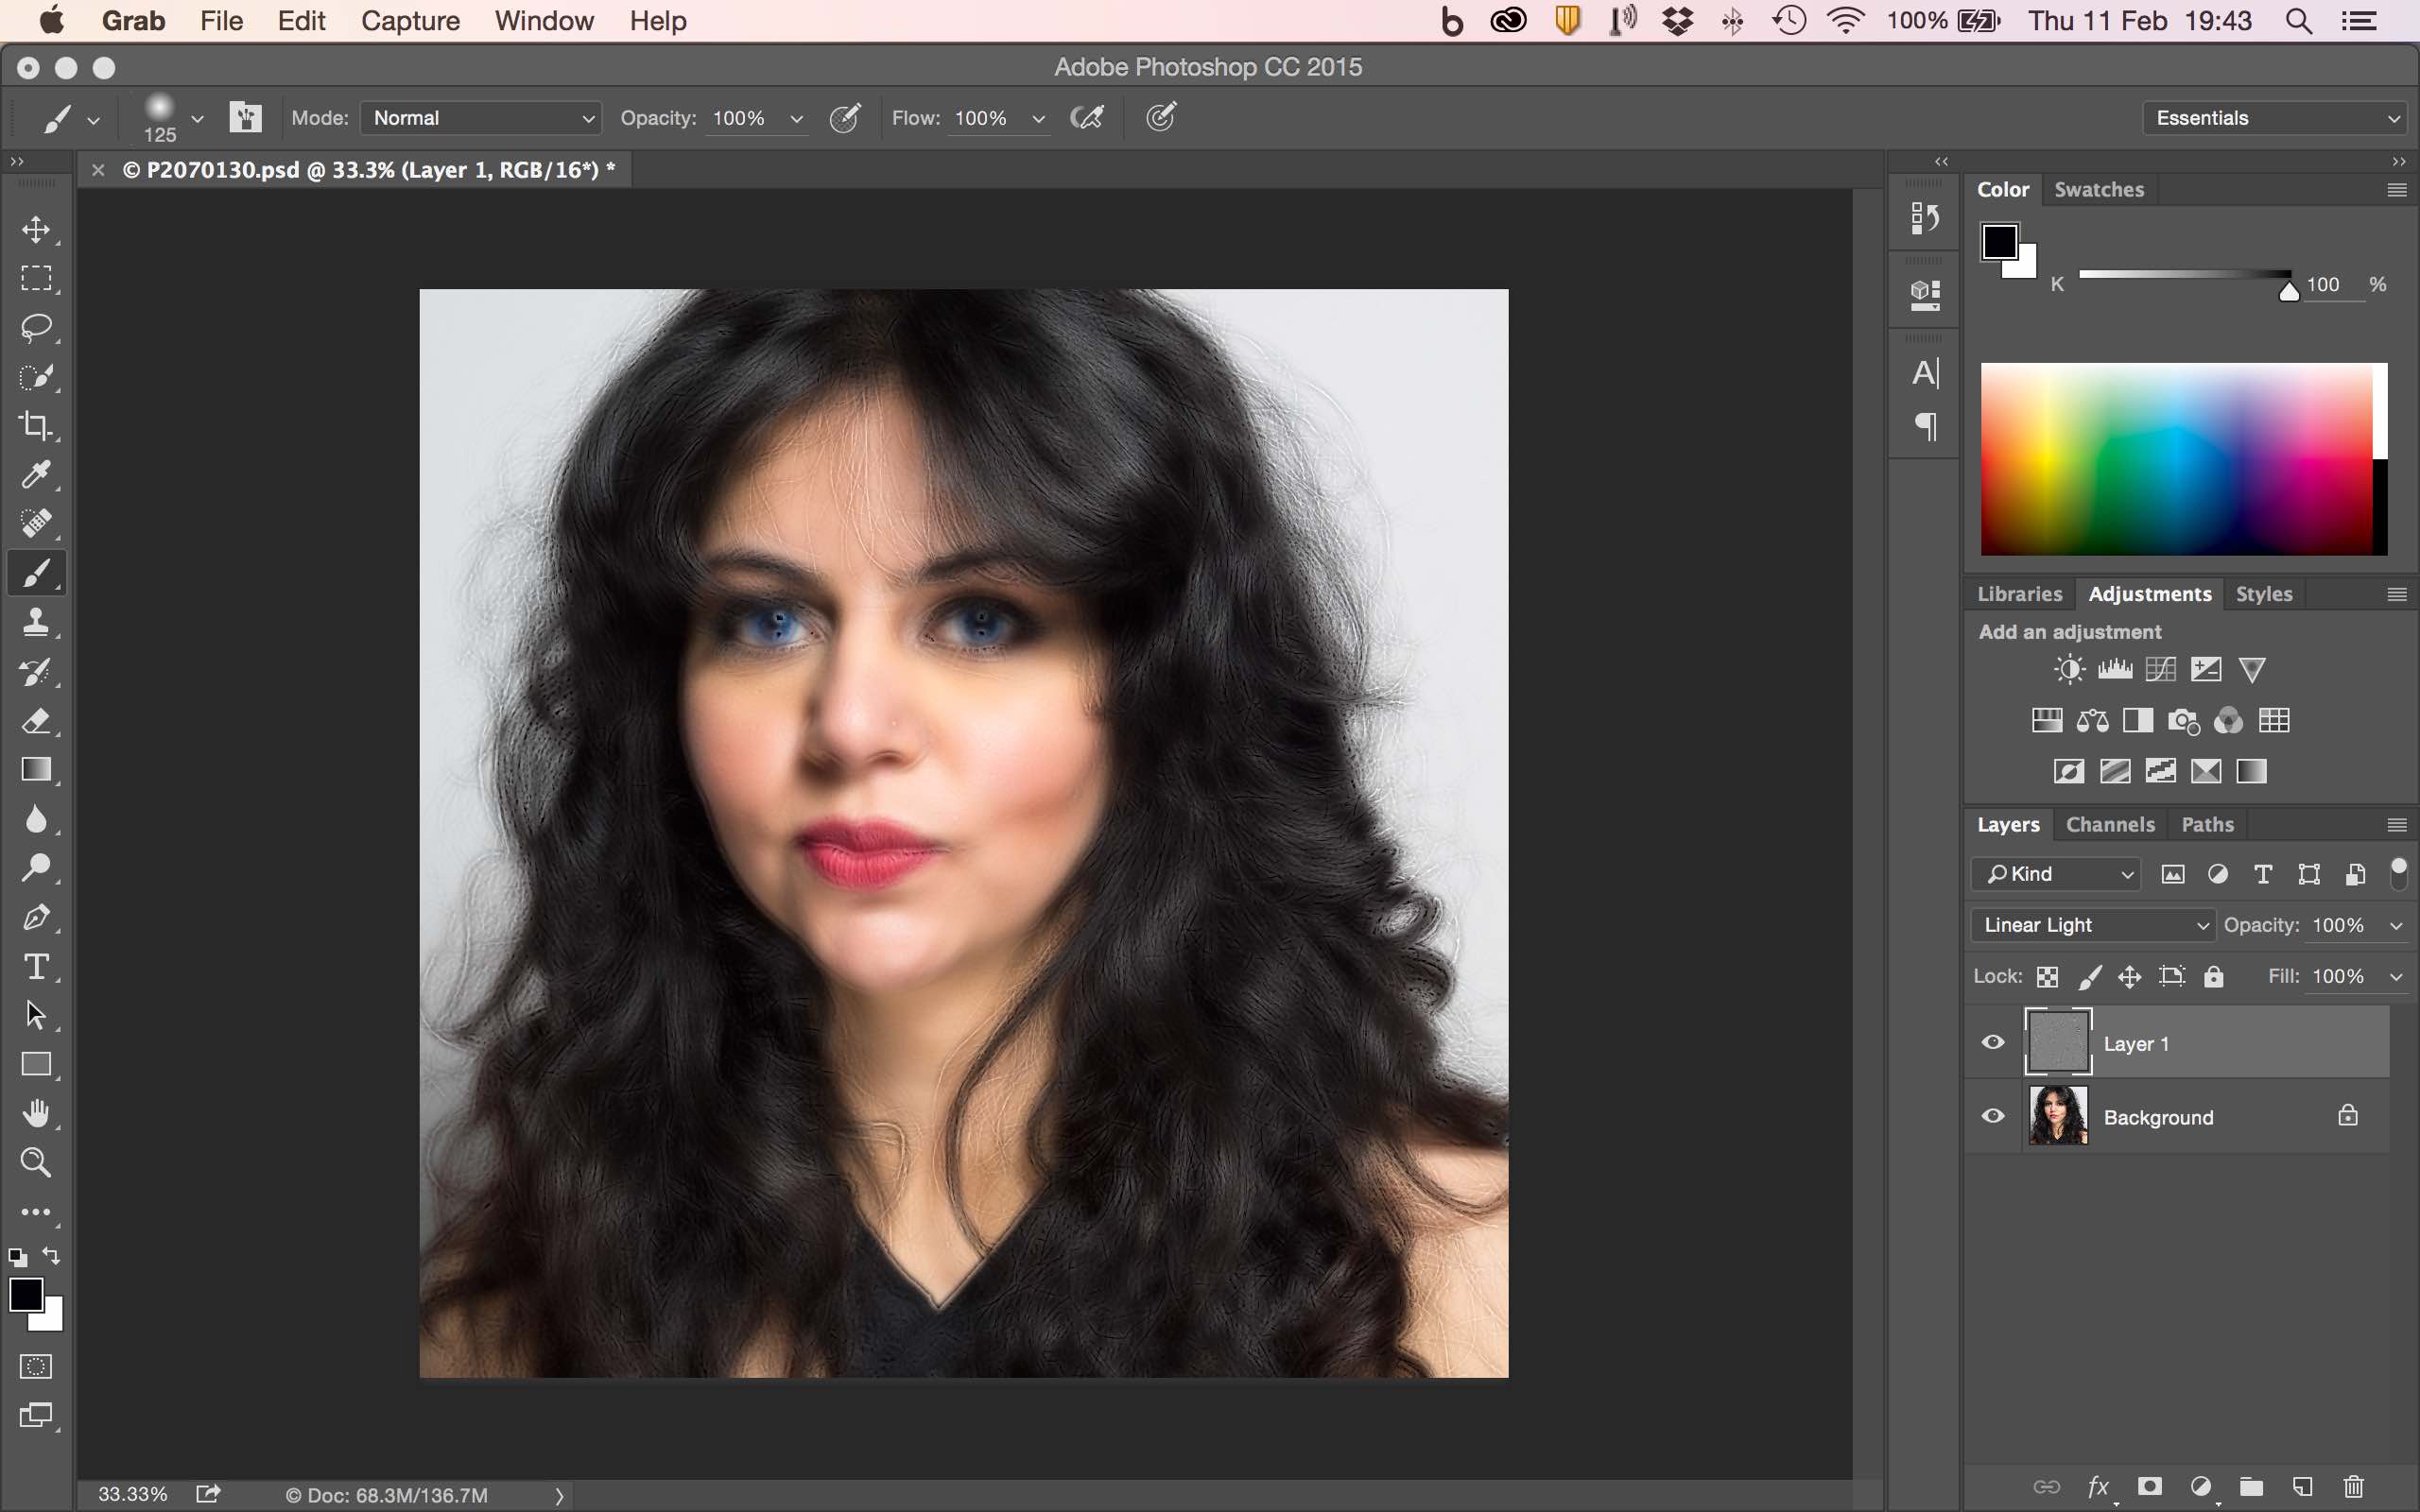
The opacity of the layer then needs to be changed. A layer’s overall opacity determines to what degree it obscures or reveals the layer beneath it. A layer with 1% opacity appears nearly transparent, whereas one with 100% opacity appears completely opaque. This needs a bit of experimenting but start with 50%. It can be adjusted at any stage.
We then add a mask to ‘Layer 1’. If the mask does not default to black invert it with ‘Cmd I’. This has the effect of hiding the layer revealing the original image.
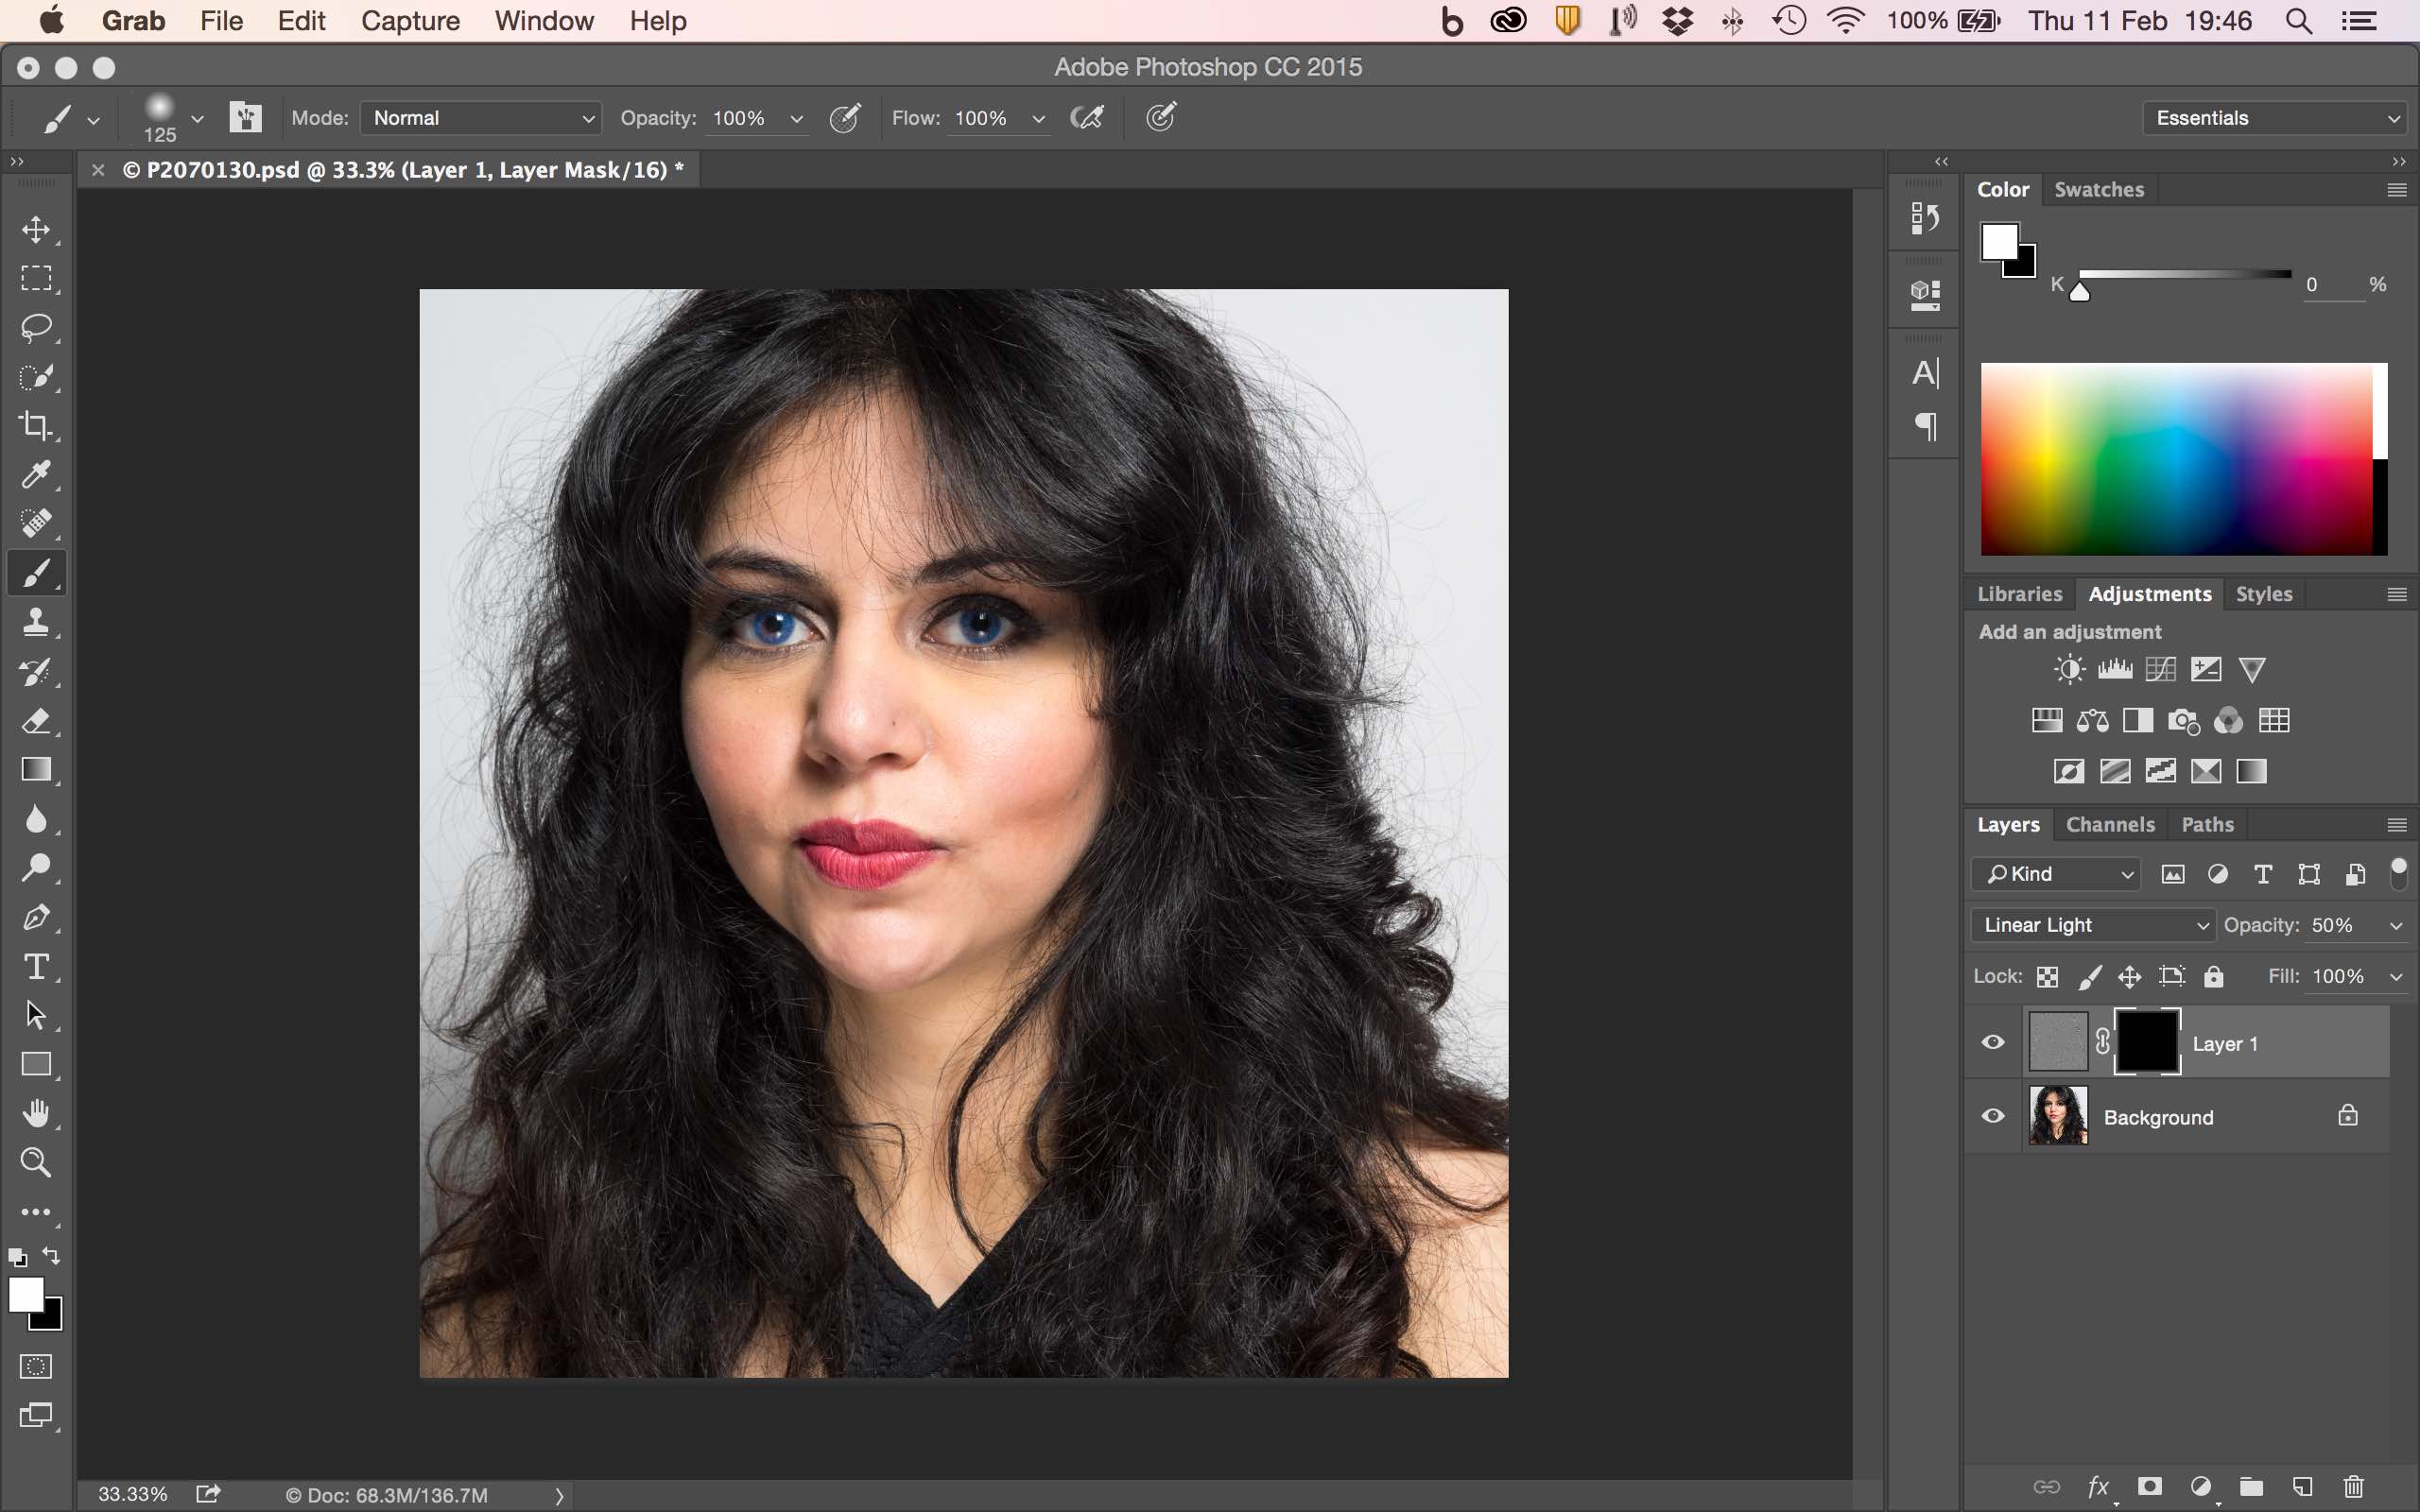
Now for the interesting bit! Making sure you have white selected choose the ‘Brush Tool’ making sure the hardness is 25% or less. Then paint over the parts of the skin you want to blur to reveal the blur layer. Take care not to brush over lines or creases in the skin. Here’s what the image looks like with half of the face ‘smoothed’.
Here’s the final image (I also brightened Shuky’s eyes a little). Remember if you think you’ve overdone the smoothing you can adjust the opacity to reveal more of the original image.


Leave a comment