Here’s a simple technique for getting rid of an annoying background shadow using Photoshop.
This is an image of the Birmingham entrepreneur Joel Blake I am hoping to use for an exhibition I am helping to organise and also submitting some prints to. The exhibition is called Smarter Lives and is part of Capture Birmingham running on 19th and 20th March. My images will be from an ongoing project I am working on called ‘Birmingham’s Entrepreneurs’ where I capture portraits of some of the young (and maybe not so young) people who are working hard to make Birmingham a major digital hub as well as a centre for entrepreneurship, creativity and social enterprises. Some of the people who are on this list in fact.

This is an image from around 15 or so I took of Joel a couple of weeks ago. Whilst I love his pose and smile I hate the nasty shadow I have caused due to the fact I only had one speed light and did not balance exposure properly for the natural light which was coming through a window to the left of Joel.
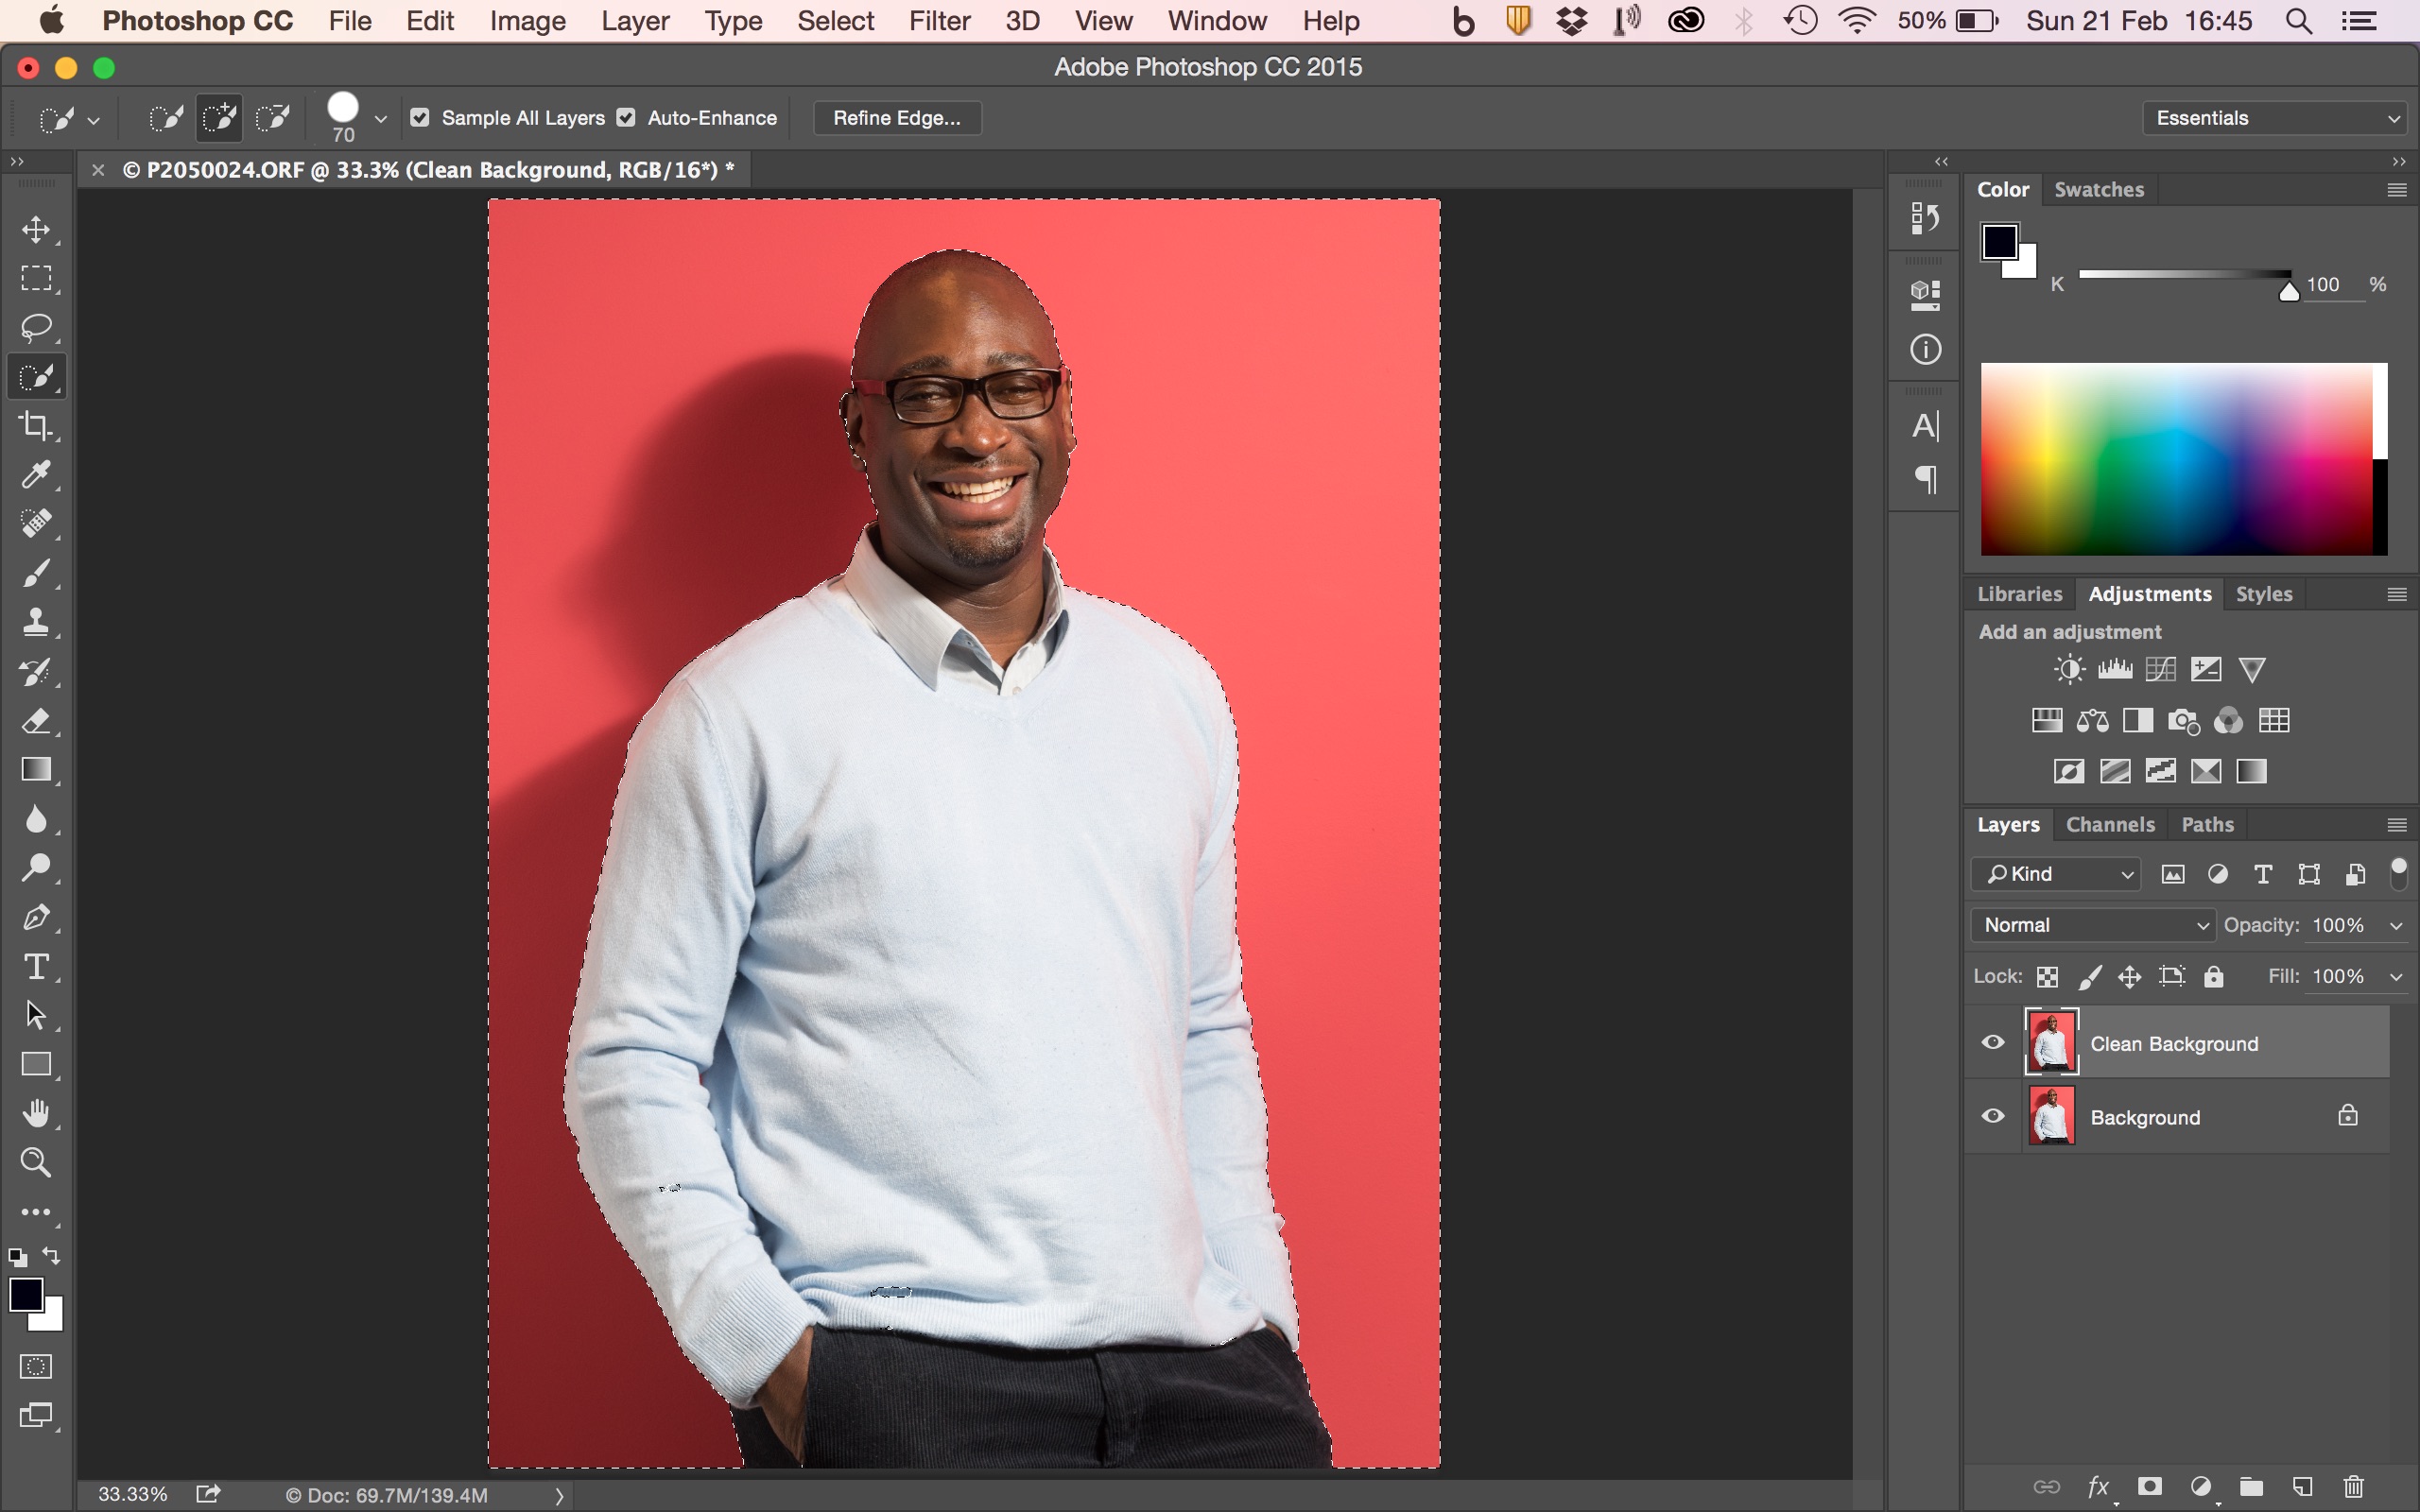
Open up the image in Photoshop and duplicate into a new layer using ‘Cmd J’ I’ve renamed the layer ‘Clean Background’. Next, using the ‘Quick Selection Tool’ (‘W’ on the keyboard) select Joel by moving the brush inside his body area. Because the separation between Joel and the background is quite clean Photoshop does a good job of selecting just him.

As it’s the background we actually want selected invert the selection (Select/Inverse).
The cool thing about selections is that any actions you perform on them only effect the selected area. This means we can paint away on the background without having to take care over spilling over into Joel.
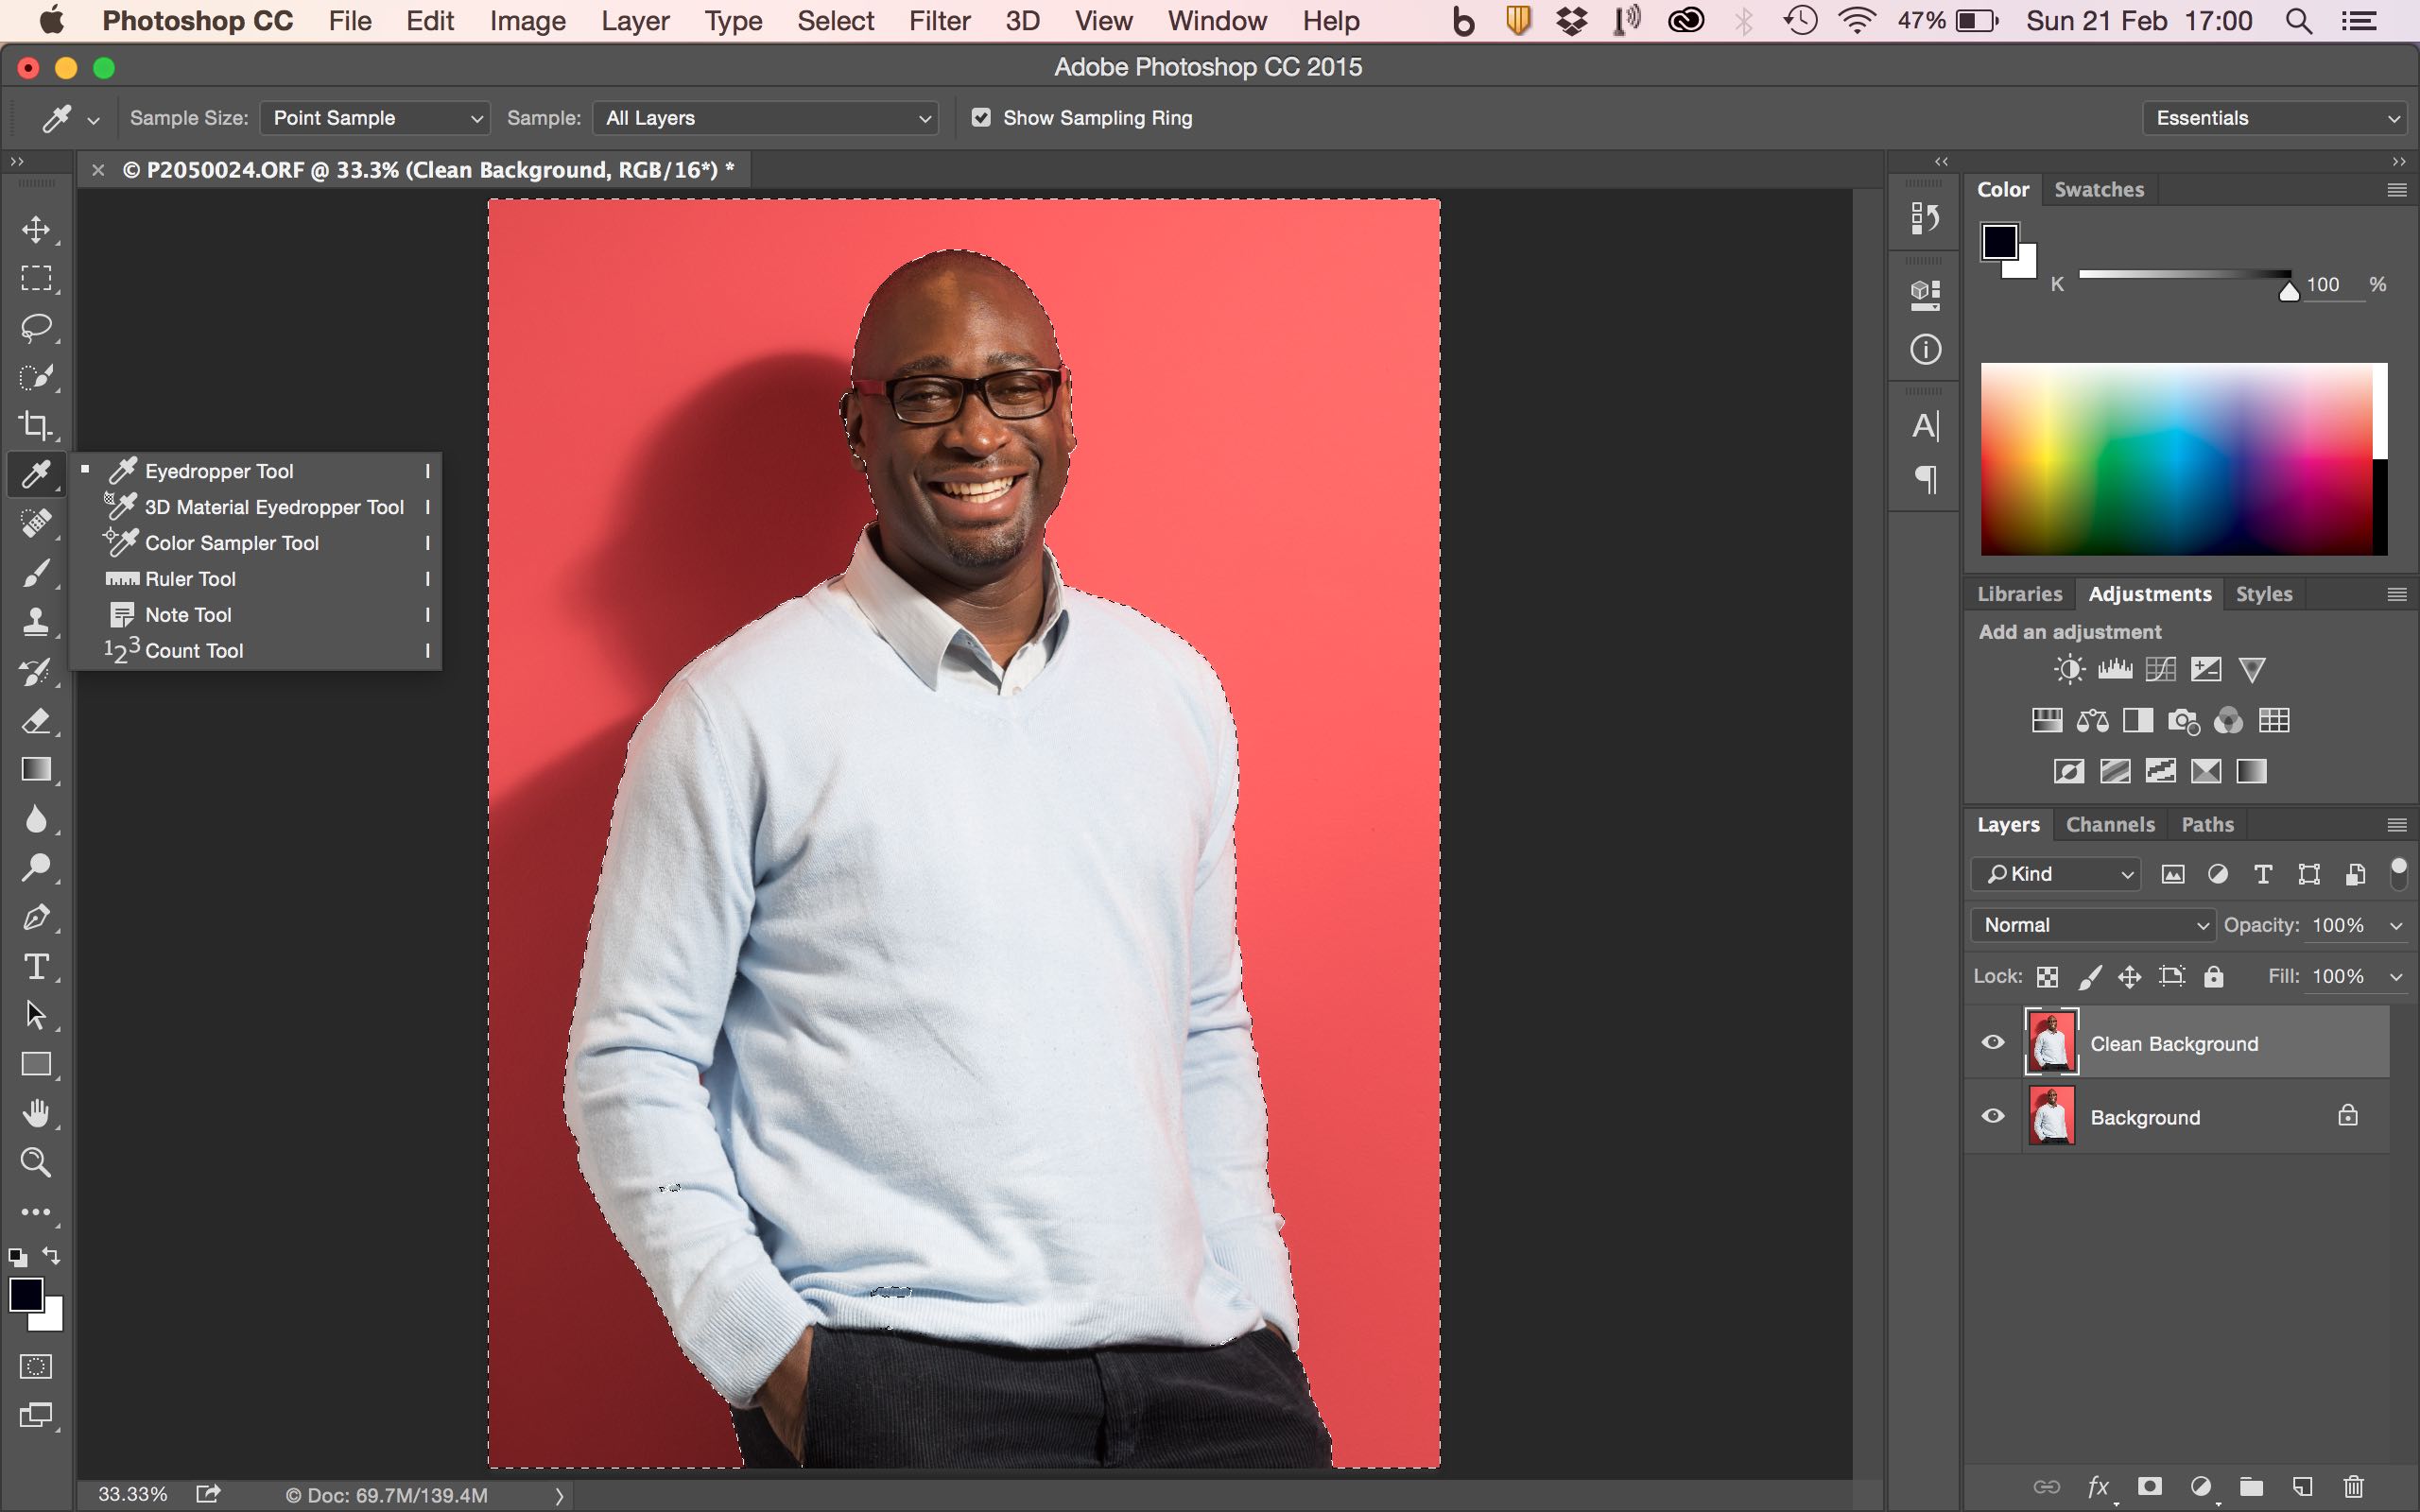
We now want to paint over the shadow on the background using as similar colour as possible. We’ll use the ‘Brush Tool’ for this but first must select the foreground colour to paint with. Using the ‘Eyedropper Tool’ (‘I’ on the keyboard) click on an area of the background you want to use, this will set the foreground colour to that selection. I need as similar colour and brightness as possible to the left of Joel in the image so select something on the left, just outside the shadow area.
Then all we have to do is select the ‘Brush Tool’ (‘B’ on the keyboard) and brush over the background…
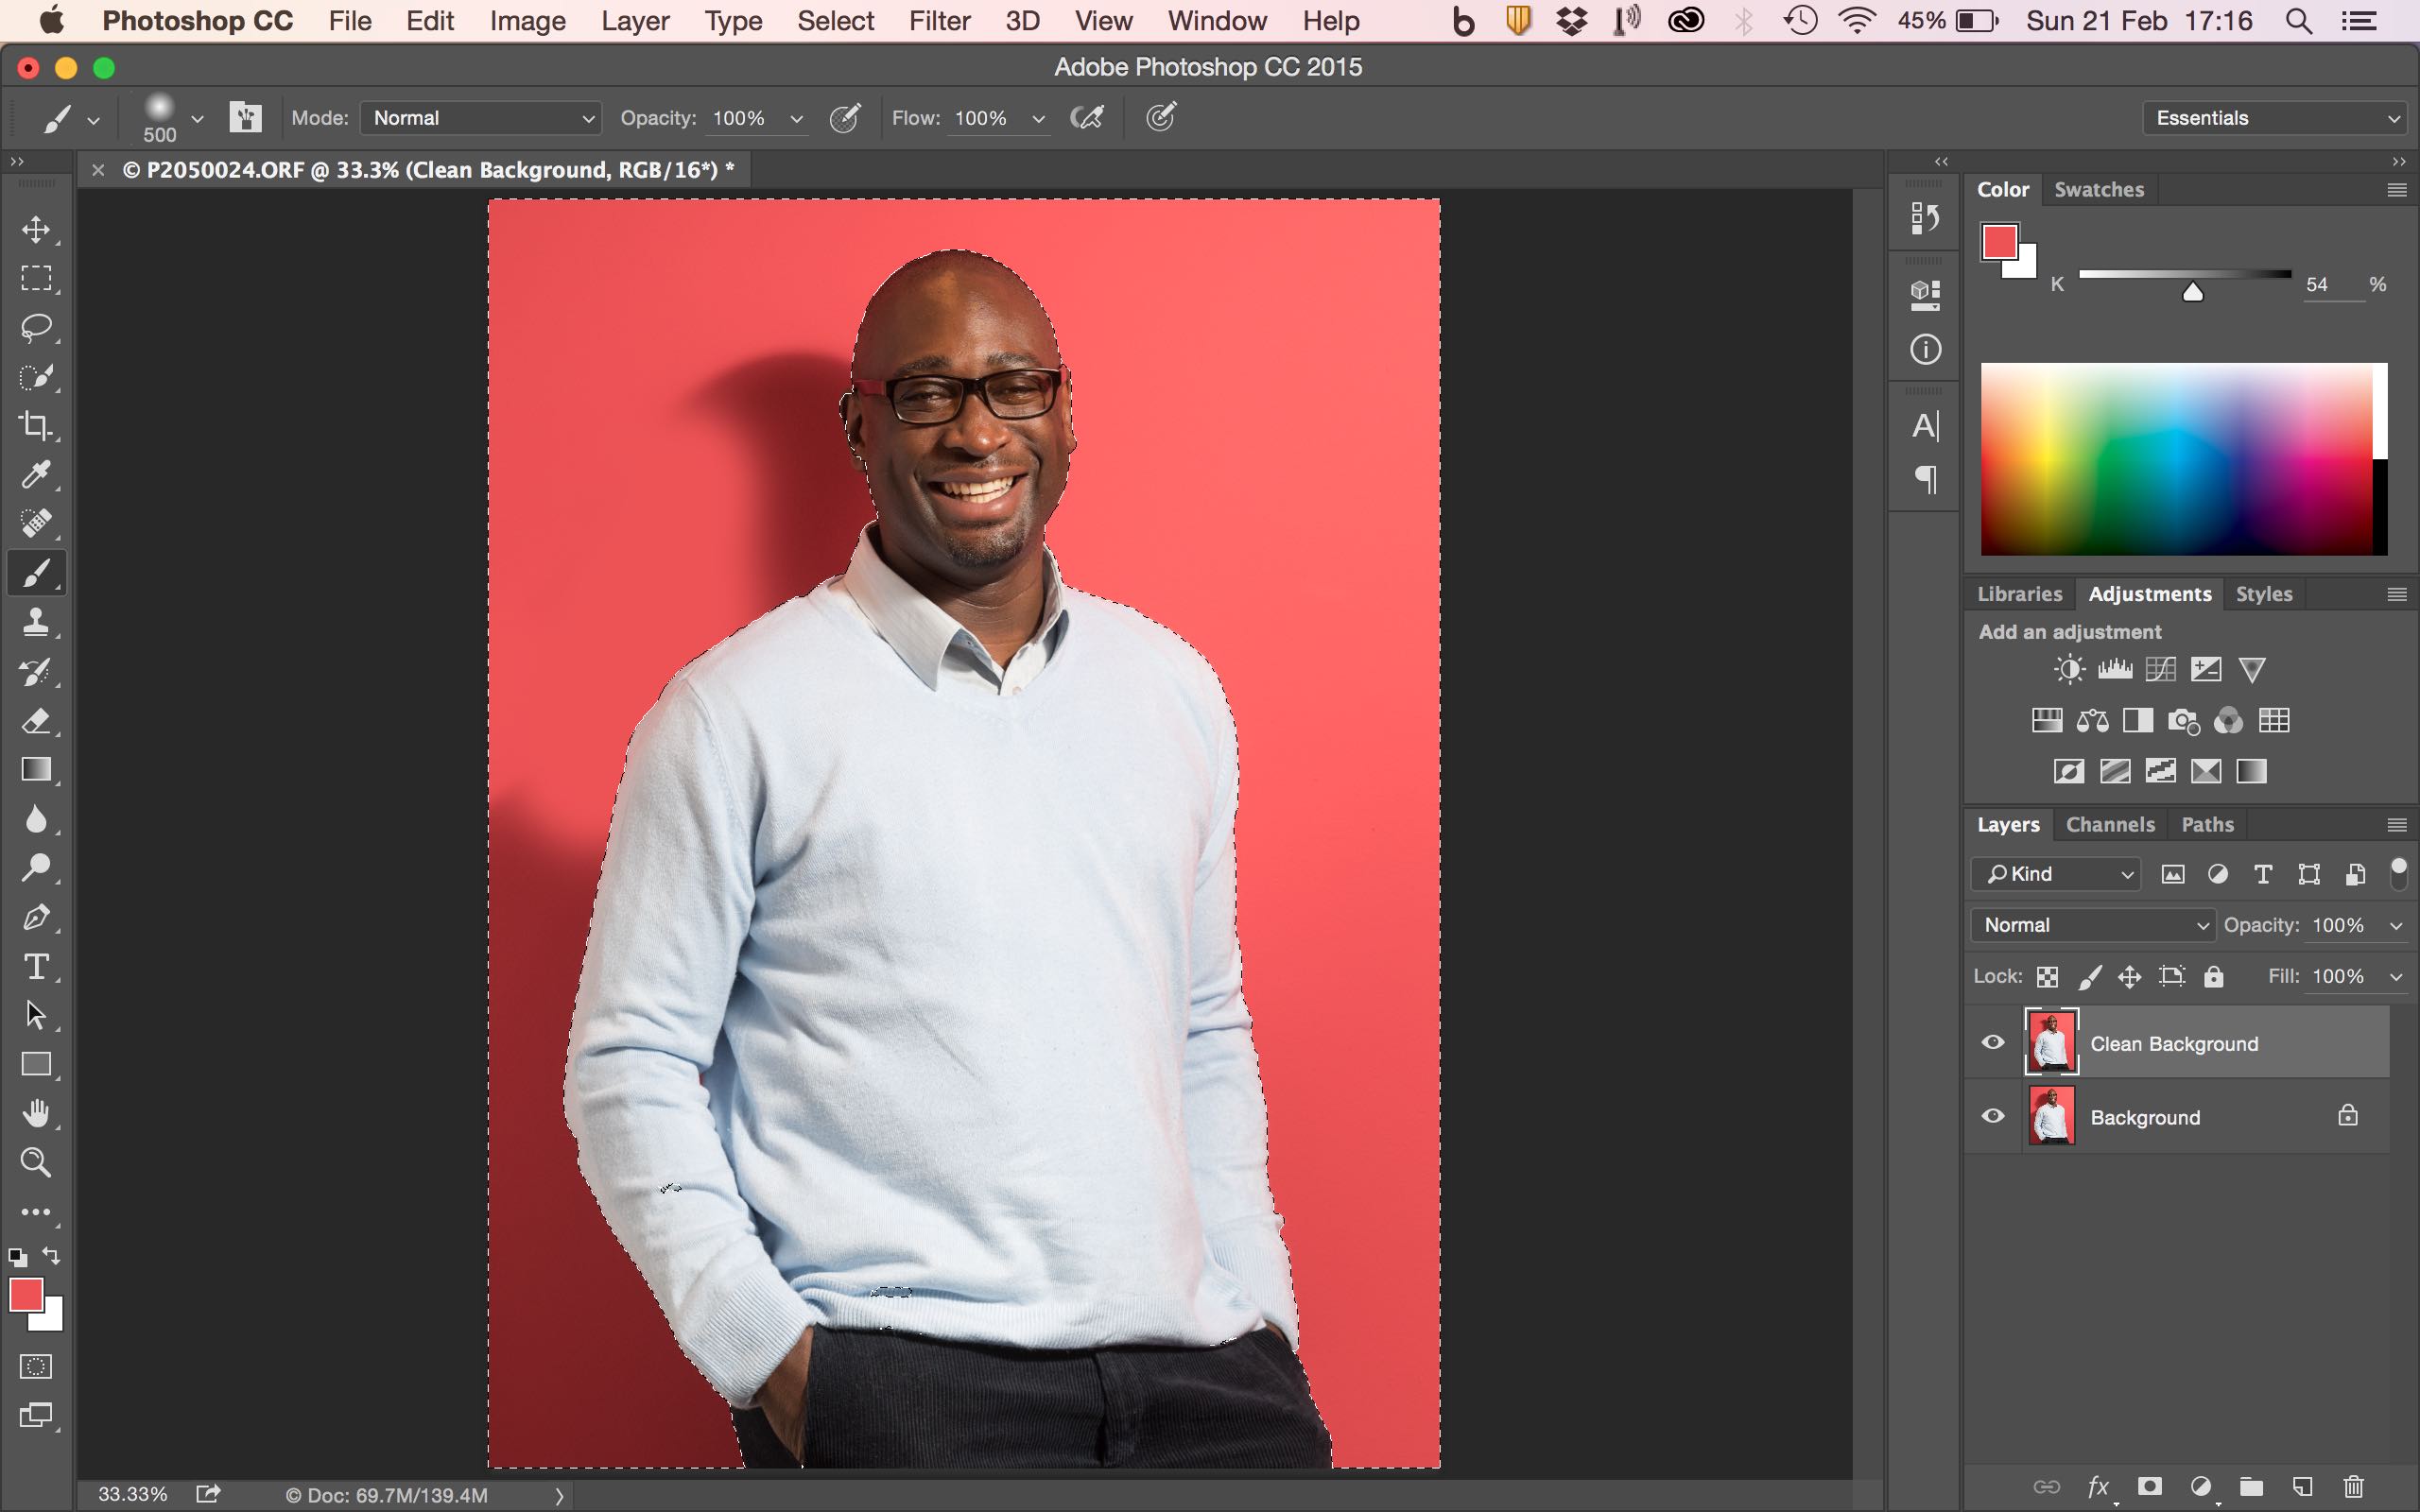
…until the shadow is removed. Because only the background is selected there is no danger of painting over Joel.
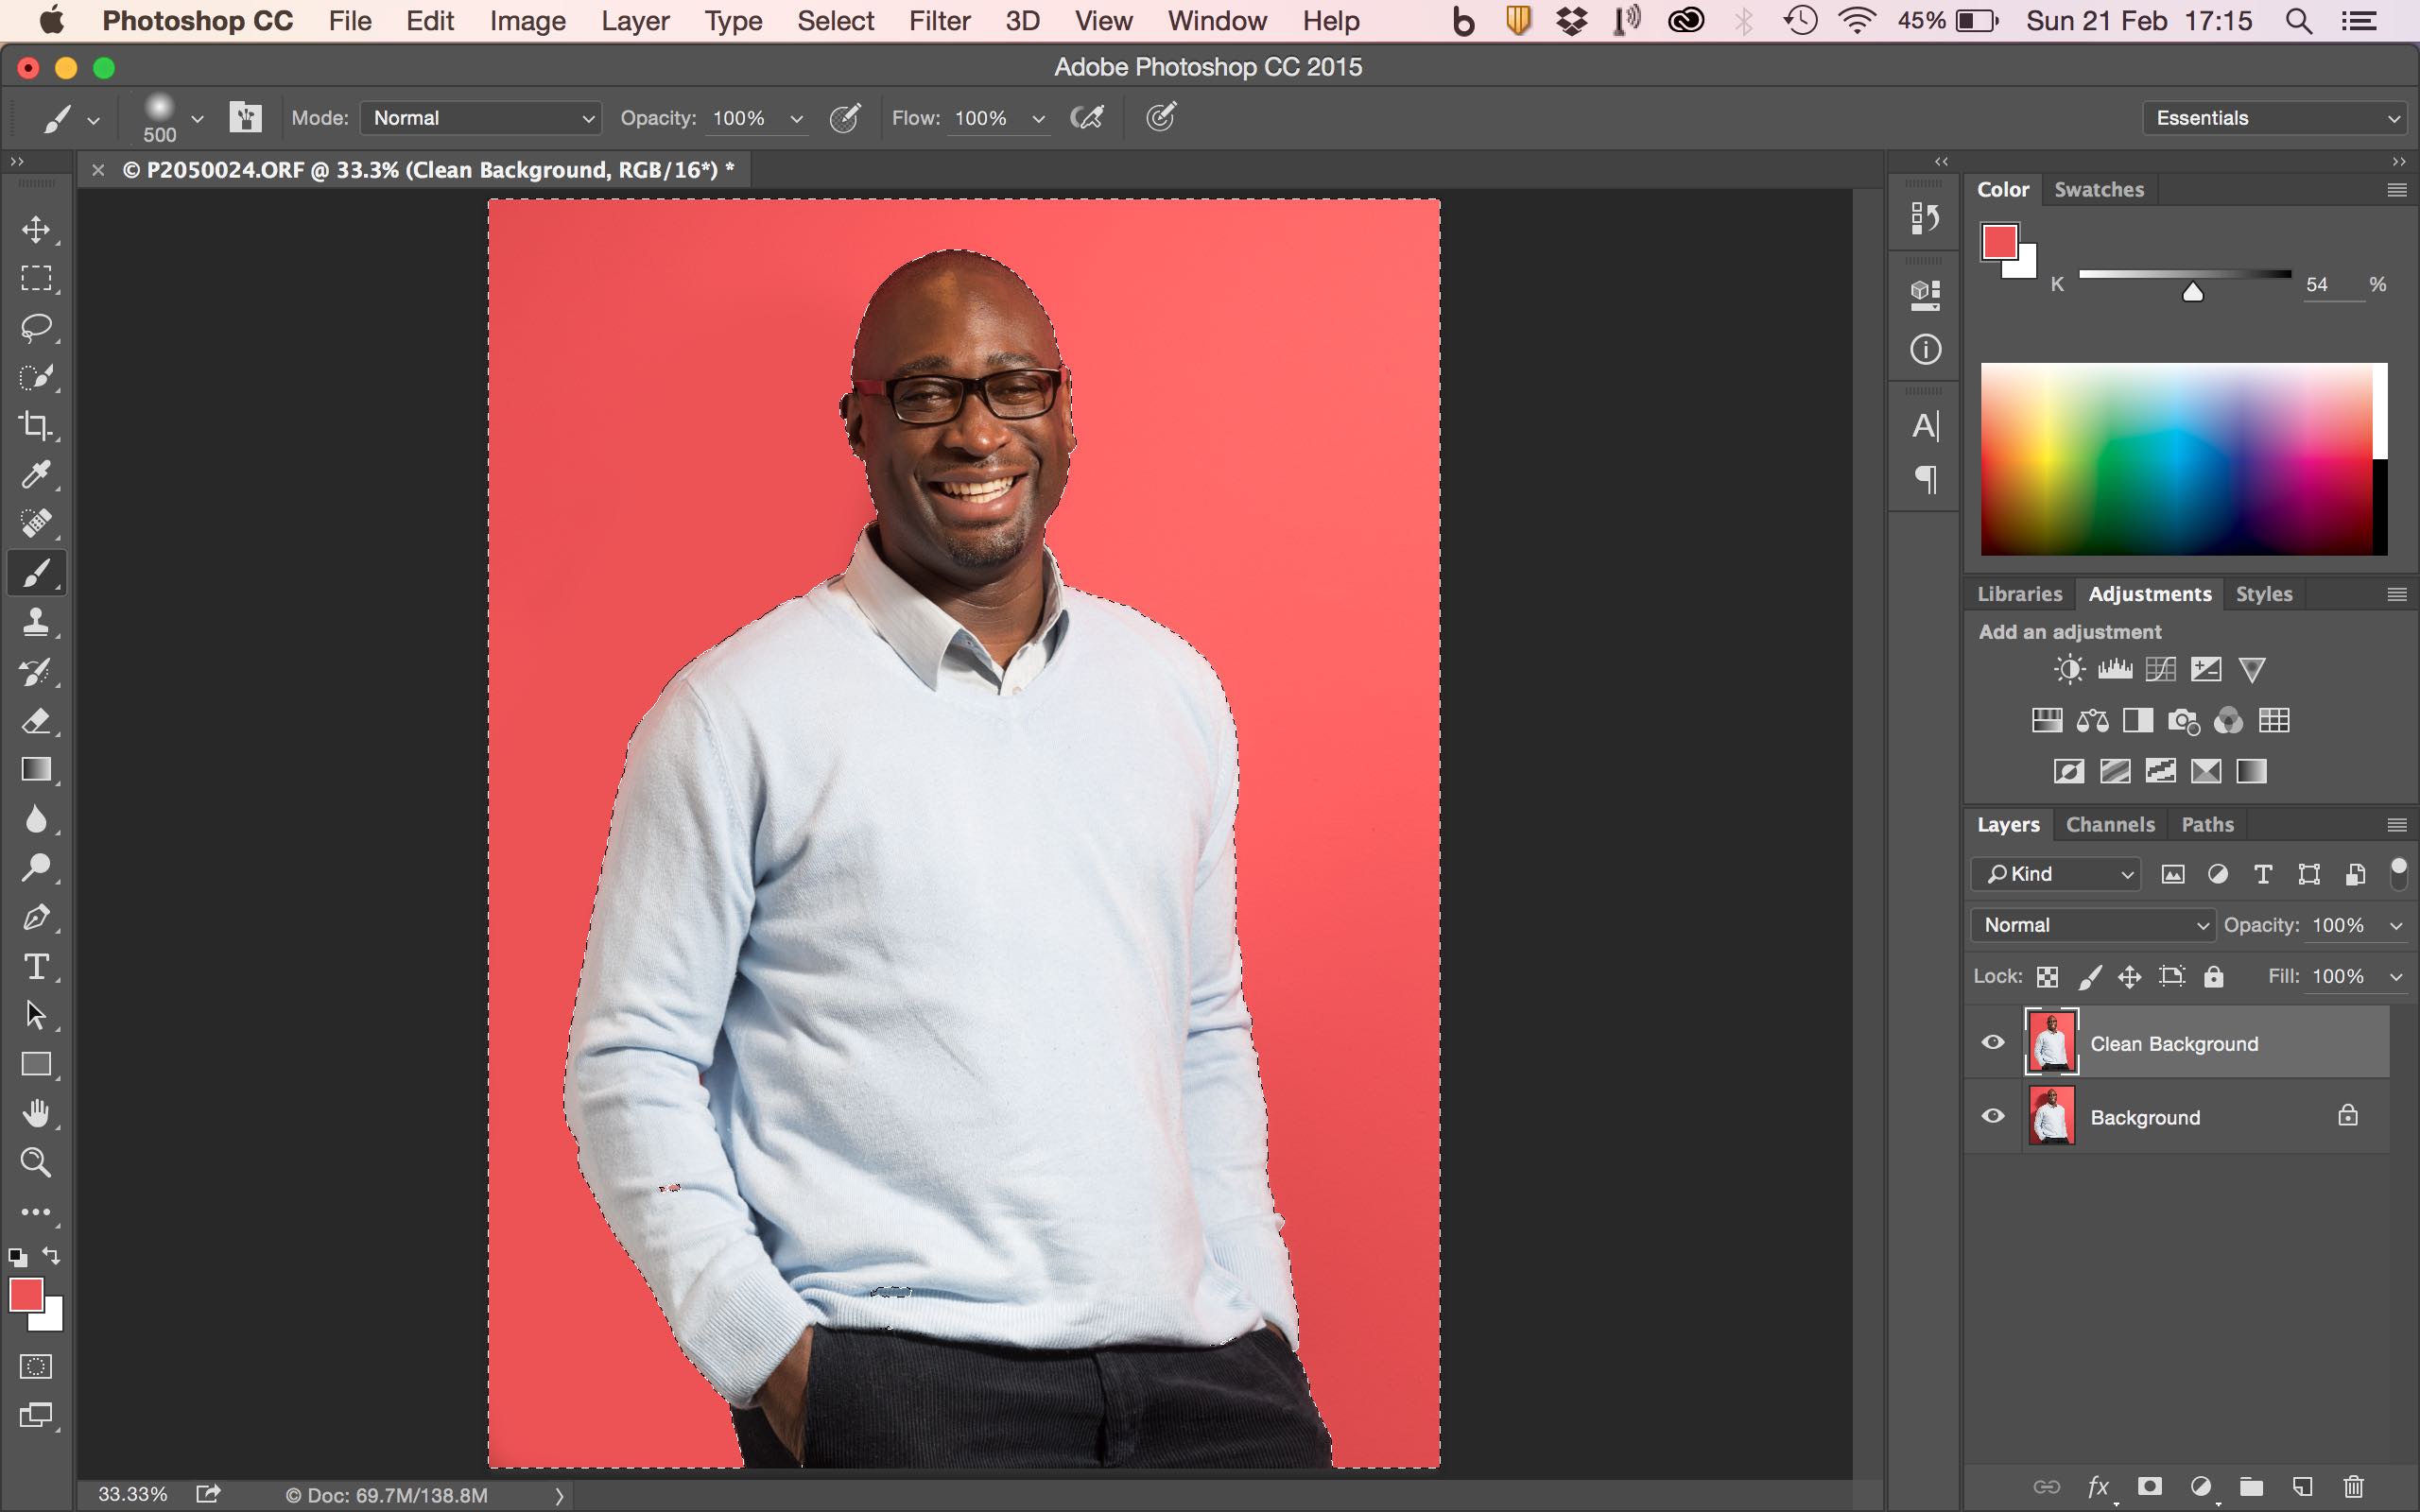
Finally flatten the layers (Layer/Flatten Image) and save the image. Here’s the final result.

This technique can, of course, be used to completely change the background colour or, as I’ll show in a future post, place the figure in front of a completely different background.


Leave a comment