One of the major things to get right when making a portrait of a person is the eyes. Tradition has it that it is the eyes you should focus on primarily and getting these sharp and in focus is most important of all. The classic case in point is the famous ‘Afghan Girl‘ image created by Steve McCurry and first published on the cover of National Geographic magazine in 1985. It is the eyes of the girl in this image that really do reach out to you.
So what to do when you have a perfectly acceptable portrait but the persons eyes, for whatever reason, are not quite as bright and ‘punchy’ as they could be? Here’s a simple way to deal with that in Photoshop.
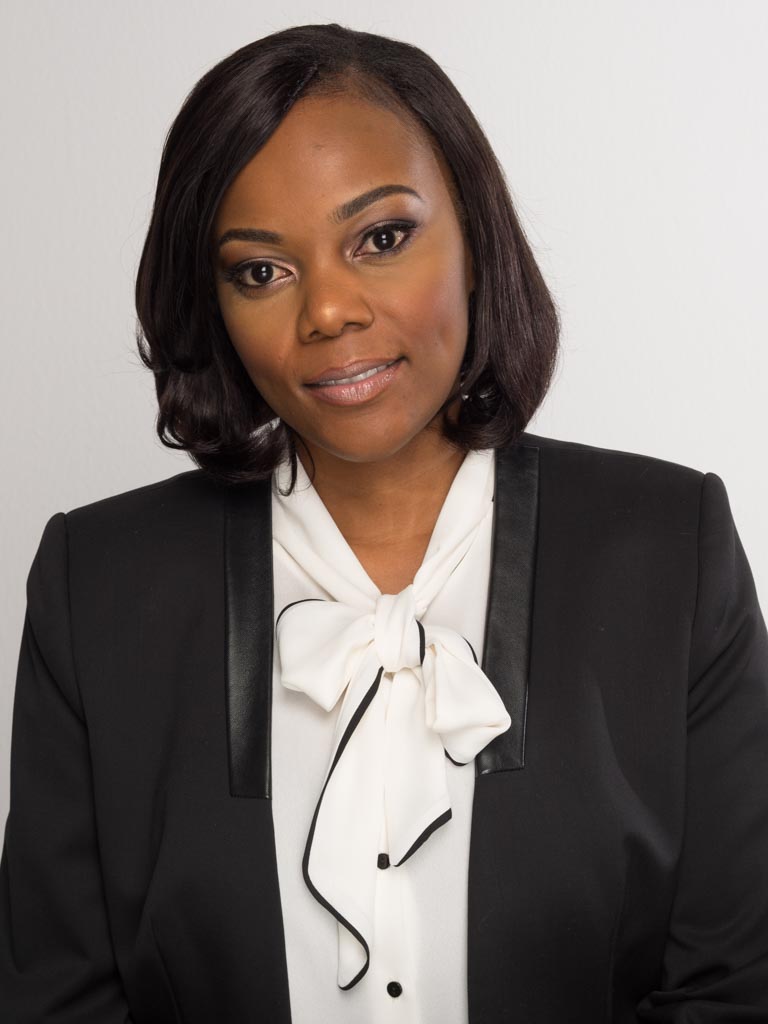
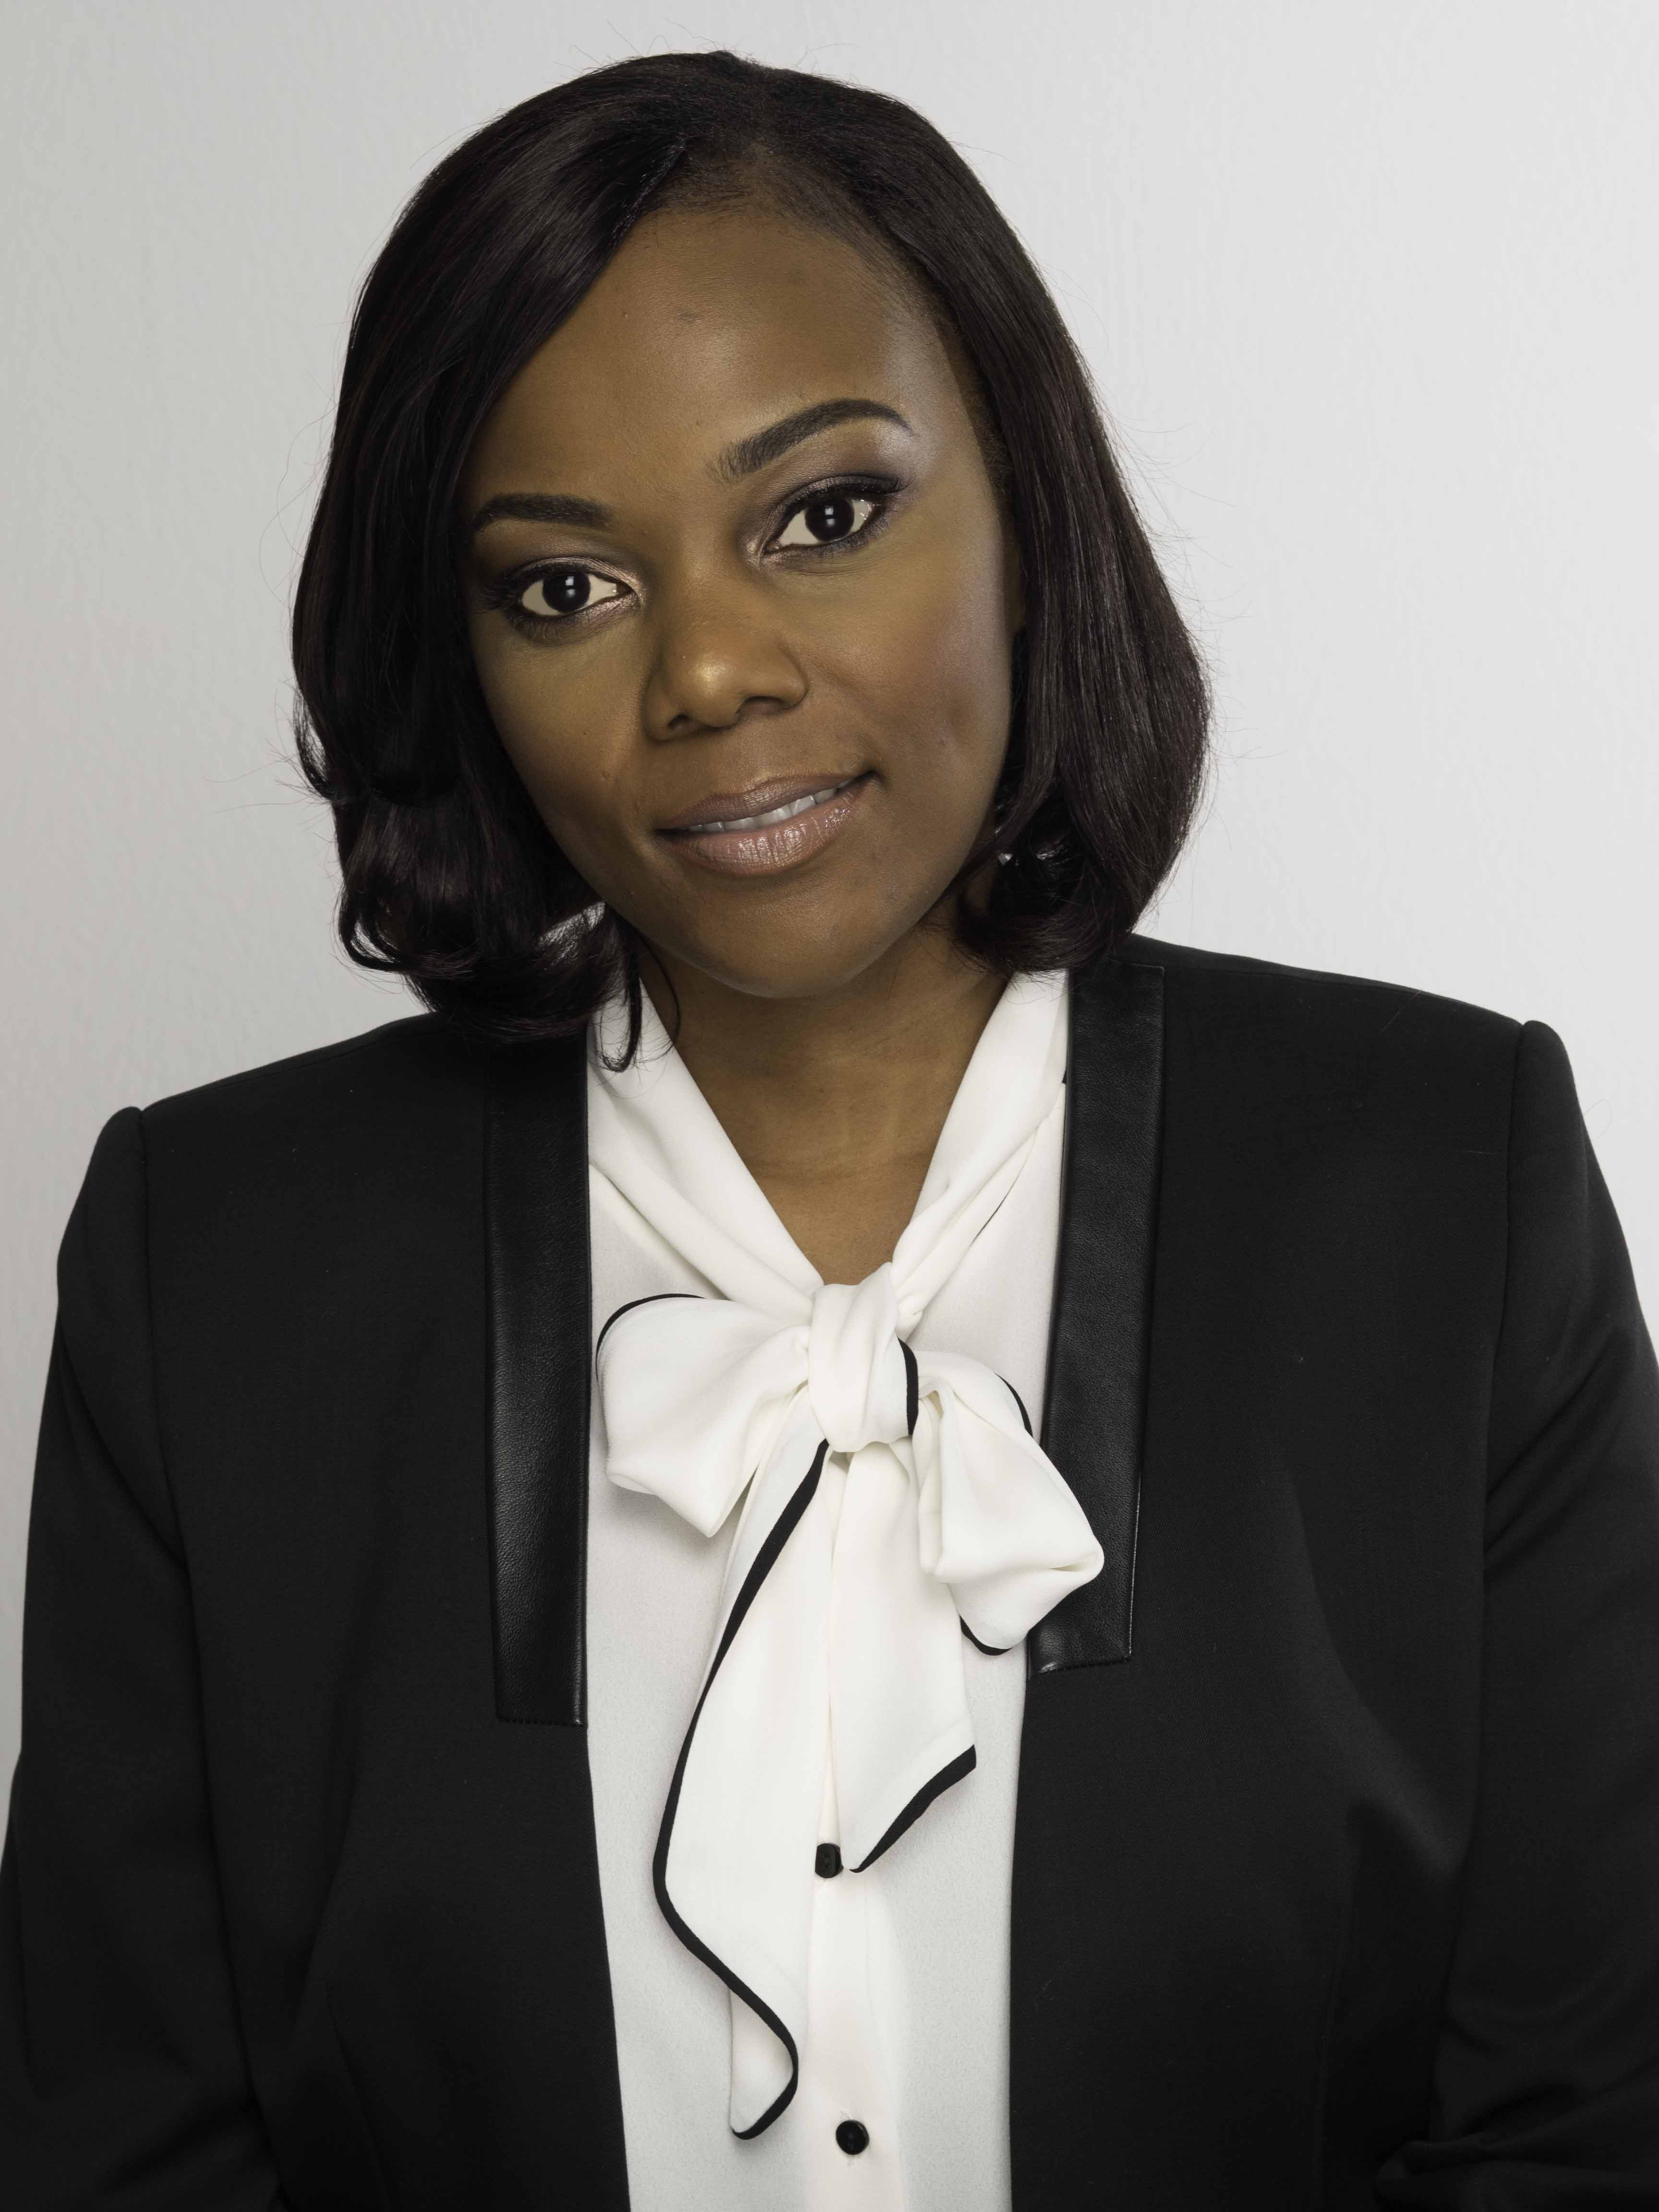
Here’s an image I am using to show this technique. The eyes are in focus and would clearly draw in your attention to that part of the face if only they were a bit clearer and brighter.
Once the image is opened in Photoshop I first create a new layer (keyboard shortcut ‘Cmd J’) then select the whites of the eyes using the ‘Quick Selection Tool’ (‘W’). Care needs to be taken to only select the white and to not let the selecting process to seep over into any other parts of the eyes so a bit of de-selecting needs to be done depending on how light the whites are in the first place.
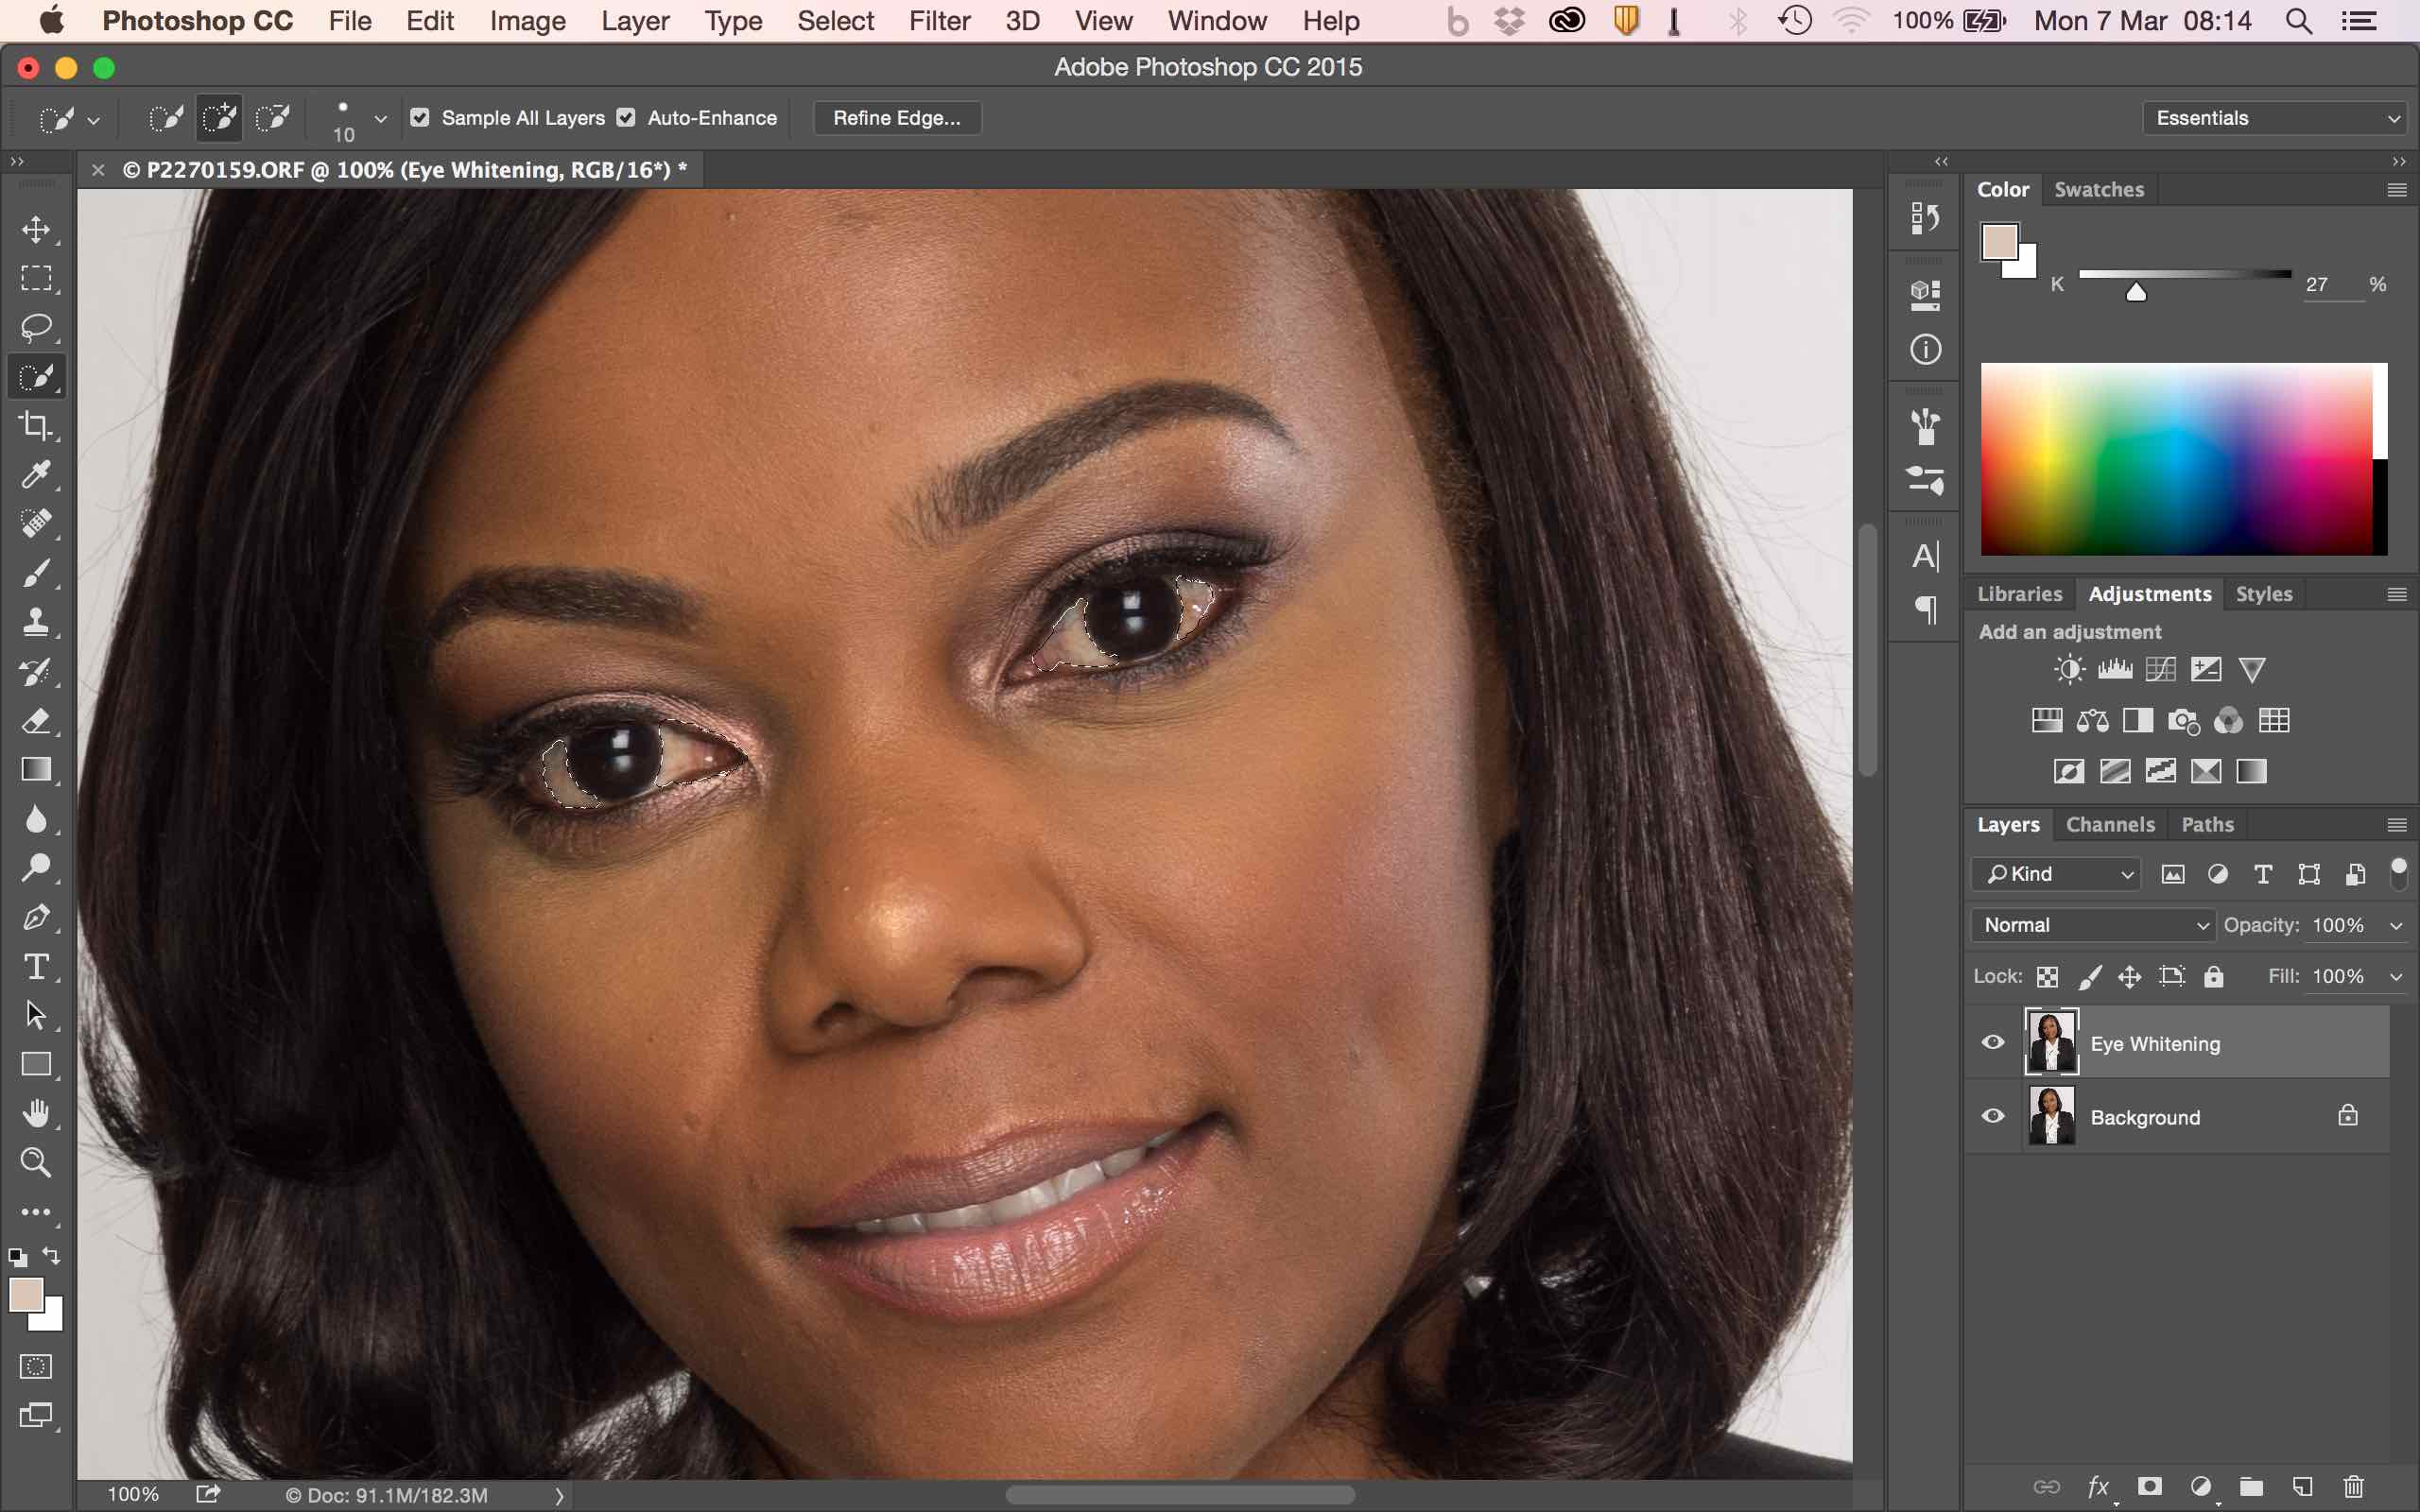
Next I ‘whiten’ the selected parts of the eyes. Of course the eyes are never going to be pure white and making them so will look a bit spooky. Some parts of the eye will be in more shadow than others so there are naturally going to be darker parts. The best way I have found to get this right is to use the ‘Eye Dropper Tool’ (‘I’) to select a part of the eye which is the shade you want (this makes that part of the eye the foreground colour) then brush over the immediate area around your selected part with the ‘Brush Tool’ (‘B’) using that colour. You’ll need to make several different selections as you move around the eye. The secret is to not make everything a uniform colour and also not to remove any catch lights otherwise it will look unnatural. In the picture below you’ll see a catch light on the far right (to the left of the models left eye) I want to leave that and carefully brush around it. Note that because you have the whites of the eyes selected there is no danger of brushing over into other parts of the eye. You could do this without creating a selection but it would make the brushing part a bit harder.

Here’s the final image of the whitened eyes, still with slightly different shades and a catch light.
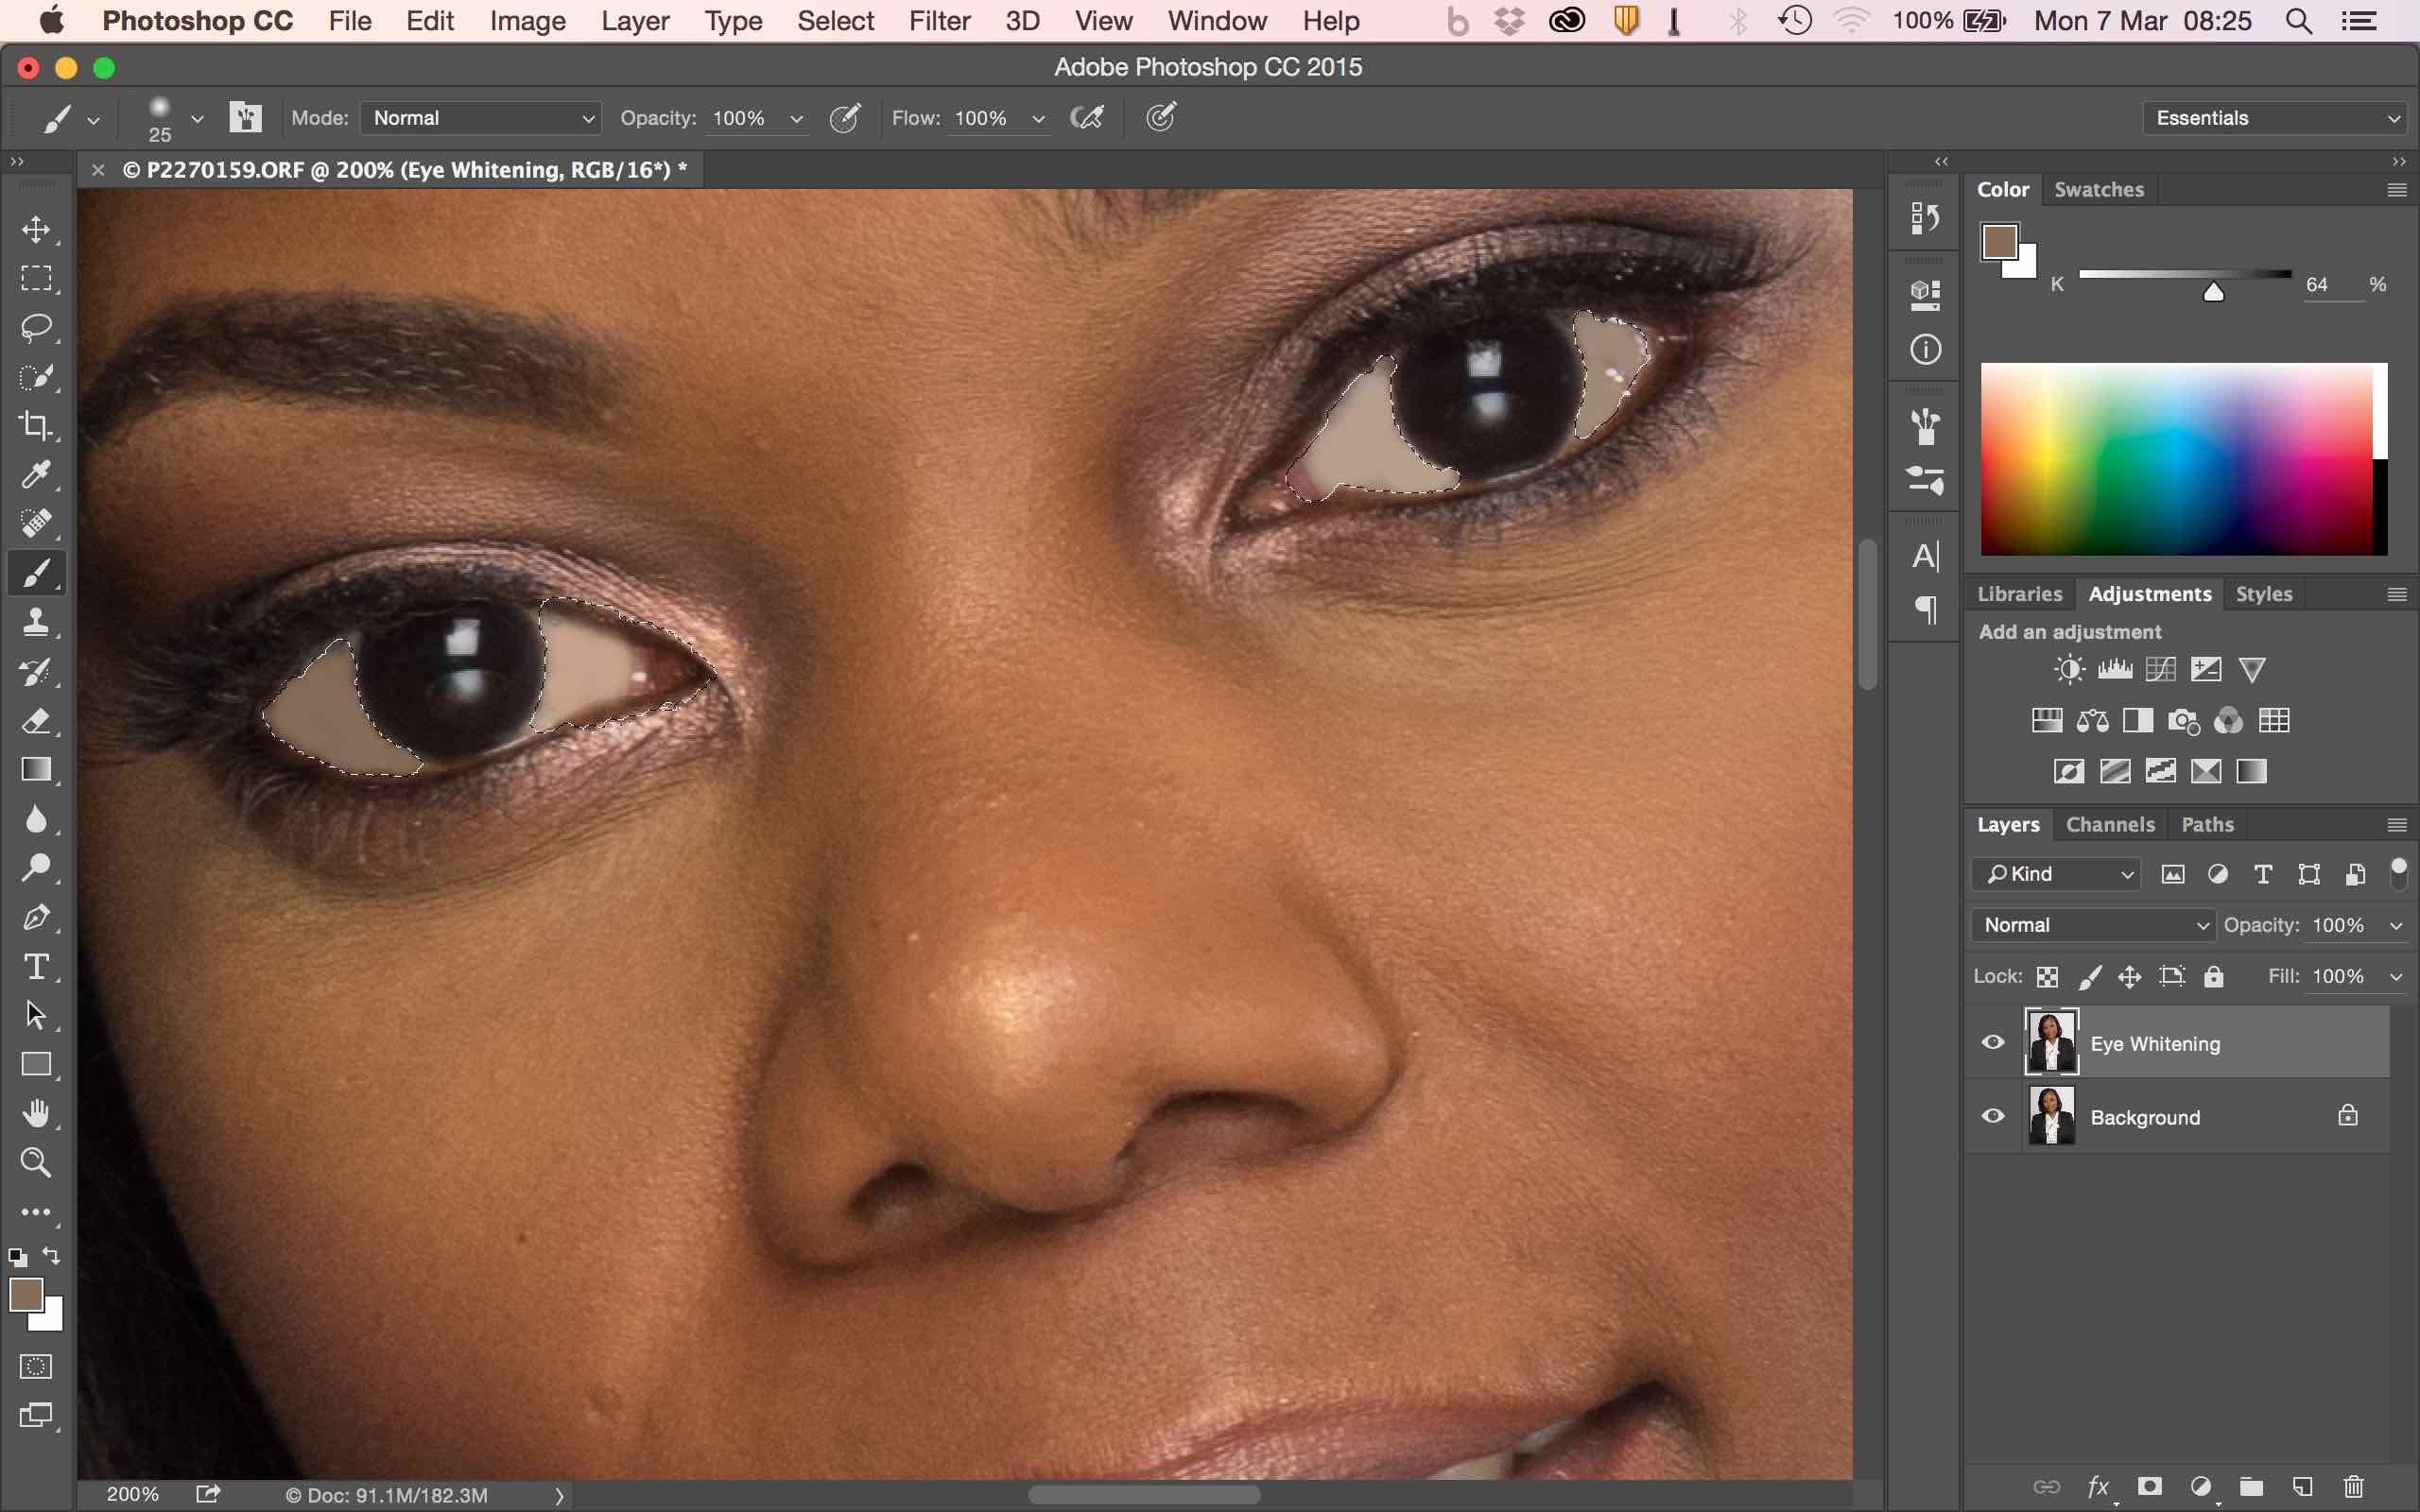
Next I want to evenly brighten both eyes. To do this create a new ‘Brighten/Contrast…’ adjustment layer. If you do this with the eyes still selected Photoshop will create this with a black mask allowing you keeping the selected parts of the eyes in the new layer. Open the ‘Properties’ box and adjust the ‘Brightness’ slider. I generally set this to around 50% and then make final adjustments with the ‘Opacity’ slider.

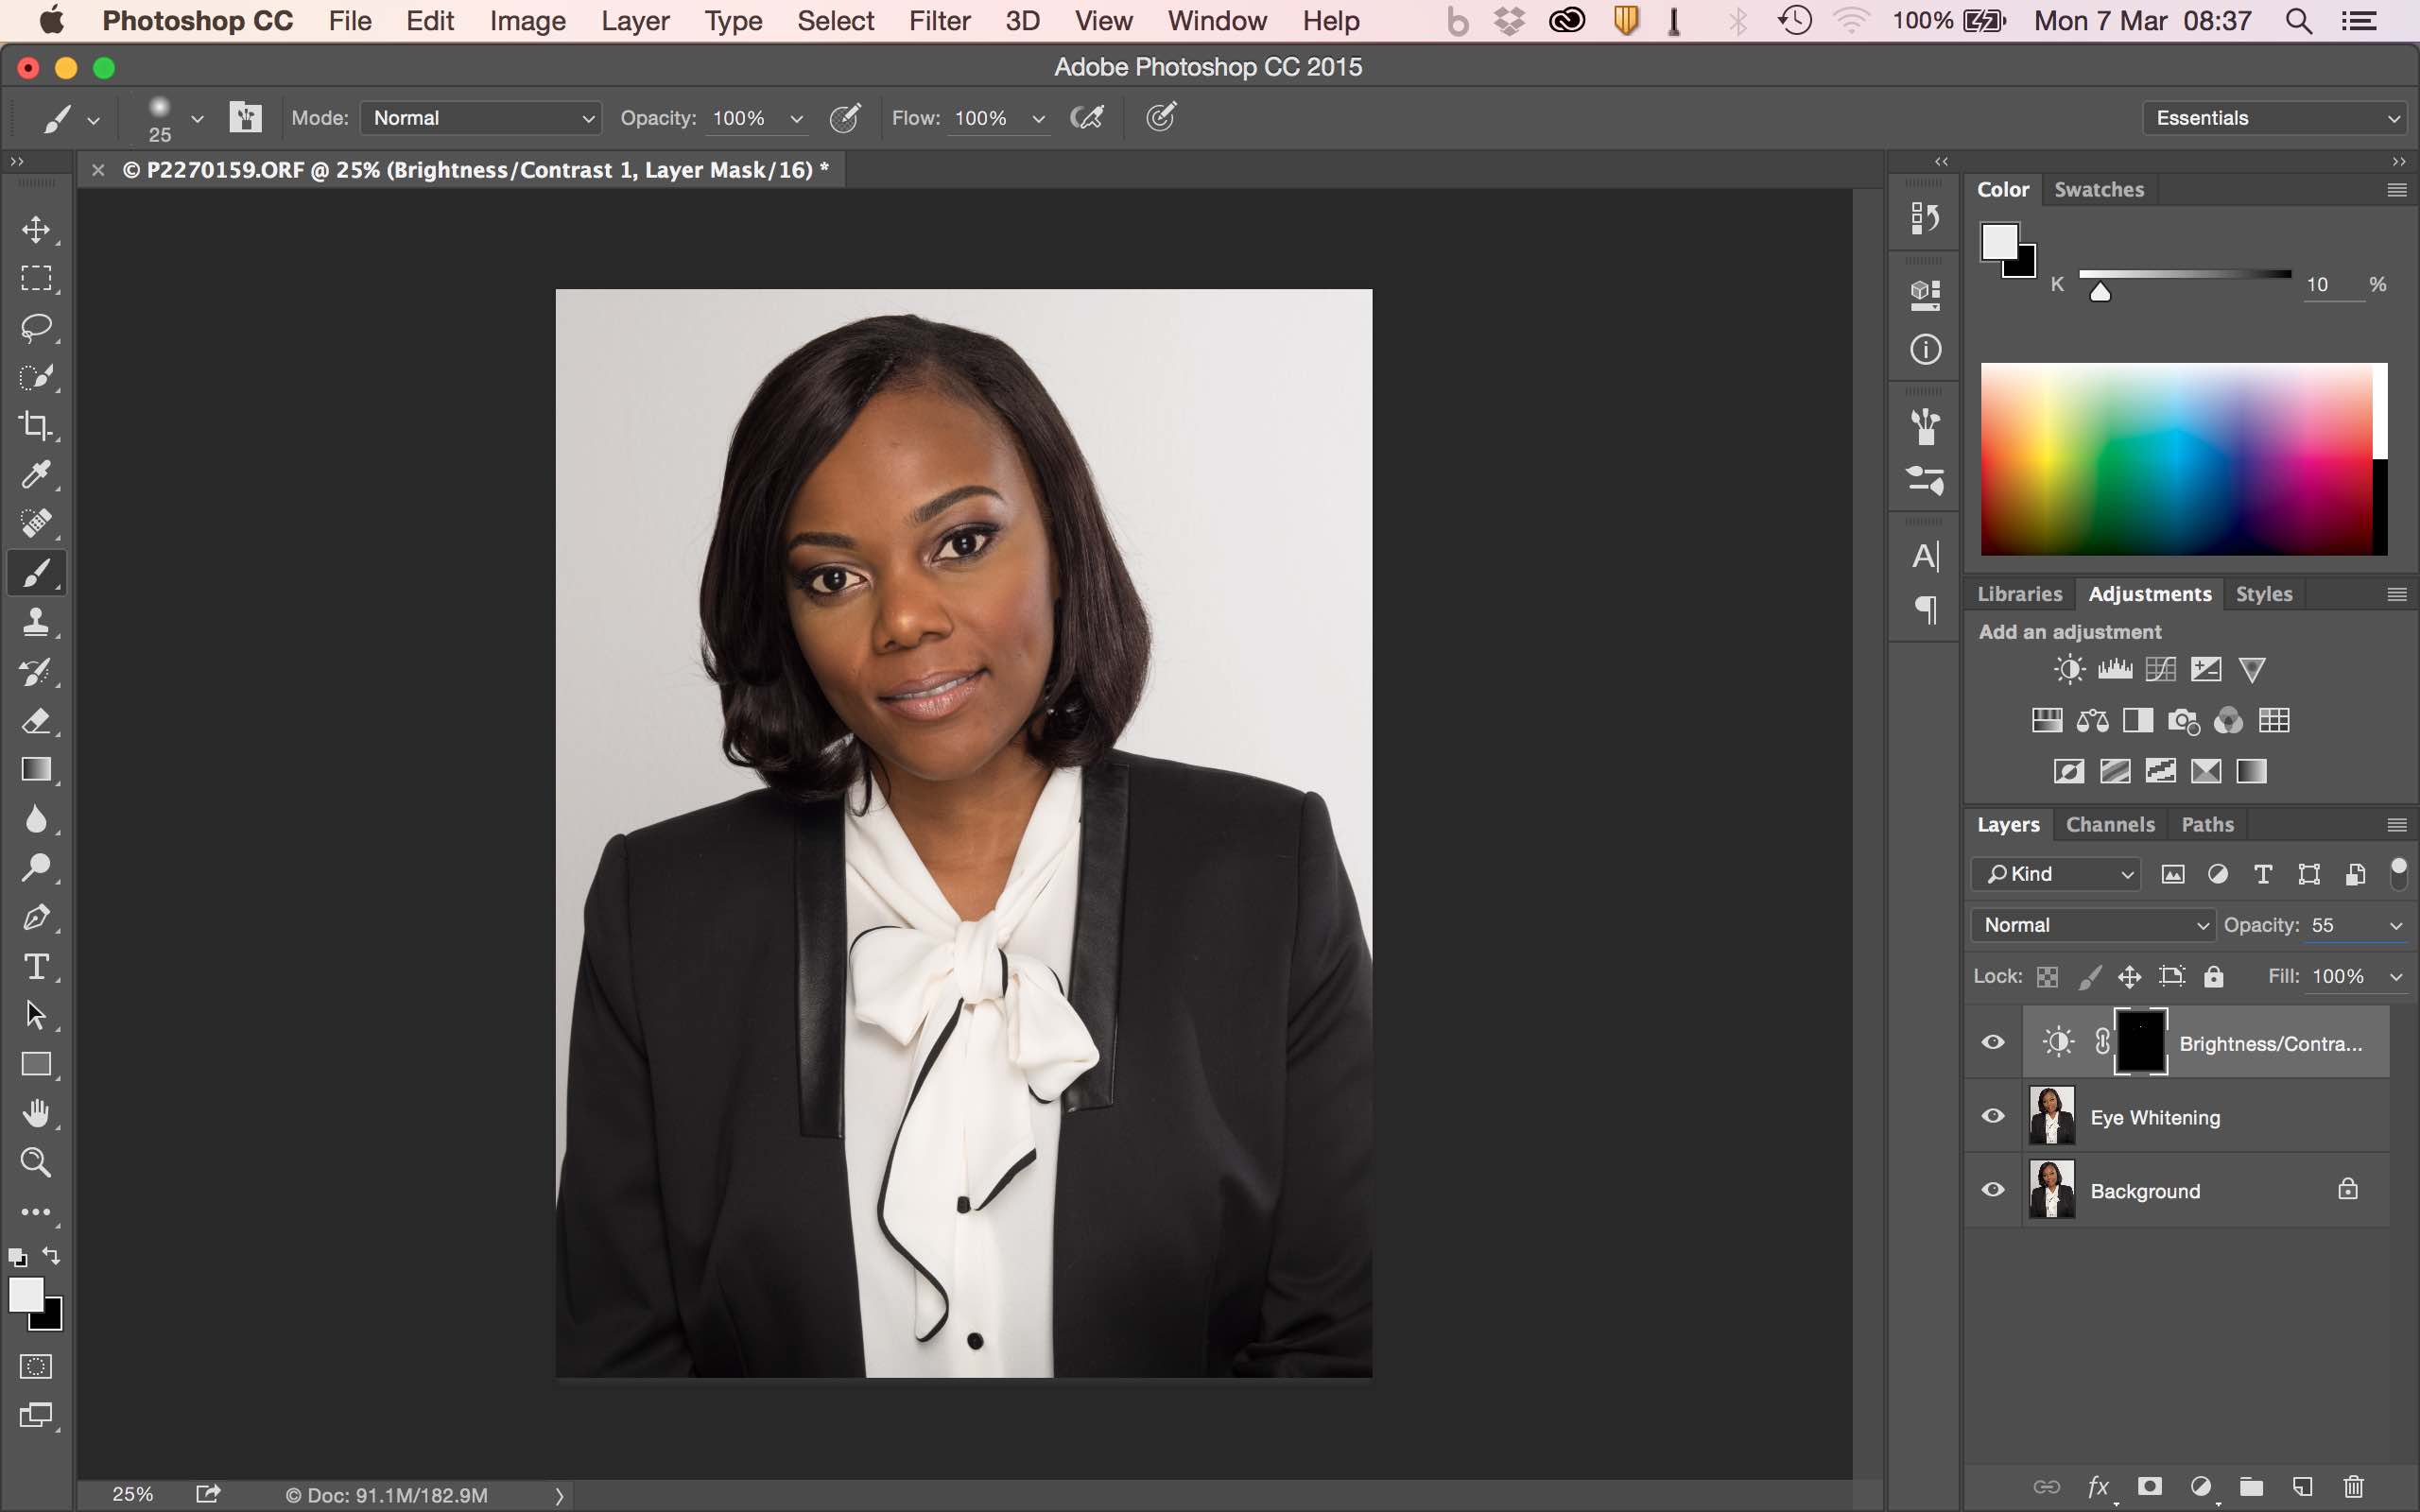
Here are the final adjustments in Photoshop before layer flattening with the ‘Opacity’ of the adjustment layer set at 50% which I think makes the eyes most natural.
Here’s the final image once exported from Photoshop.


Leave a comment