This is my second shoot based on the lighting examples provided by Scott Kelby in his book Light It, Shoot It, Retouch It. The first shoot is documented here. This time I’m going for Scott’s 1 light soft glamour set up. In this arrangement I just have my Elinchrom RX 4 and Elinchrom Rotalux 135 softbox. Here I’m shooting with the model Rebecca Louise, again at SS Creative Photography studio in Birmingham with makeup provided by Megan Hewitt.
Here’s a what the light set up looks like. I positioned Rebecca Louise in front of a Lastolite black background and placed the RX 4 and Rotalux quite close to her right side. There was a white paper infinity cove to her left which was just enough to throw a bit of light back on her.
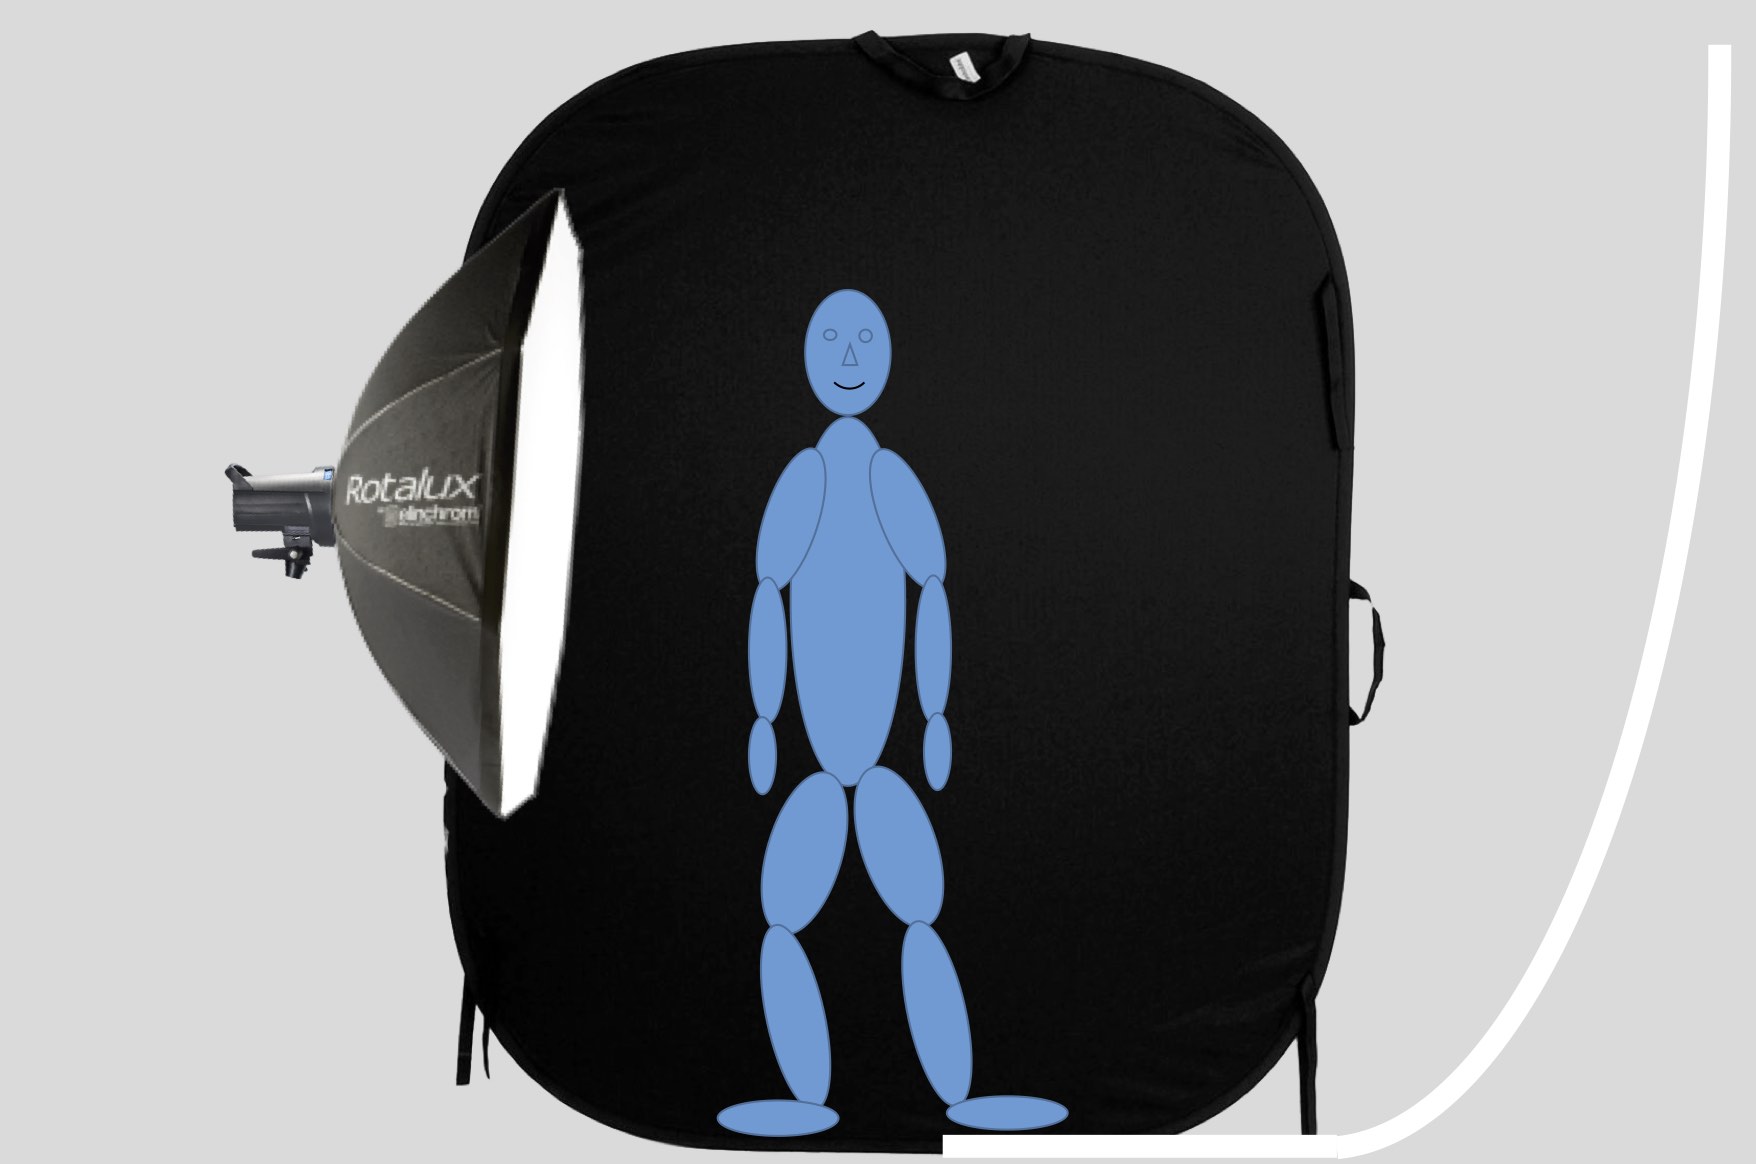
The D-Lite RX 4 was set to 3.2. For the camera (an Olympus OM-D E-M1 Mk I with a Panasonic 35-100mm f2.8 LUMIX attached) I was again shooting at 1/125s at f/9.0 and ISO 200. Here’s the contact sheet for the set of images I made for this part of the shoot.
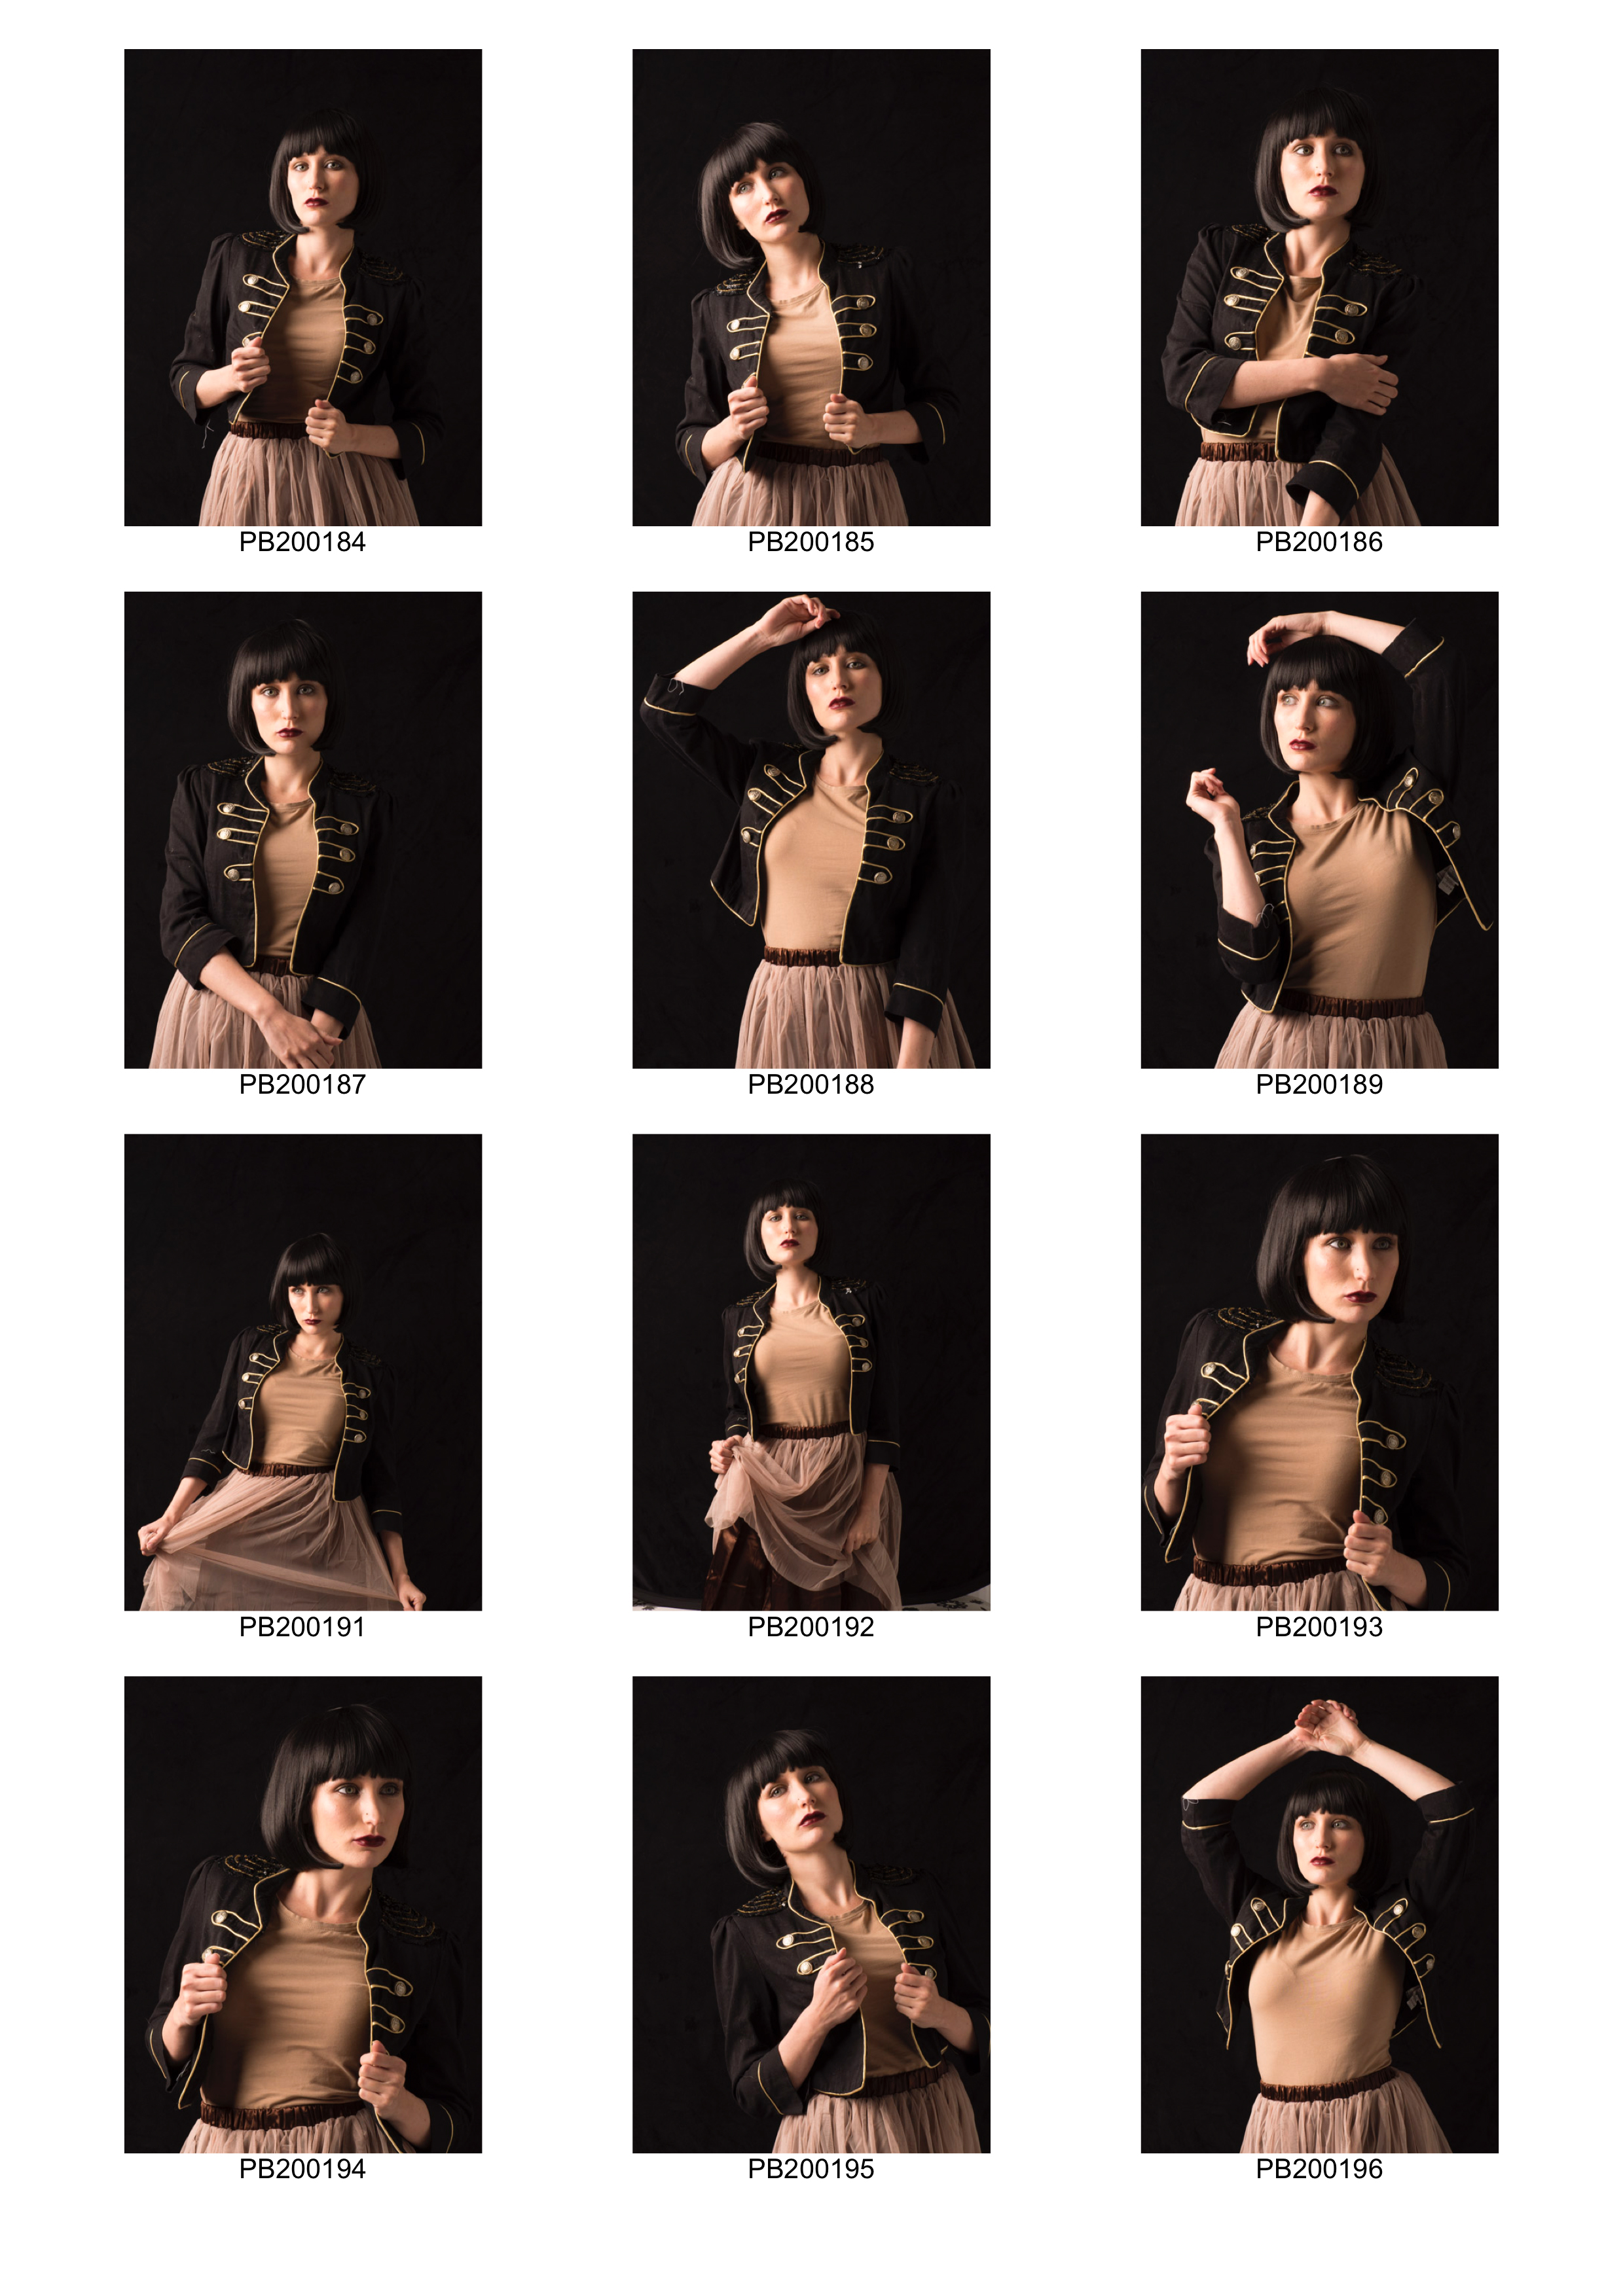
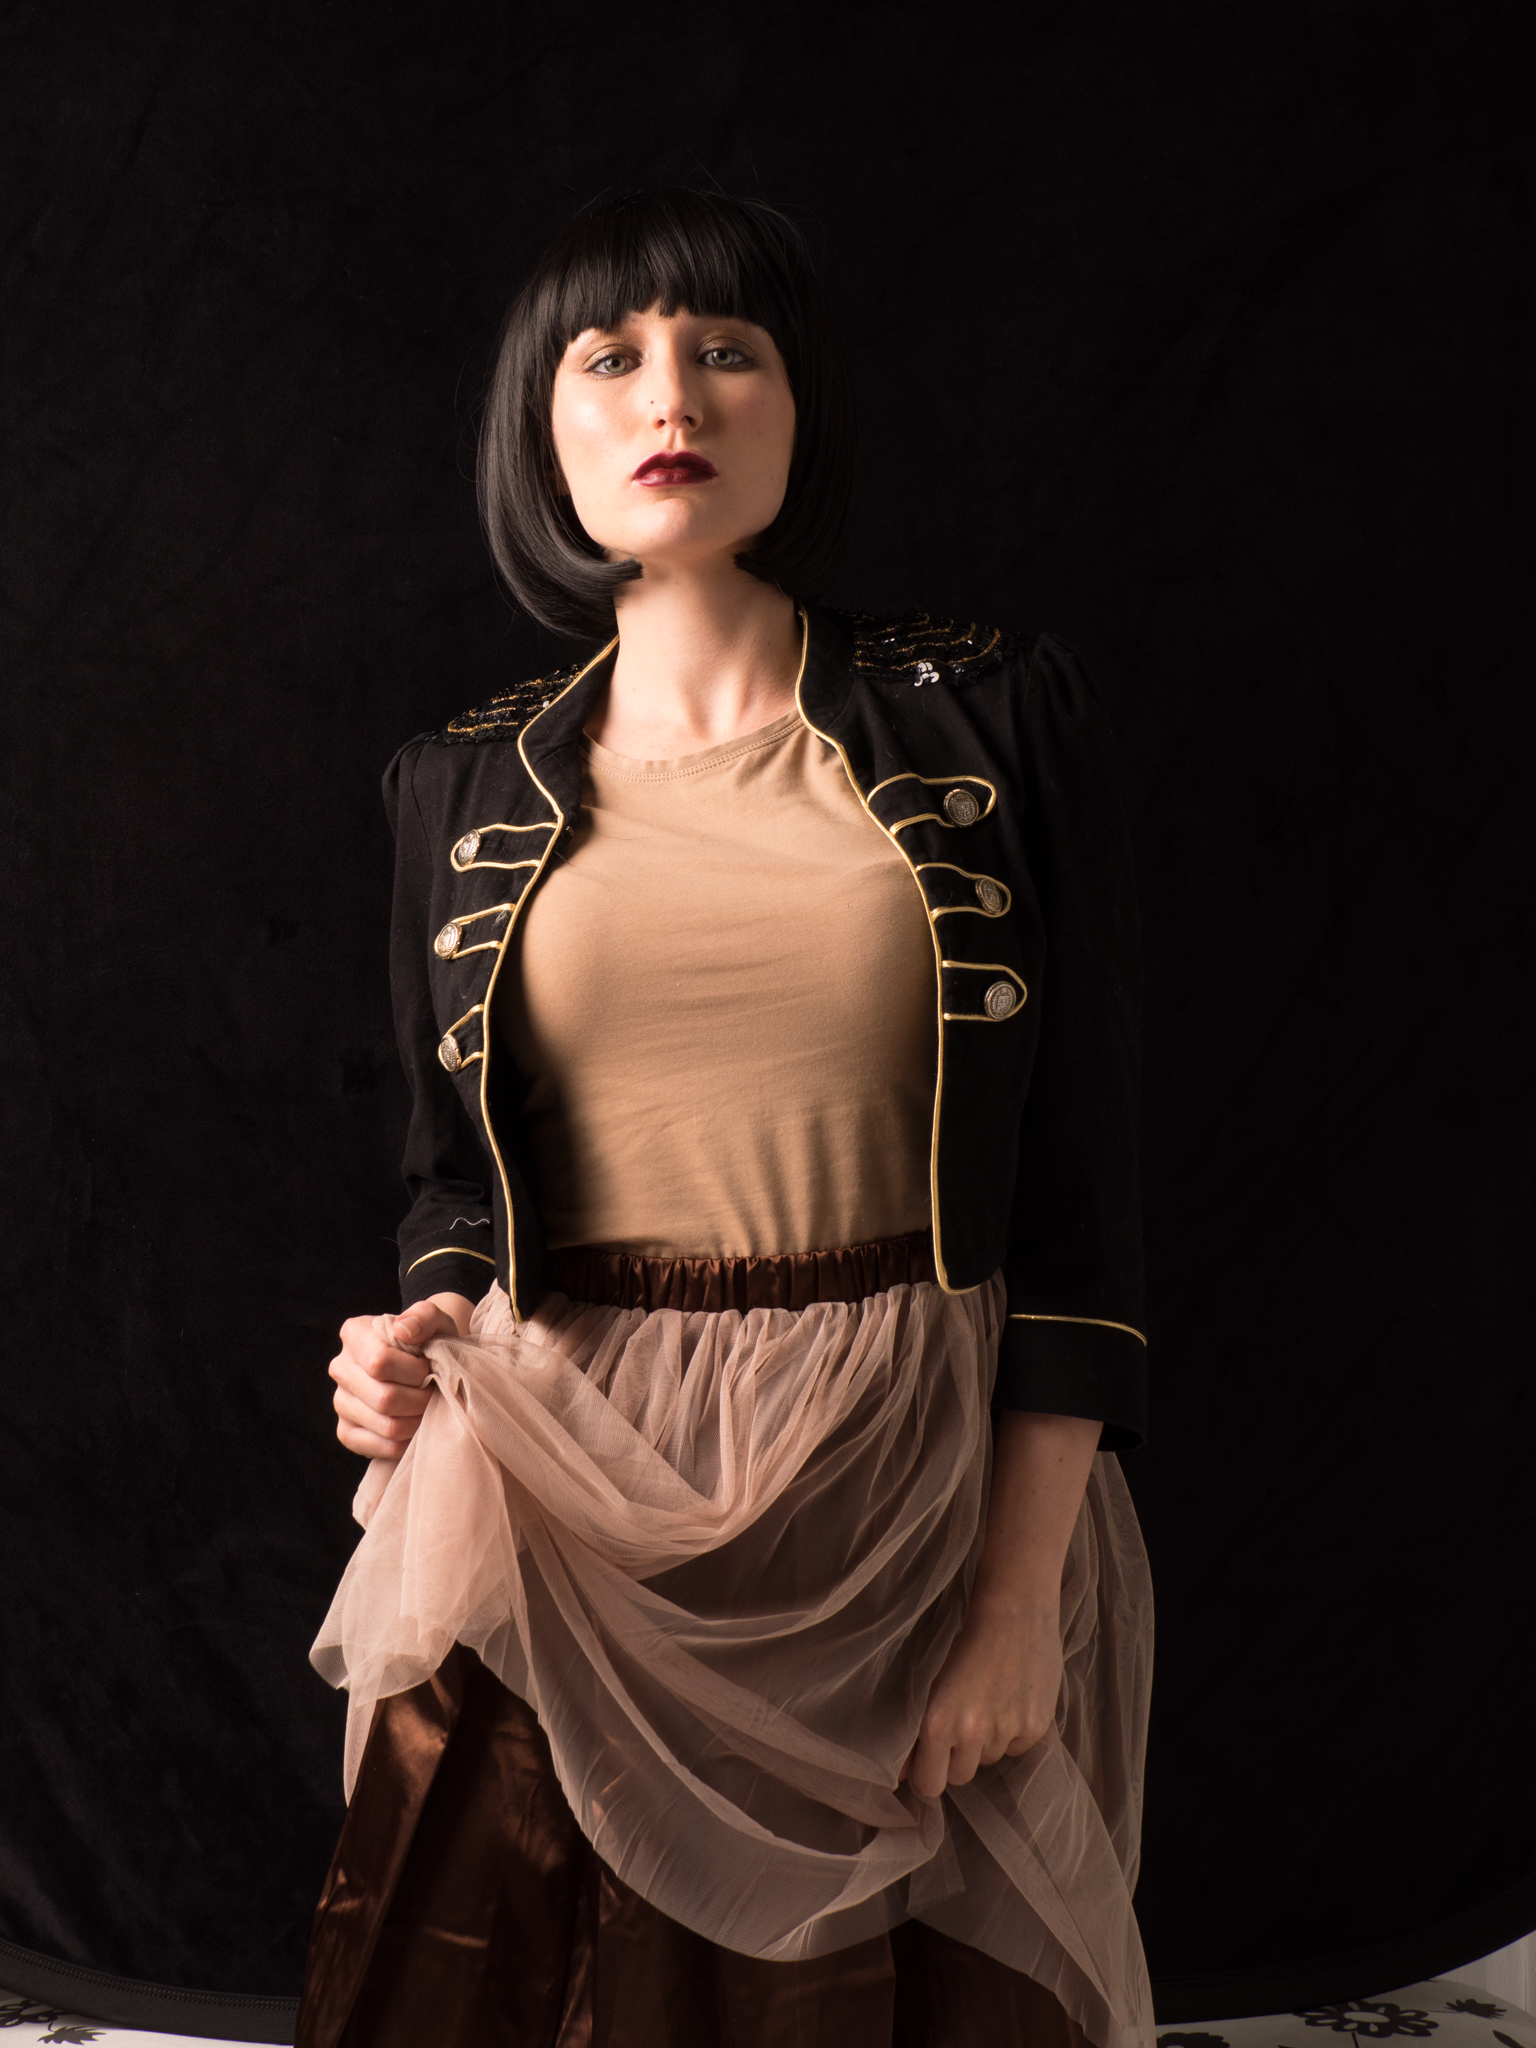
Rebecca Louise is naturally blonde and wearing a wig in these shots. The image I like most from this set was PB200192, shown unedited here.
Step 1 – Crop and Exposure Adjustment
The first step is to do some cropping and reduce the highlights a little. I do this in Lightroom before going into Photoshop.

Step 2 – Skin Smoothing
As before I’m going to a small about of smoothing on Rebecca Louise’s skin. For details on how to do this see here.
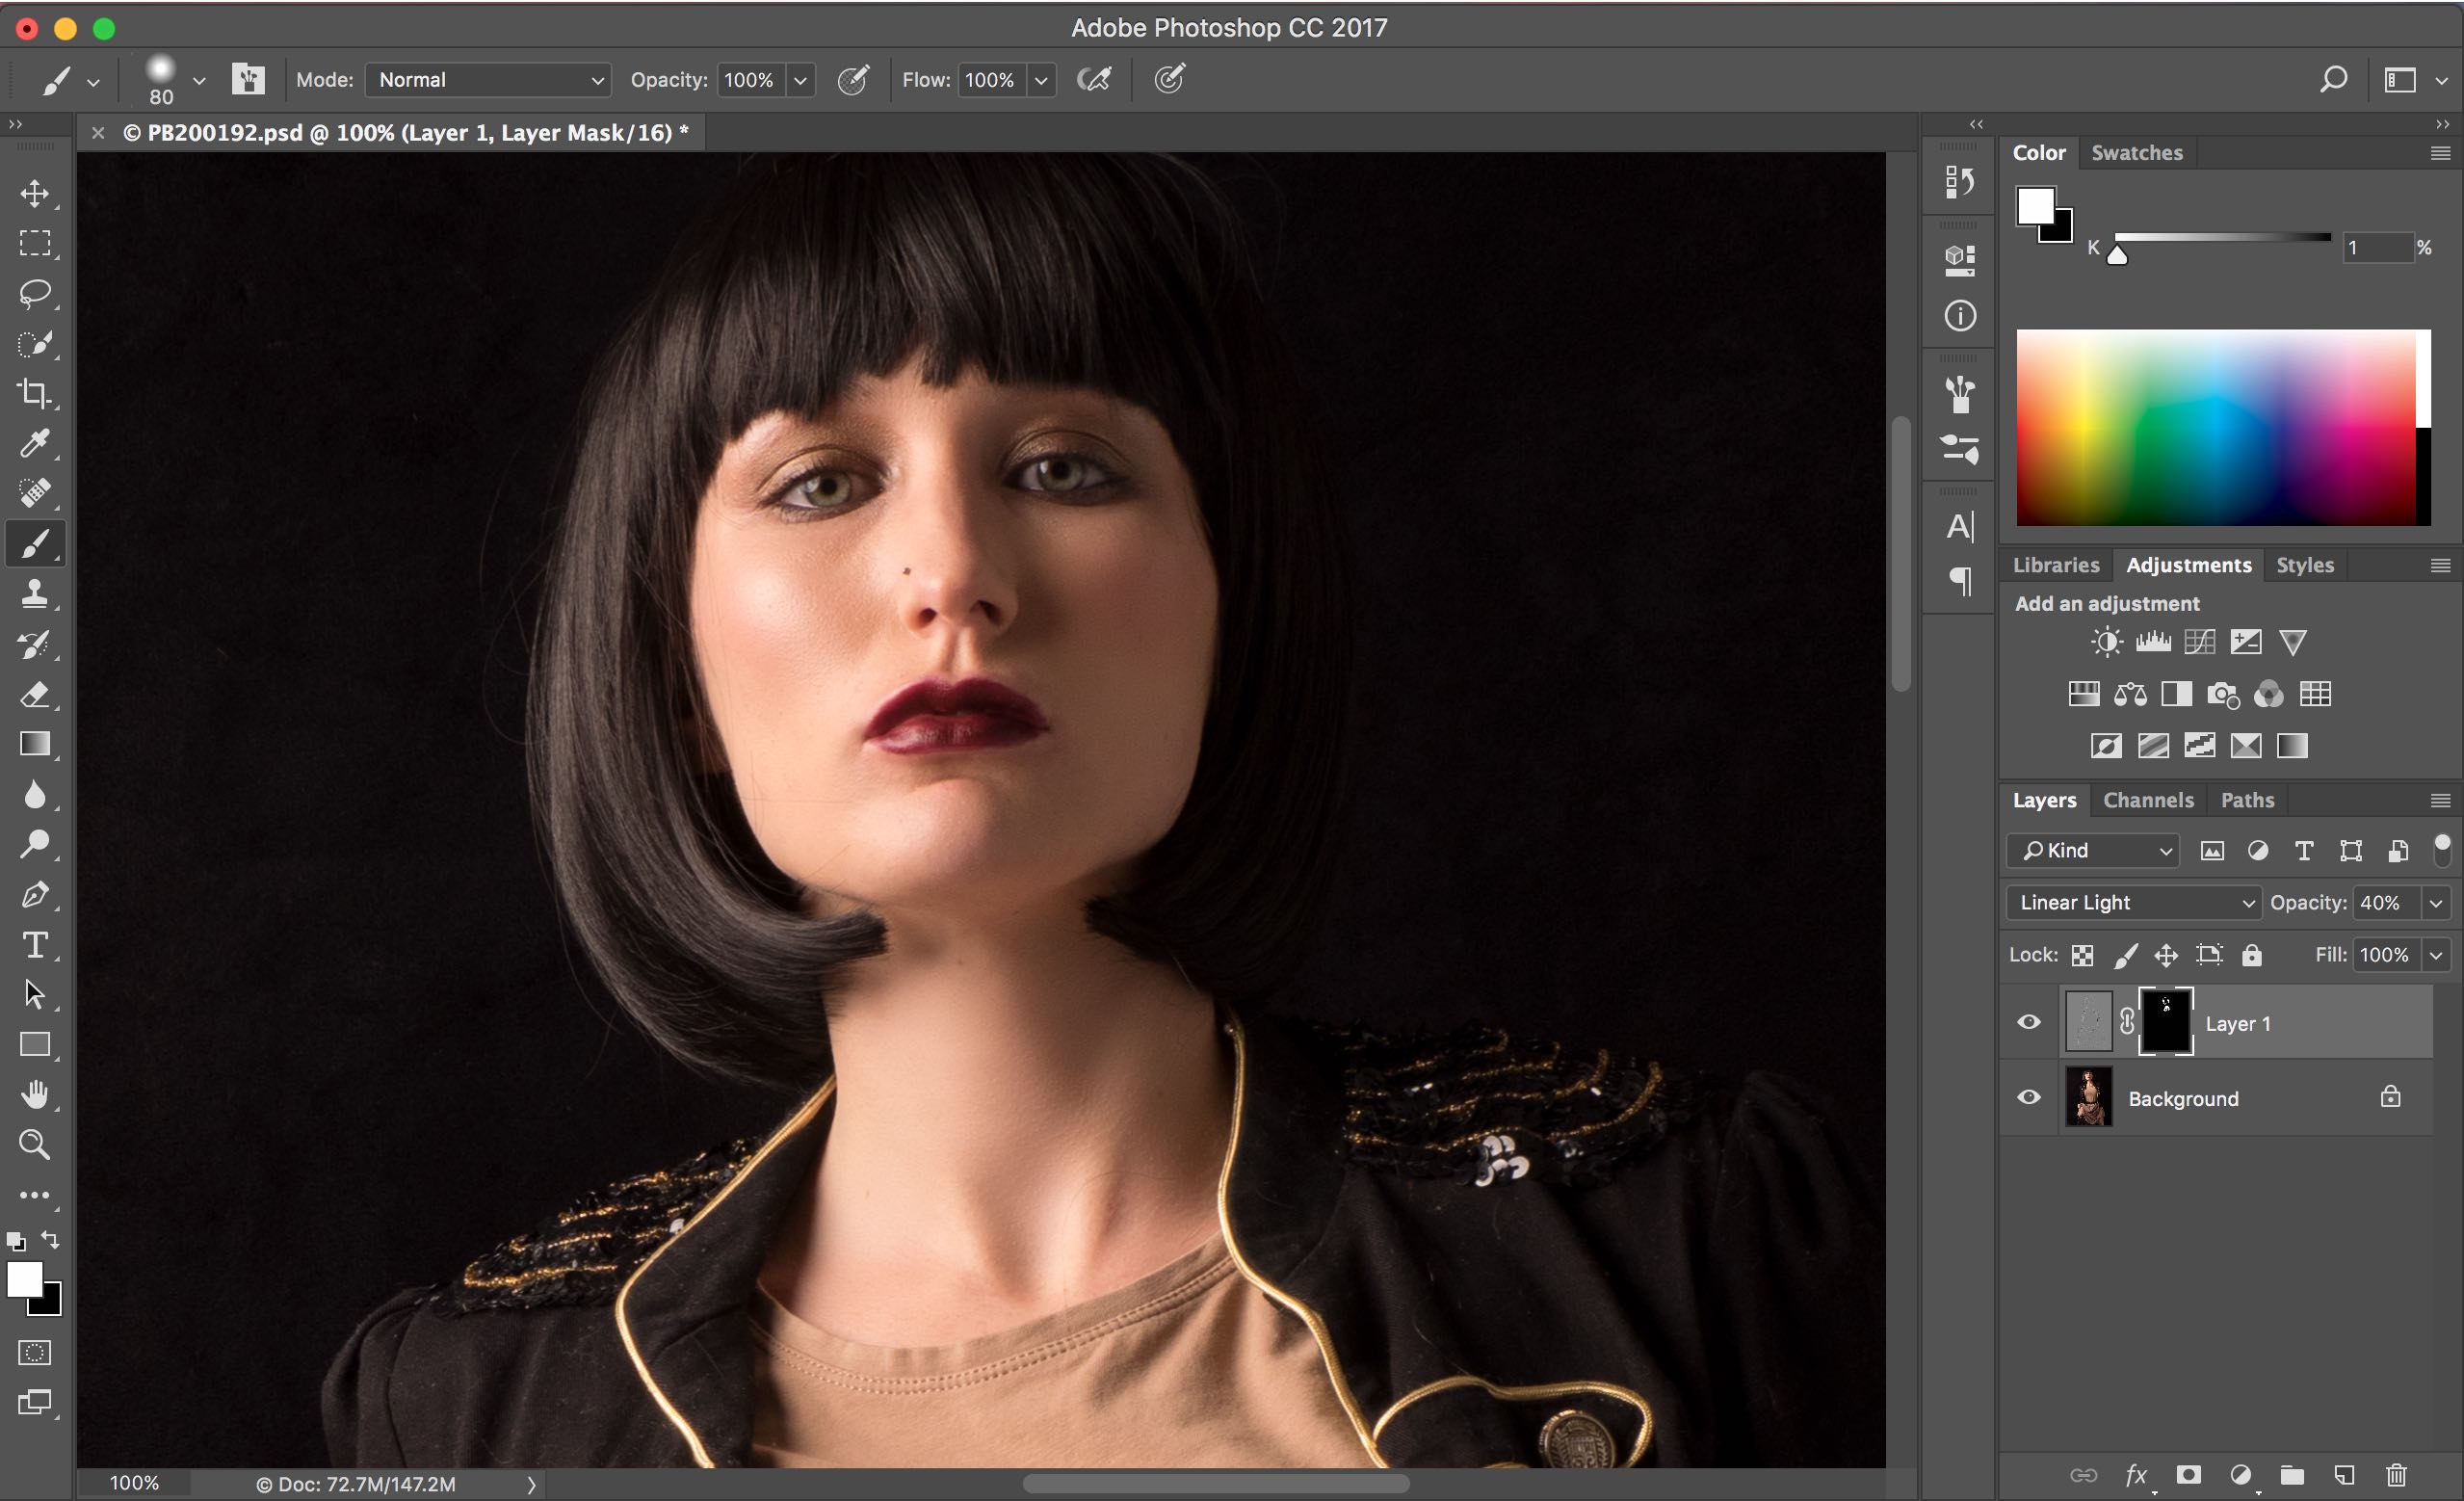
Step 3 – Remove Specks from Clothing
Whilst moving around the image in Photoshop I notices a number of dust spots and loose threads around Rebecca Louise’s top so I switch to the ‘Clone Stamp Tool’ (‘S’ on the keyboard) to go around tidying up these bits. The trick with the Clone Stamp Tool is to keep taking samples from areas close by to where you want to remove an item and just do small bits at a time. Larger items can be removed using Content Aware Fill (Edit/Fill…) having first selected them using the ‘Lasso Tool’ (‘L’ on the keyboard). I also used these technique to remove the seam in the background in the bottom left of the picture.
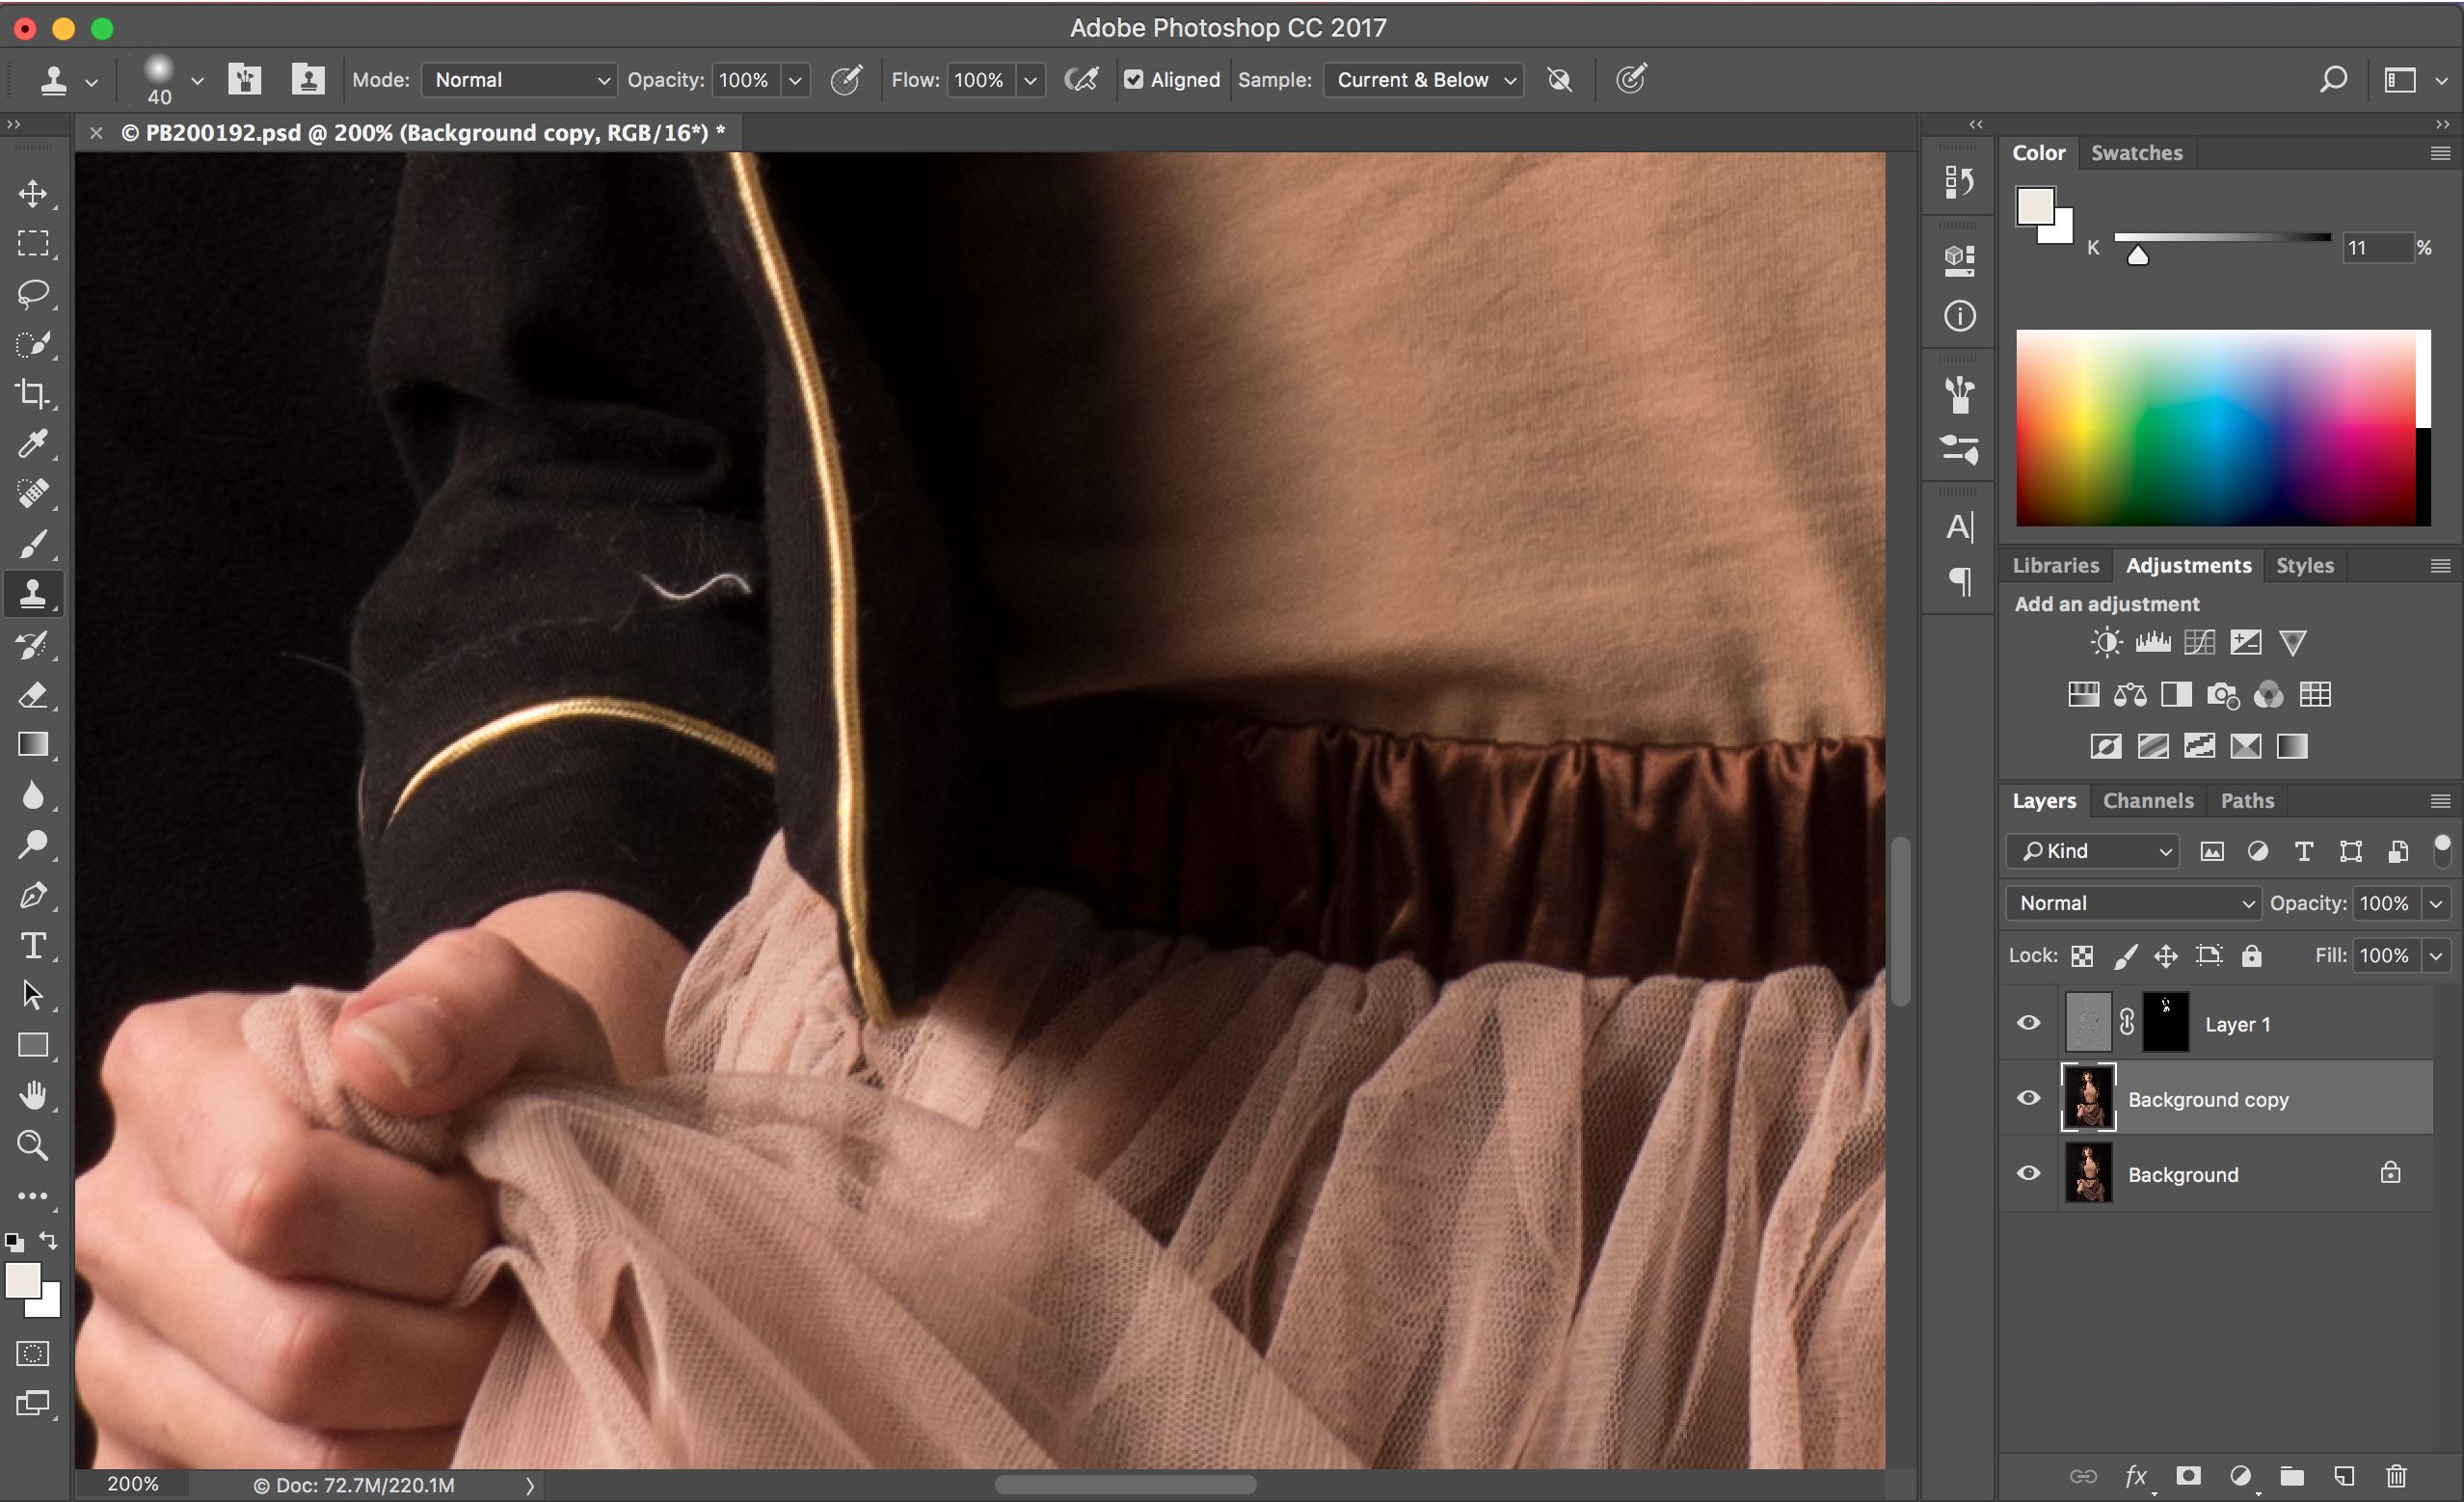
That’s all I’m going to do in Photoshop so I just flatten the layers and save the image.
Step 4 – Add a ‘Glamour Glow’ in Color Efex 4
Finally I’m going to add a subtle glamour glow’ to the image by using one of the filters available in Color Efex Pro 4 (part of the Nik collection from Google which is free). I have this installed as a plugin to Lightroom so select that from the Photo/Edit In menu item select the desired effect (‘Glamour Glow’) and playground with the ‘Glow’ slider until I achieve the desired amount of ‘glow’.
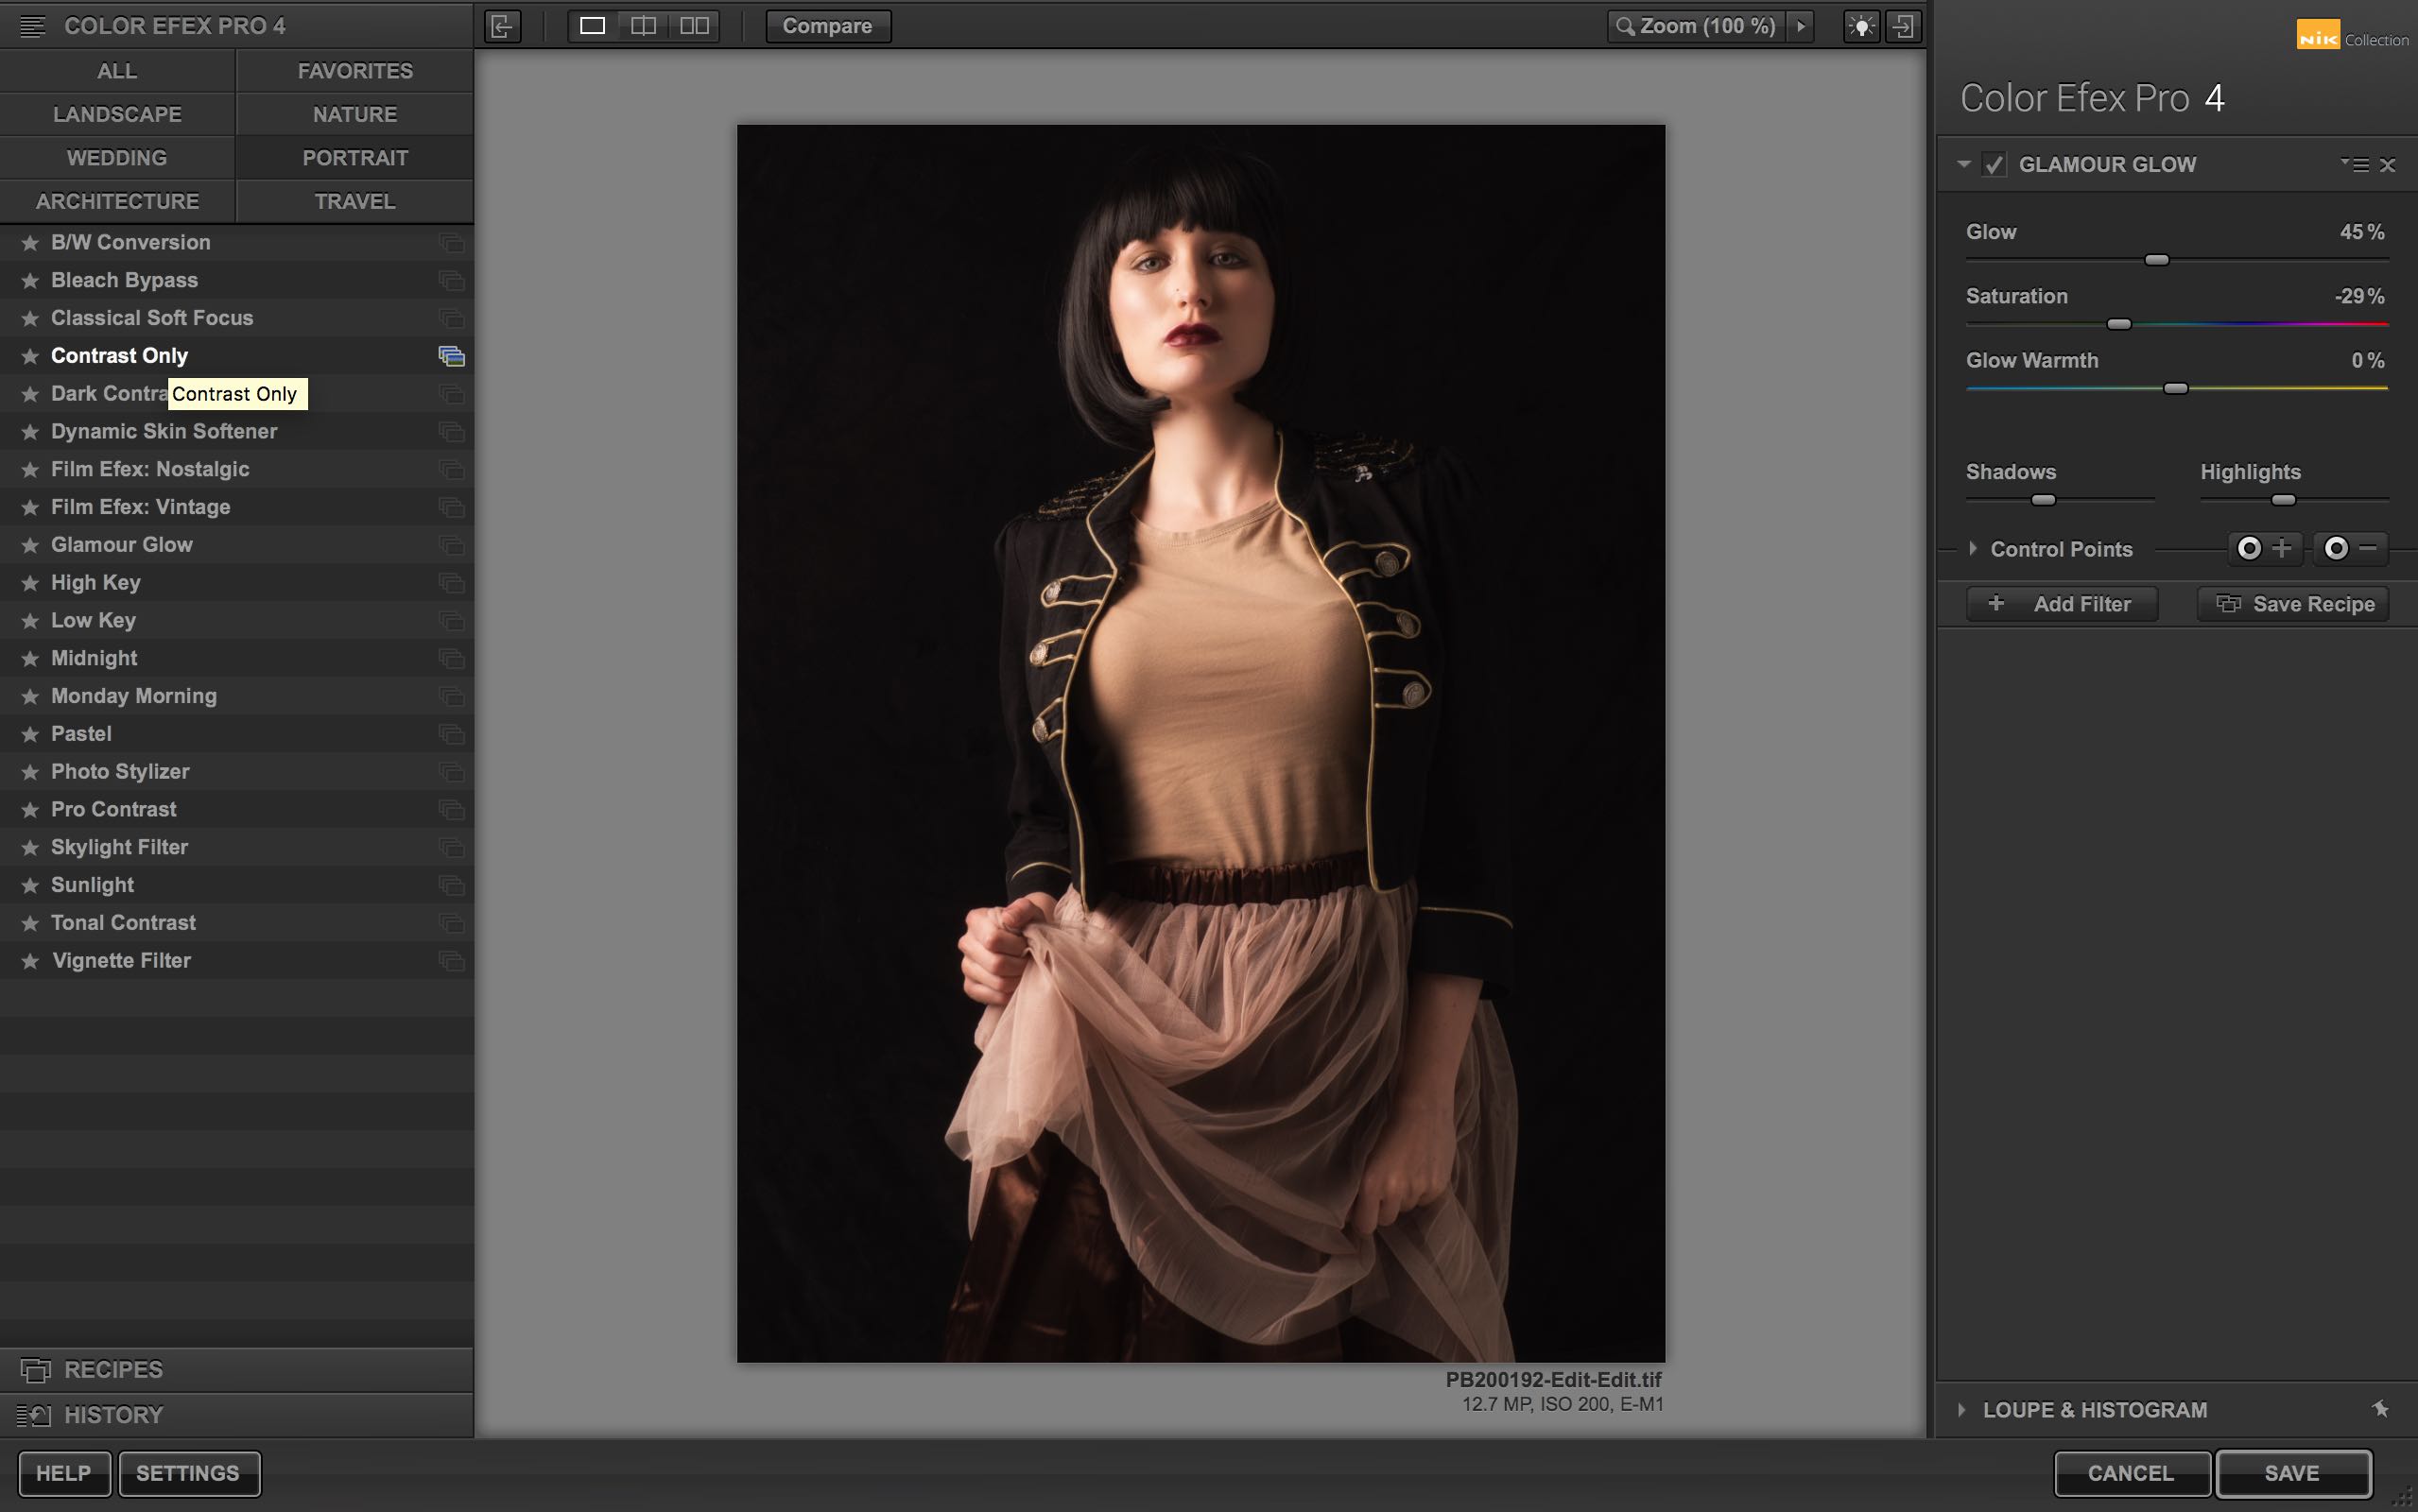
And that’s it! Here’s the final image.


Leave a comment