
Traditionally a triptych was a set of three panels or compartments side by side, bearing pictures or carvings. Nowadays a triptych refers to a set of three images, often related in some way (as in variations on a theme or different views of the same subject).
There are numerous ways of creating triptychs in Adobe Lightroom and Photoshop but this approach I’m showing here is the simplest I have found, especially if you want the same sized images to form your triptych. Here are the five steps required to create the above image of the model Francheska Welbourn (link NSFW).
Step 1: Select and Adjust Images in Lightroom
Individual triptych images don’t all have to be the same size however for this example I want to use three identically sized and equally proportioned photographs. By equally proportioned I mean the model appears roughly the same size in each picture. In this case I want head and shoulders. The three images I’ve selected are the ones shown highlighted with red borders (in Lightroom).
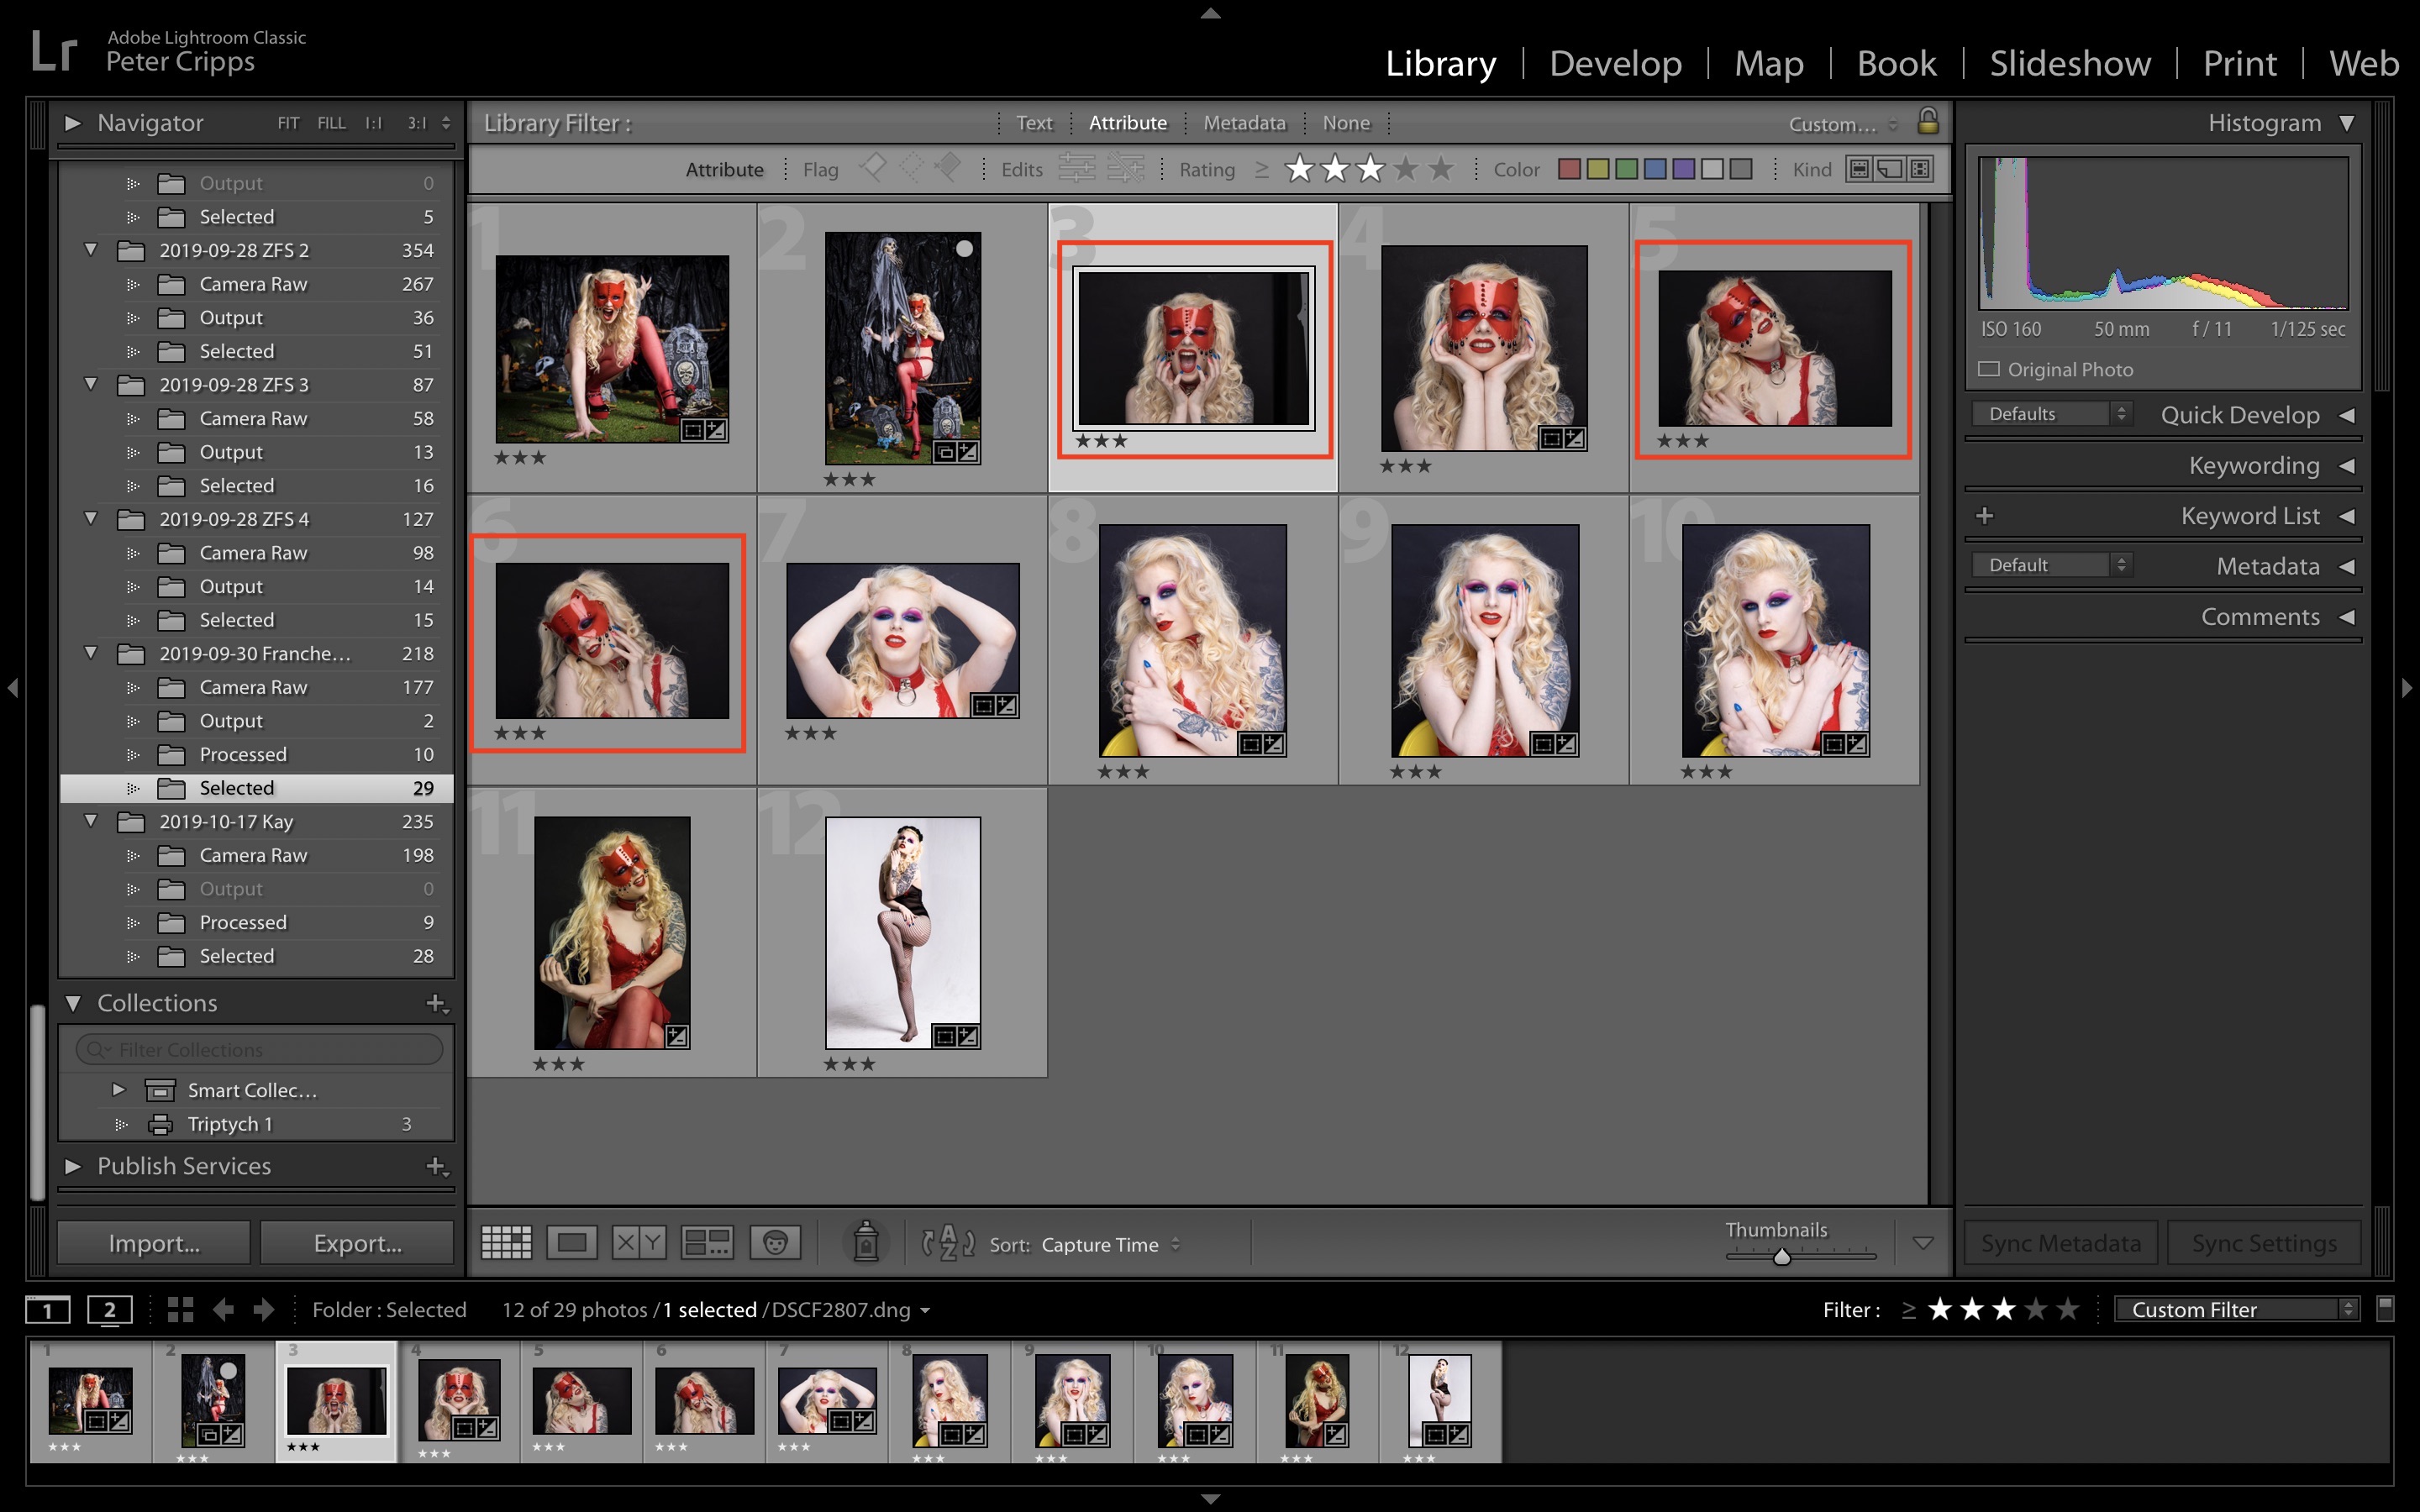
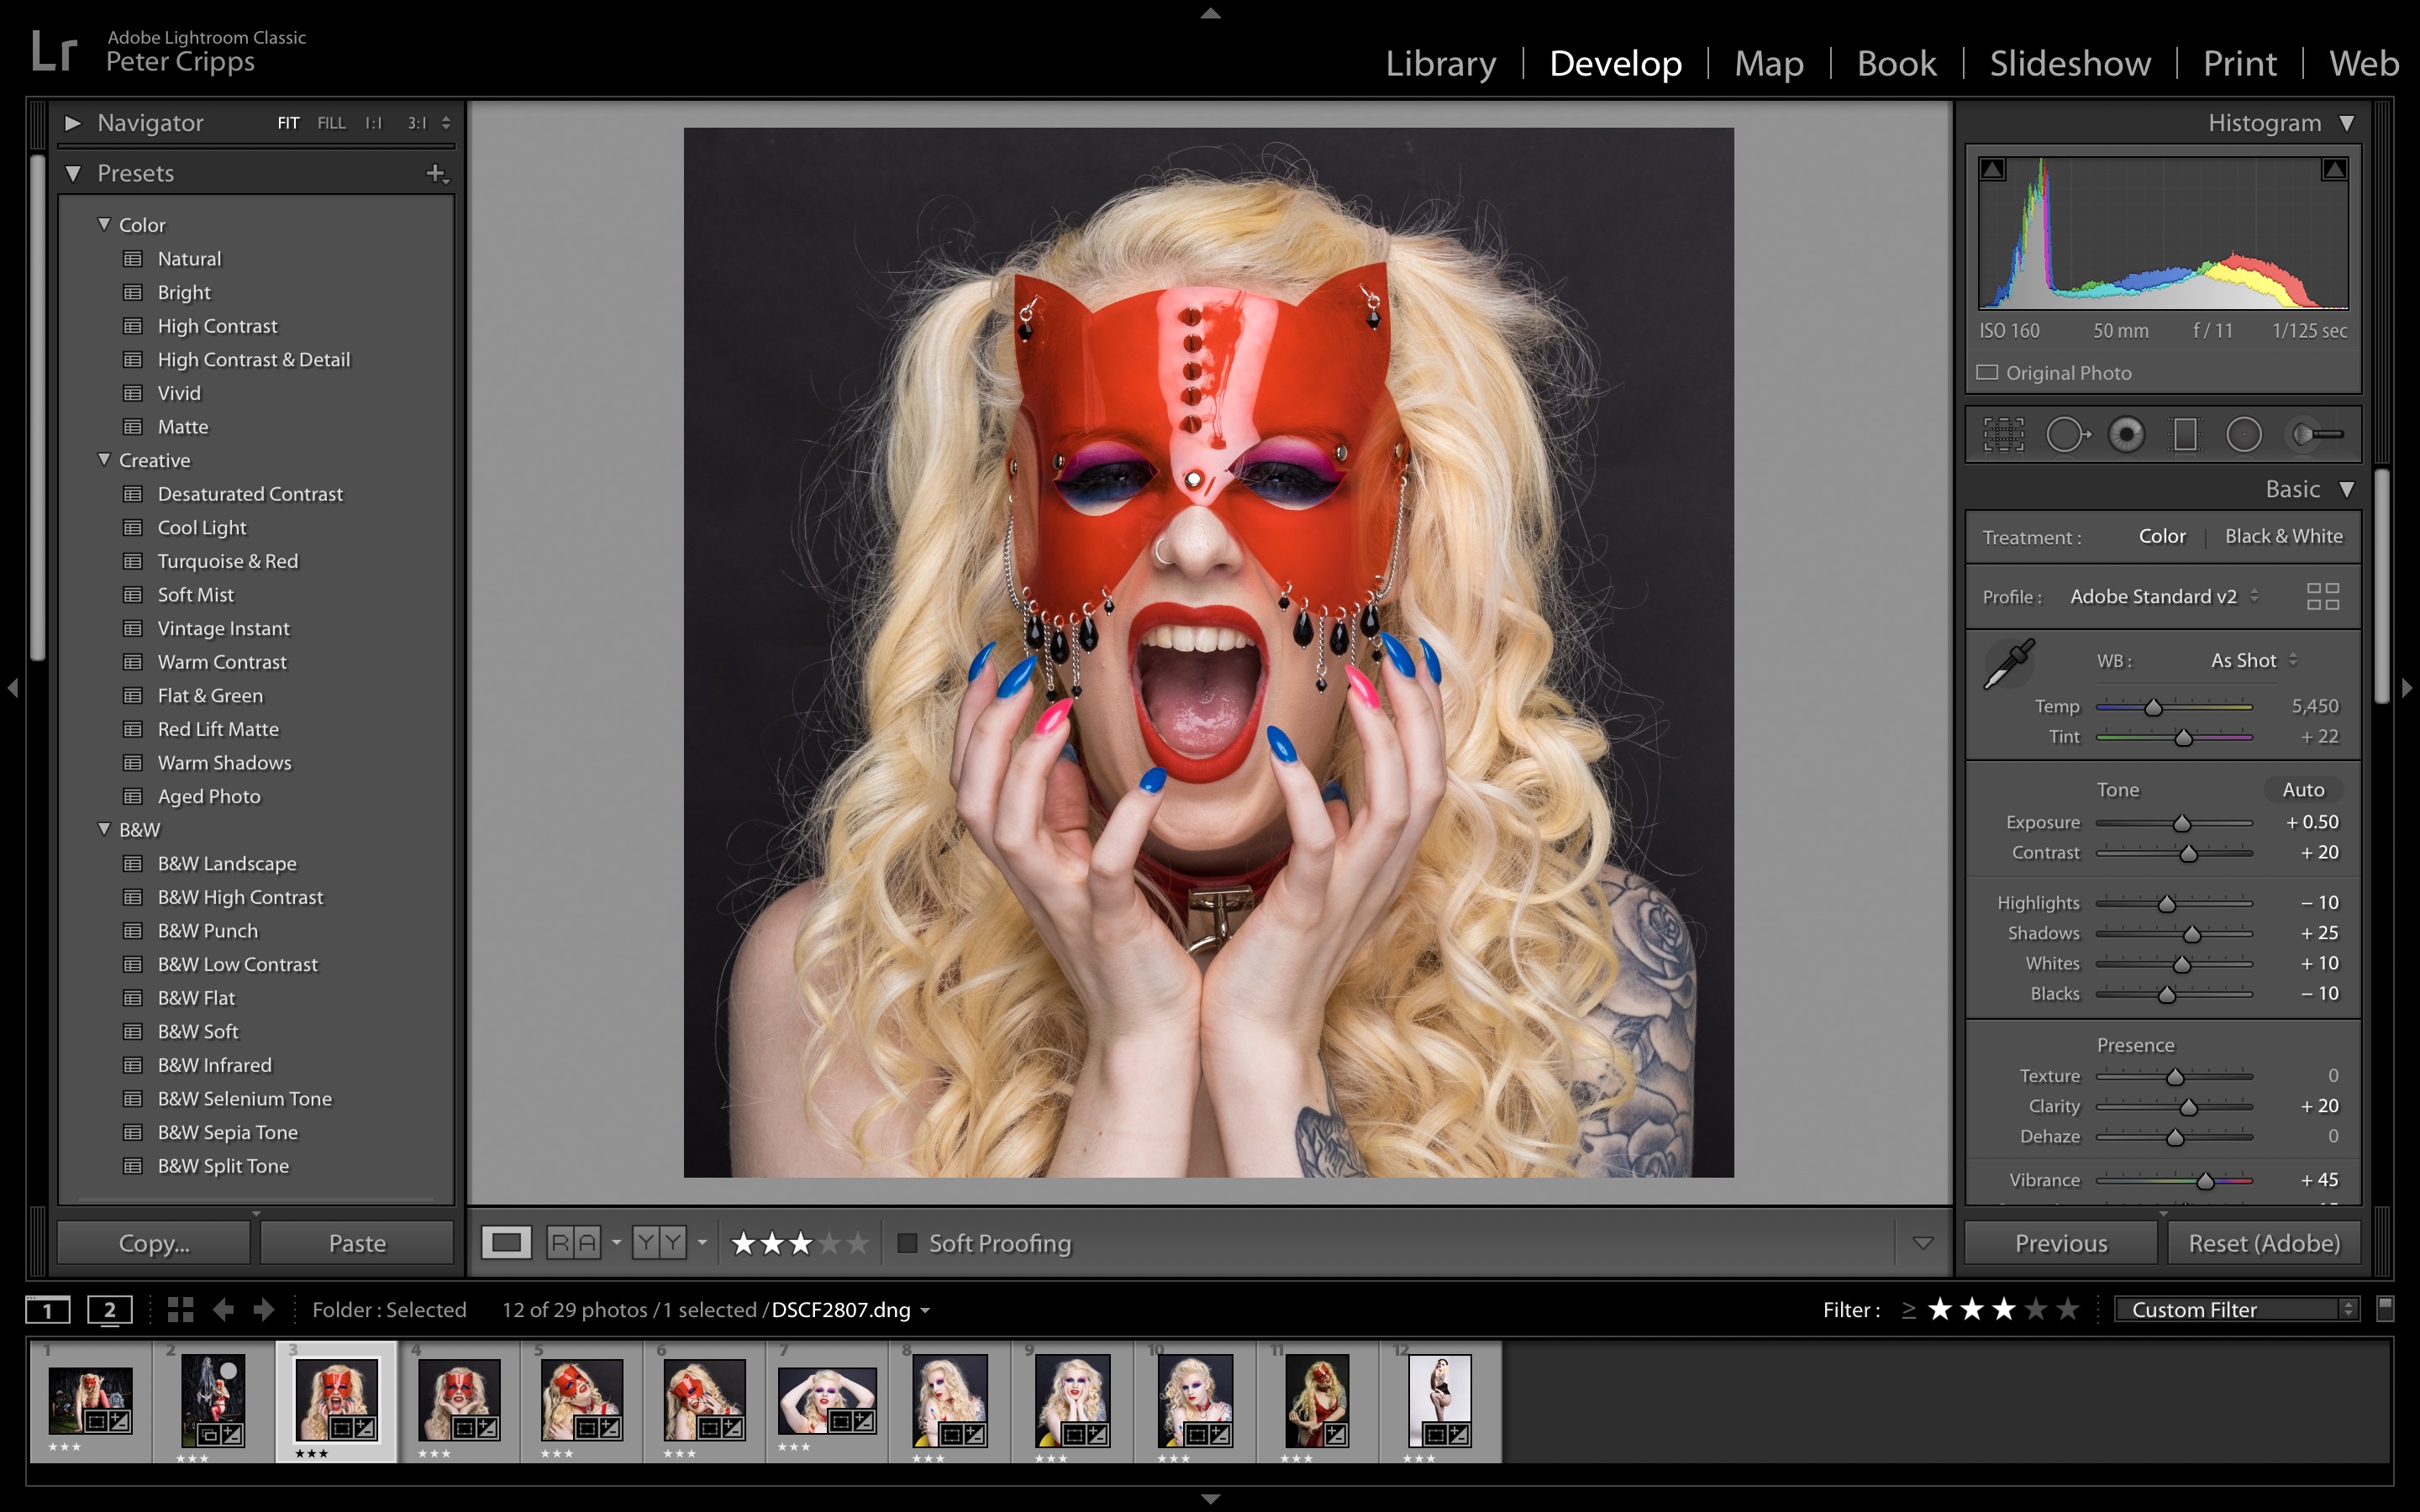
I also want the same exposure, white balance, saturation (as well as obviously dimensions, in this case 1×1). To do this I work on one image then copy and paste the settings across the other two images.
These are the three images all of the correct dimensions and similarly edited. That’s it for Lightroom, we’re now ready to move into Photoshop.

Step 2: Export Images to Photoshop
To export into Photoshop select the three images using File/Export… This opens another dialogue box where you can select the destination folder (see here for how I manage files across my workflow) and choose to open Photoshop once the files have been selected.
The images will open in Photoshop as three separate files as shown by the tabs in the below.

Step 3: Resize Images
Next ensure all the images are exactly the same size. Select Image/Image Size… from the tool bar and a dialogue box opens allowing you to adjust the size. It helps to make nice round numbers for the size so in this case I’m making the image 32x32cm. Ensure the other two images are the same size.

Step 4: Create a Canvas
Now we need to make a canvas to place all the images on. To make things a bit easier start with the image you want to be in the centre of the canvas. Once you have that image select Image/Canvas Size… and enter the required size in the dialogue box. For my case I have three 32x32cm images which I want a 1cm border around and 1cm between each of the images. The hight therefore needs to be 32+2cm (34cm) and the width (3×32)+4cm (100cm). If you select ‘Canvas extension color’ another dialogue box opens allowing you to select the color. I’ve chosen red to match the mask worn by Francheska.

The canvas will now be shown with your image in the centre and you’re ready to add the other two images to the triptych.

Step 5: Copy Images to Canvas
Choose the second image tab then select the image ‘Cmd A’ and copy it ‘Cmd C’. Move to the tab which now has the canvas and paste the copied image with ‘Cmd V’. Repeat this for the third image. The images will open as layers on the canvas but will be laid on top of the centre image.

All you need to do now is select the move tool (top of the tool bar) and drag the image to the left then the next one to the right. You should be able to align them pretty well using your eye and the selection lines that appear as you move the images.

That’s it, the final image should look something like this. Once you are happy with your selections you can flatten all layers (Layer/Flatten Image) and save the image ready to be exported or printed.

The pictures of Francheska were taken with a Fujifilm X-T3 and lit using my Elinchrom D-Lite RX’s and Deep Umbrella.


Leave a comment