Inspired by this image by Australian photographer Forough Yavari which won the 2021 International Portrait Photographer of the year award I thought I would have a go at creating my own version based on this concept.
Here is the final image…

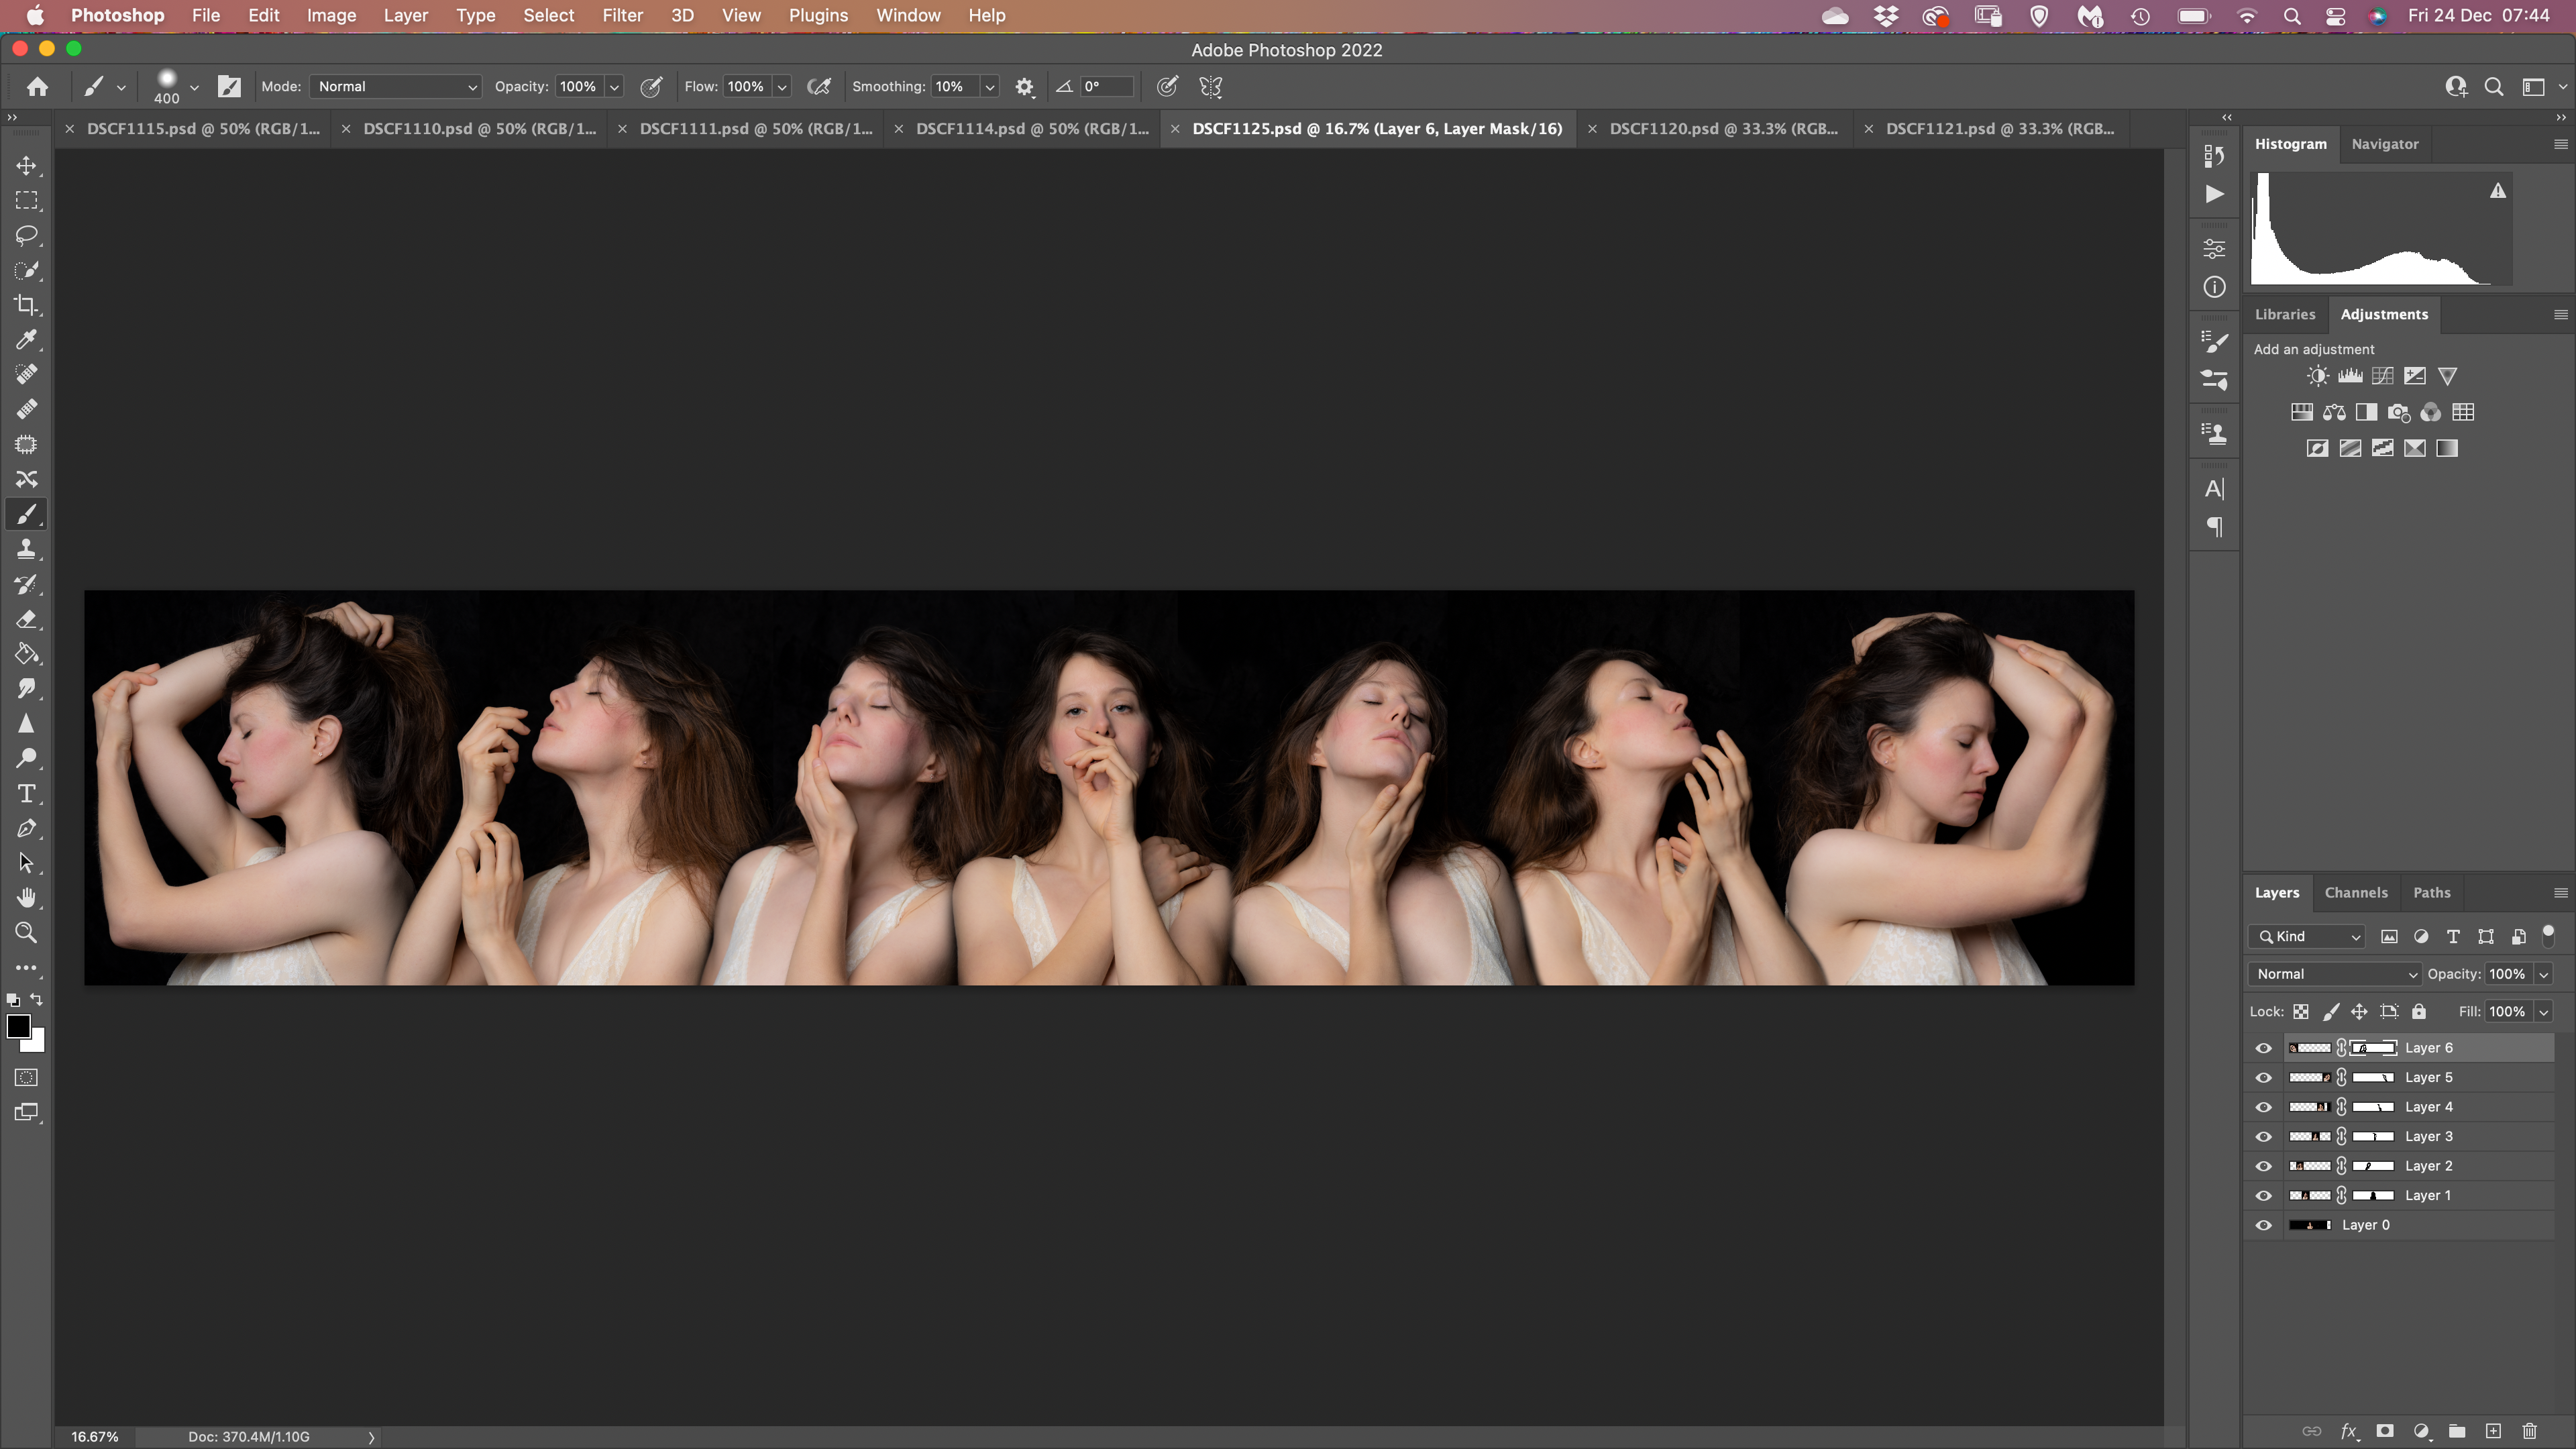
…and here’s how I created it using Lightroom and Photoshop.
Step 1: The Shoot
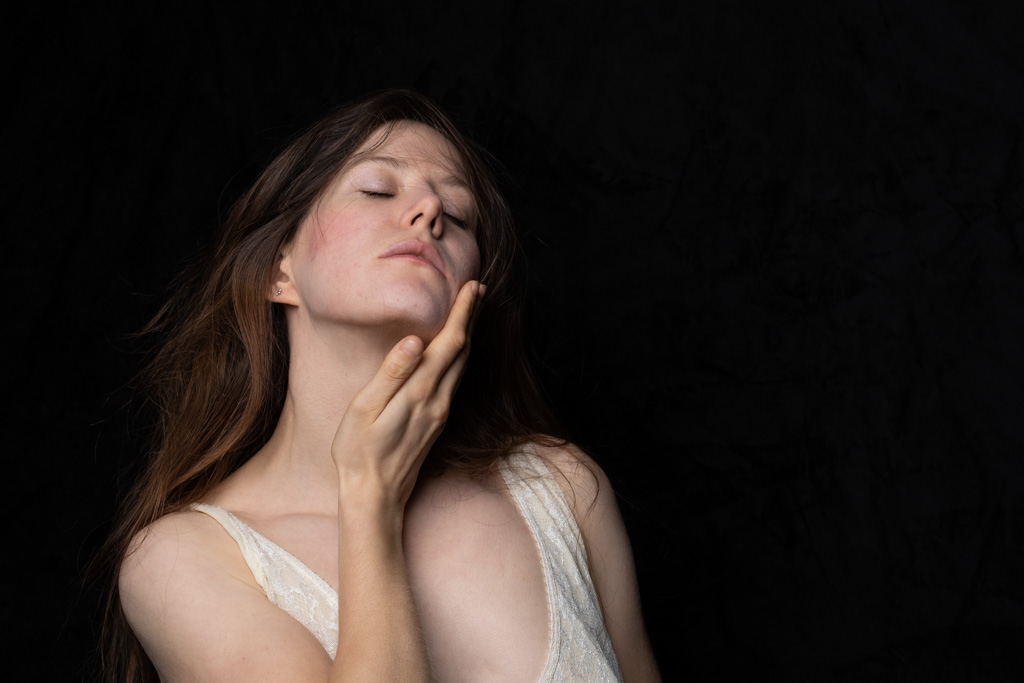
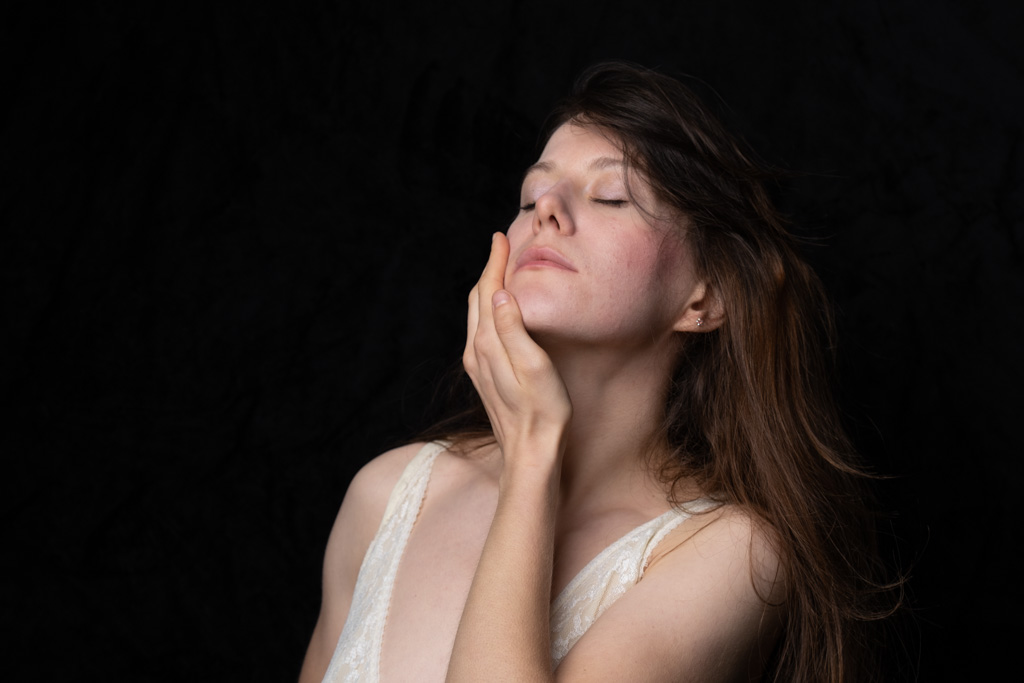
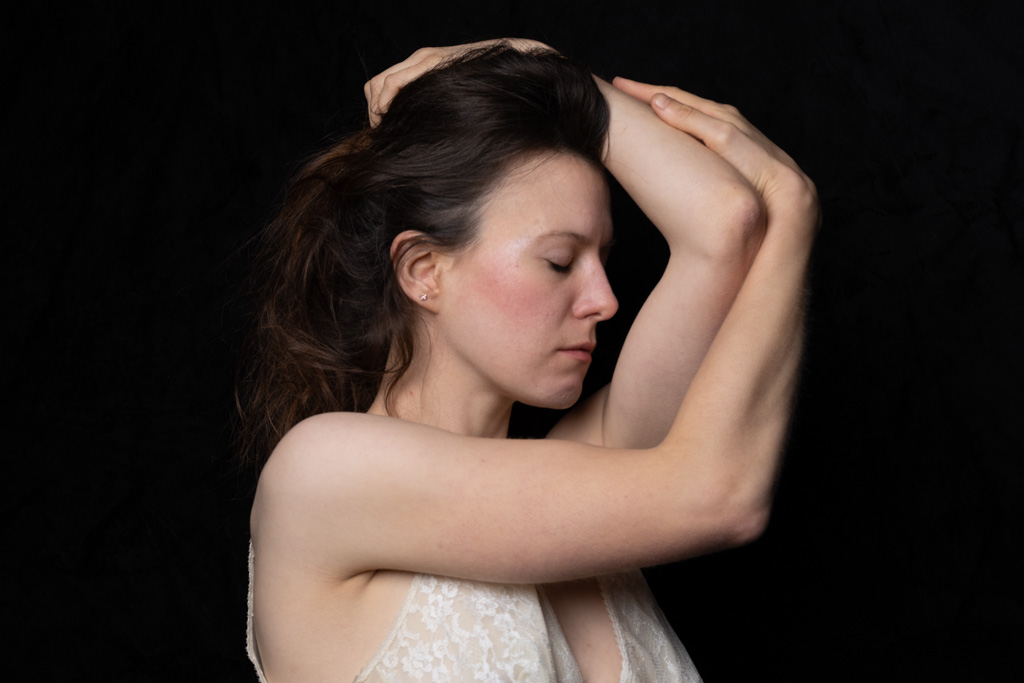
The shoot for this was with a model called Amy (you can see her portfolio here but warning, it contains NSFW imagery). I kept the lighting as simple as possible, one Elinchrom flash with a deep umbrella modifier positioned high and to the front-left of Amy. I used a Manfrotto black, collapsible background and shot using a tripod mounted Fujifilm X-T4 with XF50-140mmF2.8 R LM OIS WR lens. I wanted to keep the same image size and perspective for each shot so set the lens to the same focal length (50mm) and got Amy to do a number of poses gradually moving from looking directly at the camera and moving slowly first to the left and then the right. To try and get as similar positions as possible I found it best to ask Amy to do each of the poses in pairs which were a mirror of each other. Below are the RAW images from one of the sets which I decided to use. Seven in total.


Step 2: Develop Images in Lightroom
Having imported and selected the images into Adobe Lightroom there were just a couple of develop steps. First was to make each image square (1:1) and second was to adjust the ‘Clarity’ slider to soften the image slightly (-45%). I then exported the selected images into Adobe Photoshop.

Step 3: Adjust Image Sizes
In Photoshop I made sure each of the images were the same size by selecting Image->Image size… from the menu and setting the size of each image to 30cm x 30cm.

Step 4: Make the Background Image
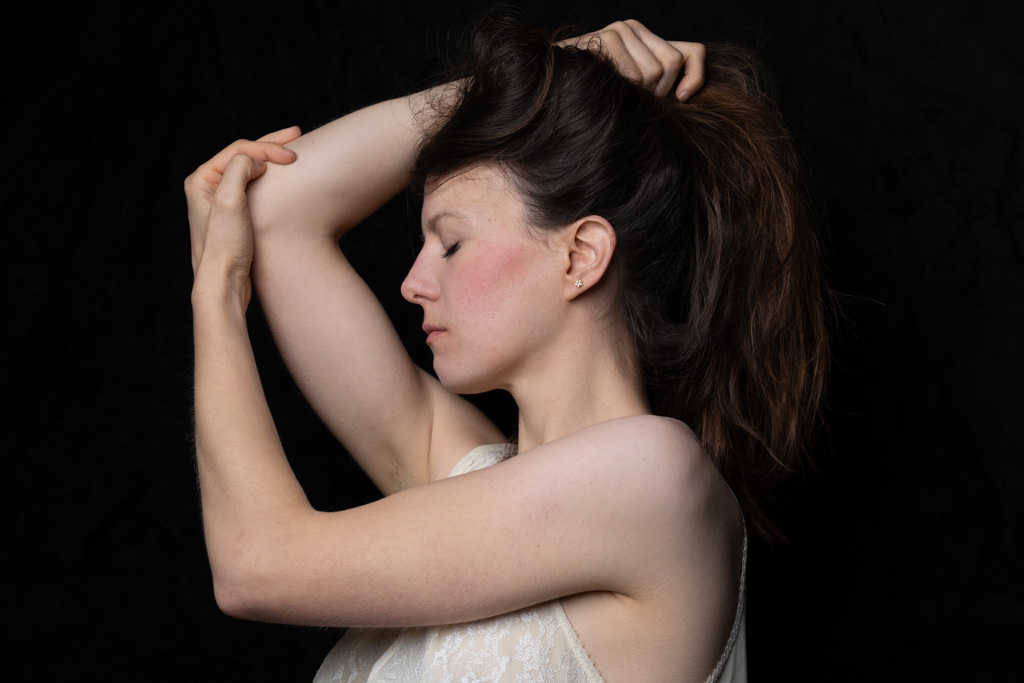
The background image is the middle portrait with Amy facing the camera. I adjusted the crop in Photoshop my selecting the crop tool (short cut ‘C’ on the keyboard) and ensuring ‘W x H X Resolution’ is selected, ‘Delete Cropped Pixels’ is deselected and ‘Content-Aware’ is selected in the Toolbar at the top of the Mask window. It’s then a matter of dragging the sides of the image to the left and right so the first image is central. Because I wanted some overlap I dragged the sides 80cm each way. These could always be adjusted later. Once I had the right size I selected the tick at the top and Photoshop worked its magic by extending the image and filling in the background based on the initial image. For a video on how to extend backgrounds see here.
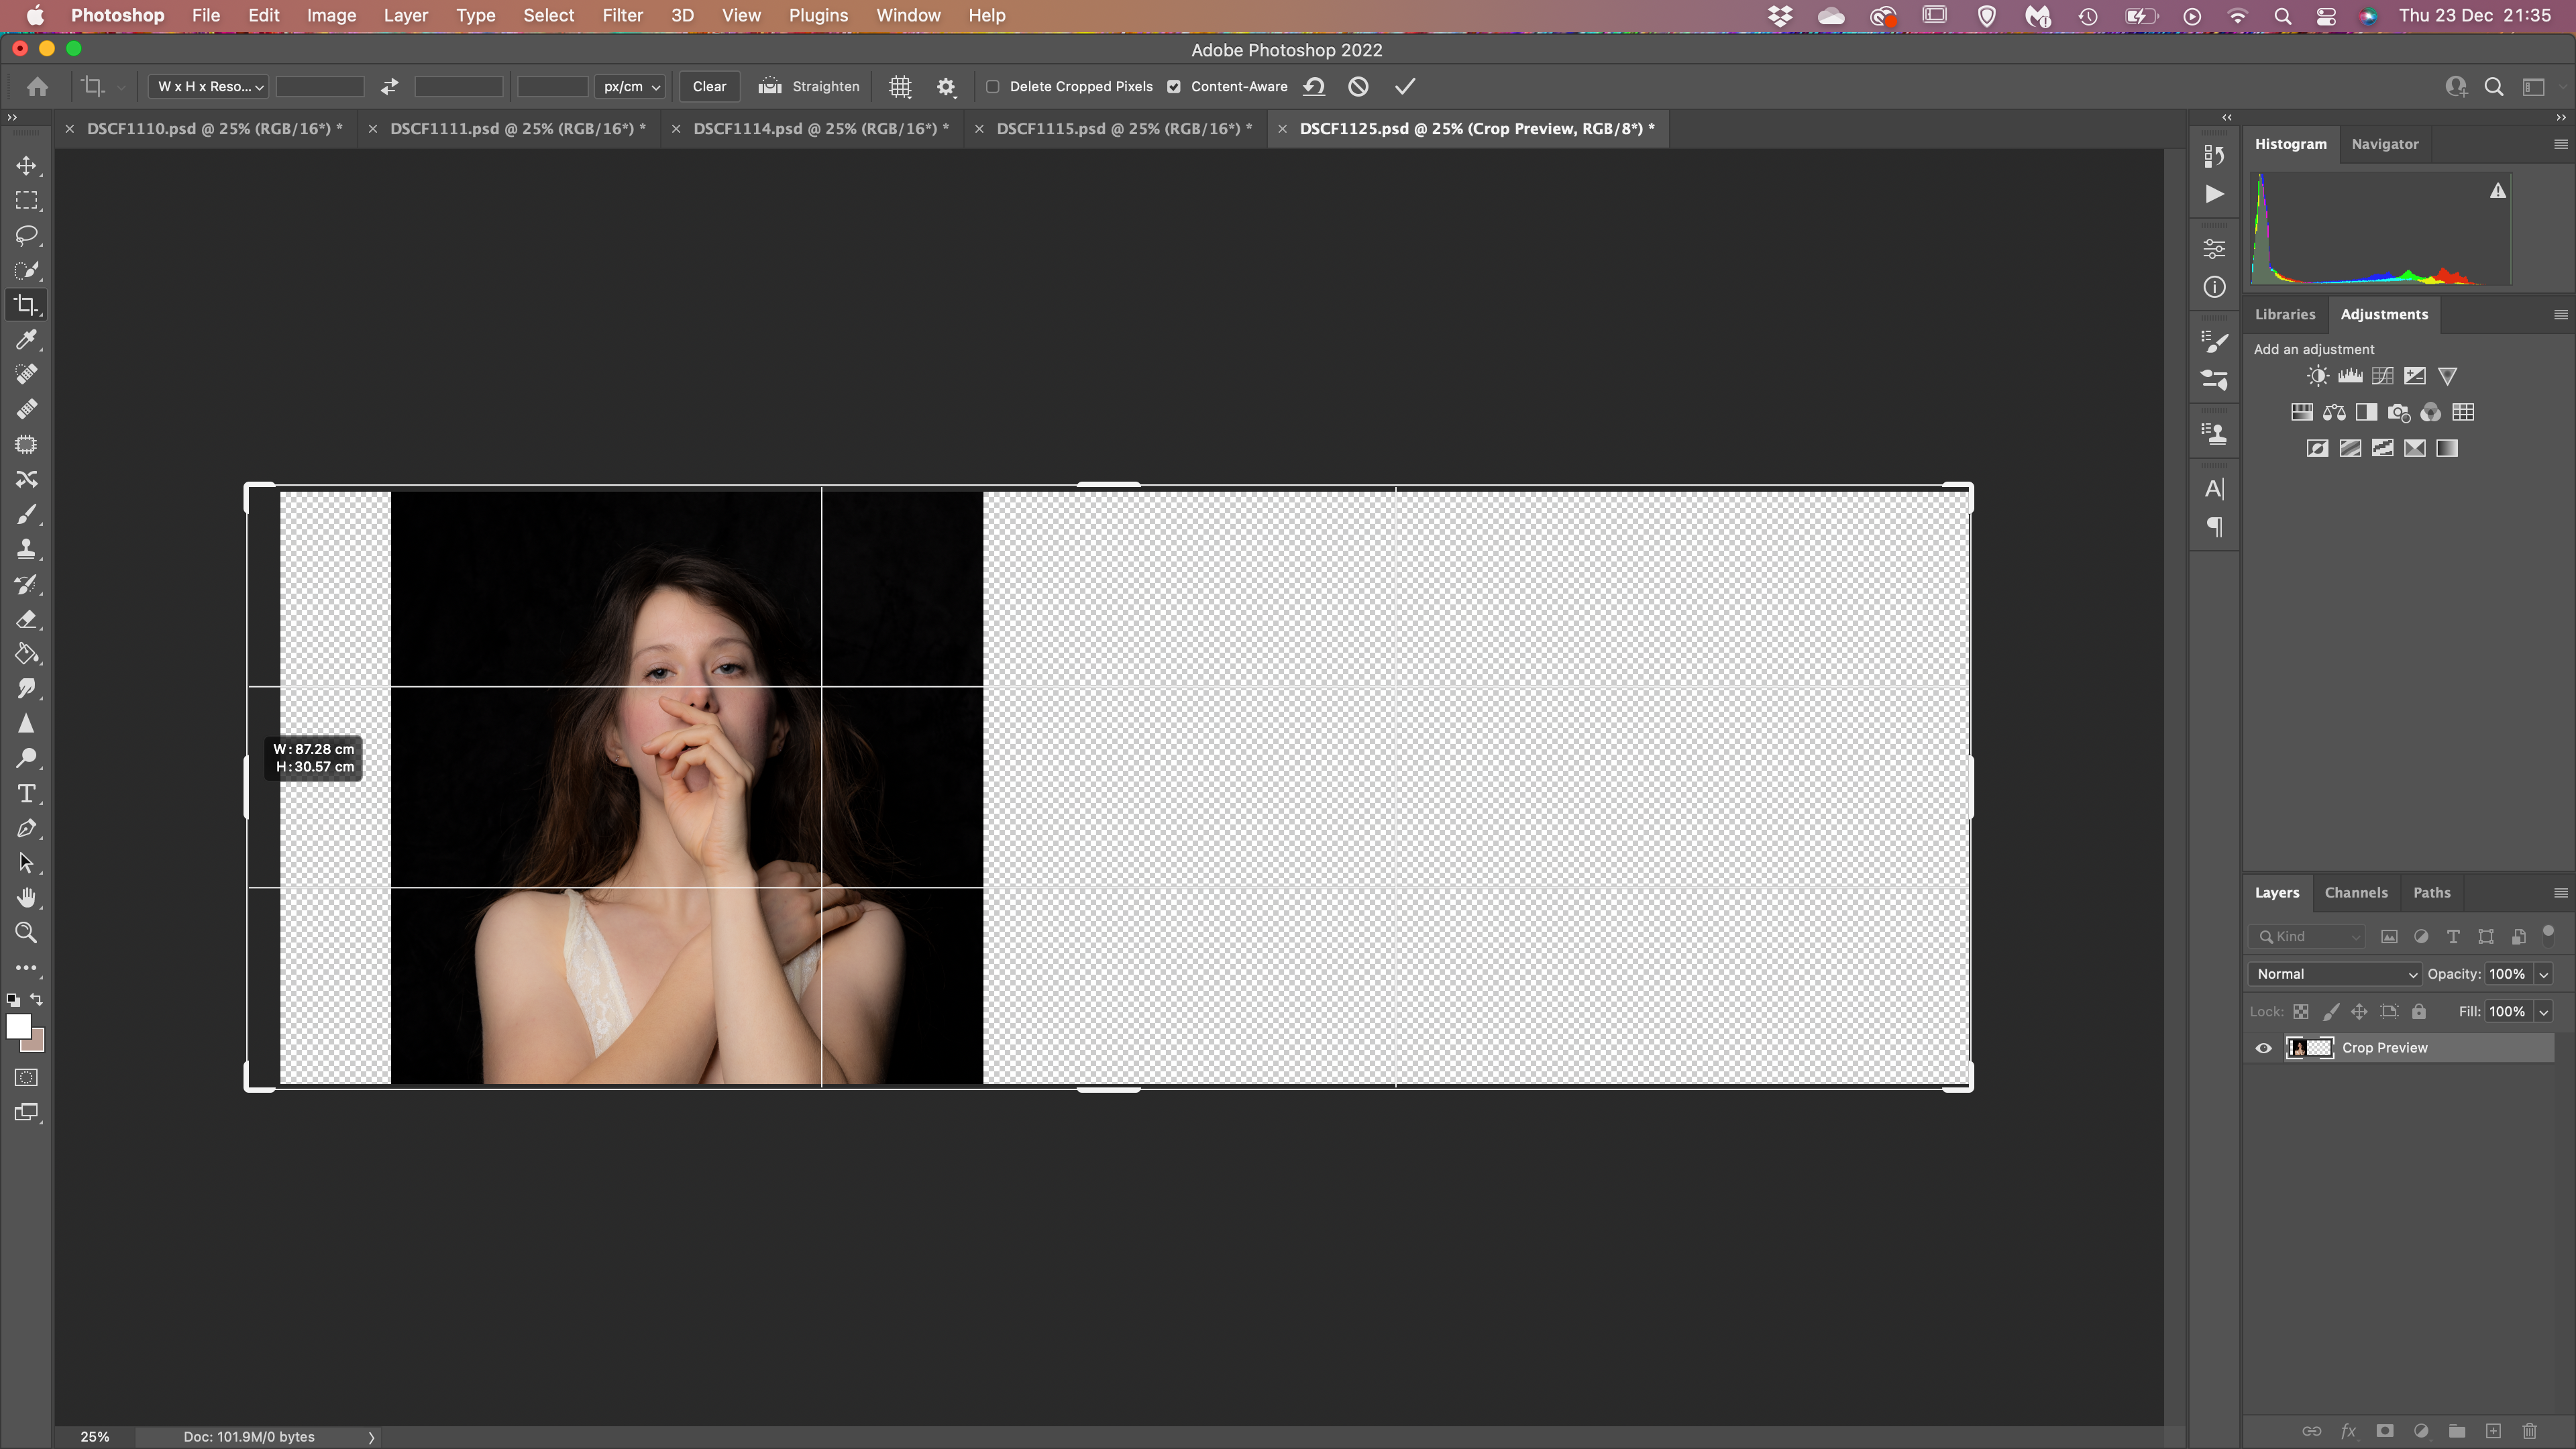
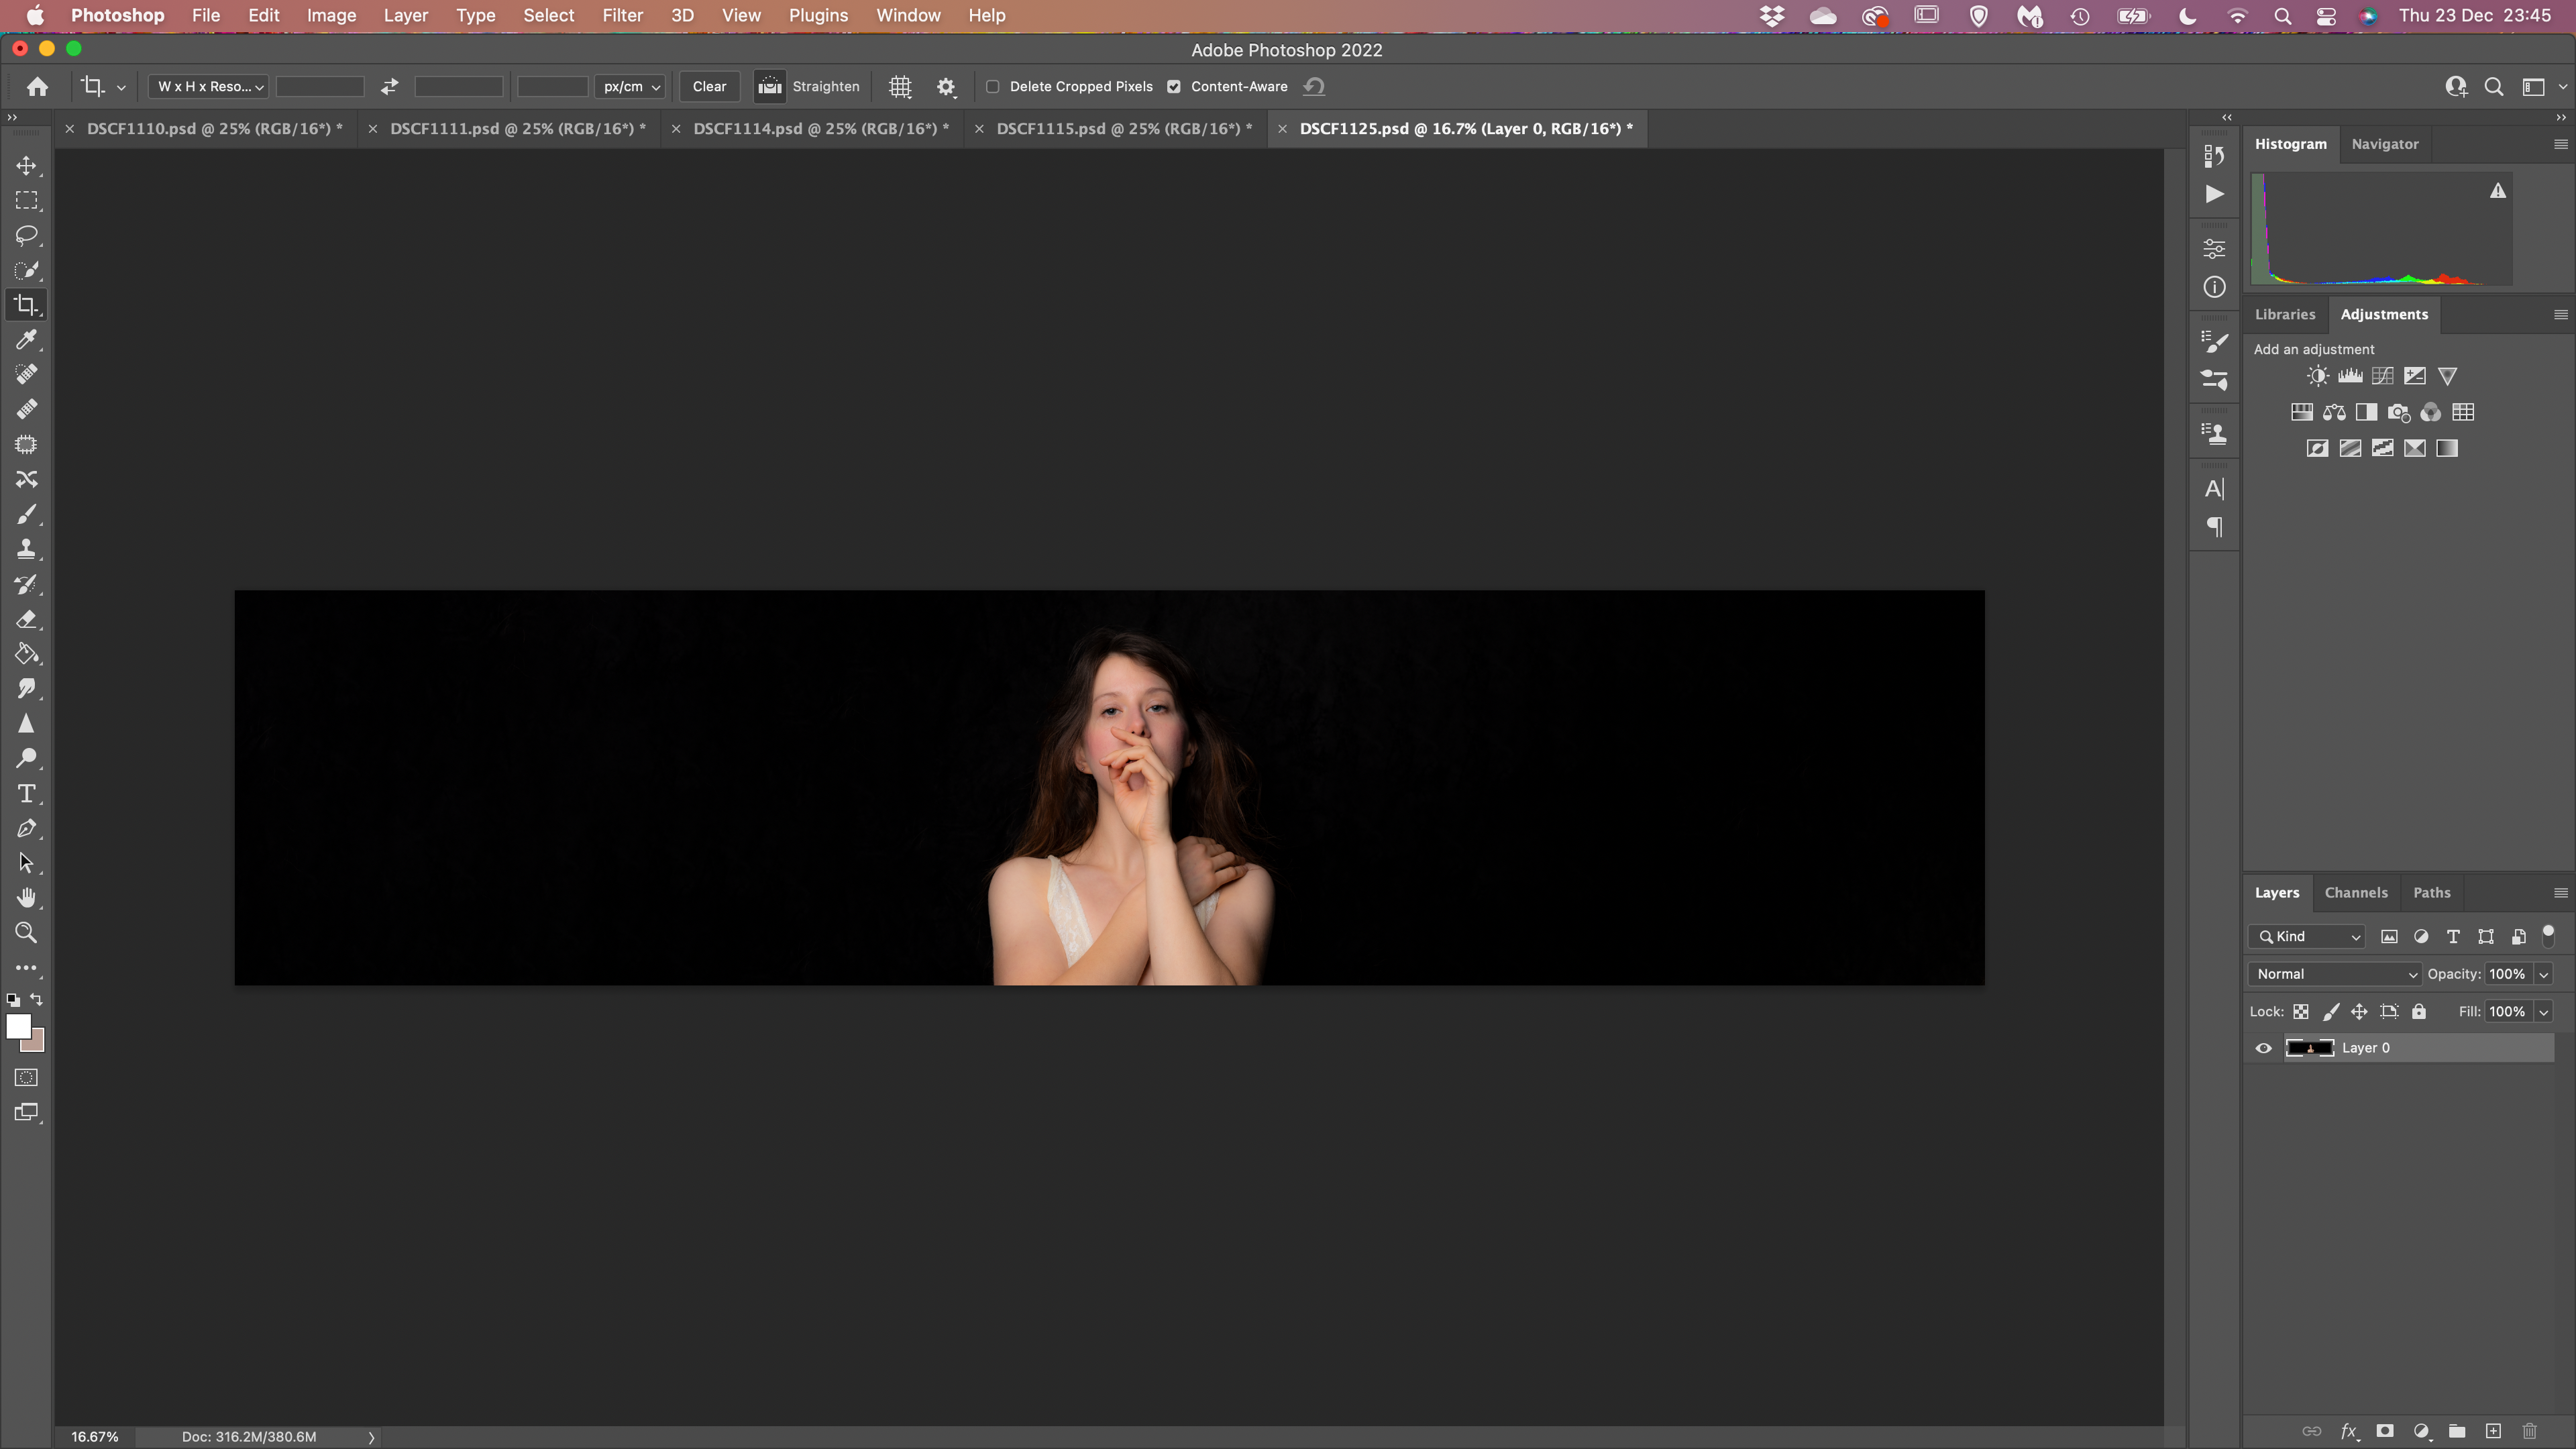
Here’s the background image as it appears in Photoshop once it’s been extended.
Step 5: Add Images as Layers
Each of the images that are to form part of the composite now need to be added as layers. I selected the first image (Cmd-A on a Mac), copied the image (Cmd-C) then, once the background image is selected, pasted (Cmd-V) onto this. Photoshop adds this as a layer above the background. If the move tool is selected (‘V’ on the keyboard) then the pasted image can be moved left or right to the correct position.
Next I needed to blend the two images together. As with most things in Photoshop there are numerous ways to do this (see this video for 3 ways) but I was going to use a layer mask and brush.

I applied a layer mask to the newly added image (tap the ‘Mask’ icon at the bottom of the ‘Layers’ panel) ensuring the mask is white which shows the layer that contains the mask.

Finally I painted with white on the layer mask to reveal content from the lower (background) layer.
- Select the brush (‘B’ on the keyboard).
- Press ‘X’ to switch the foreground and background colors in the Toolbar, so white becomes the foreground colour.
- Paint over hidden areas of the image. This adds white to the layer mask, bringing back into view corresponding areas of the masked layer.

This was repeated for each of the remaining images.
I decided to add the last two images at either end toward the end of the process so extended the background on each side by a further 20cm as described in Step 4. Here’s the final image still in Photoshop.


Leave a comment